Section 8: Adjustment Procedures
RIBBON BELT ADJUSTMENT
1Switch off power and disconnect power supply cord.
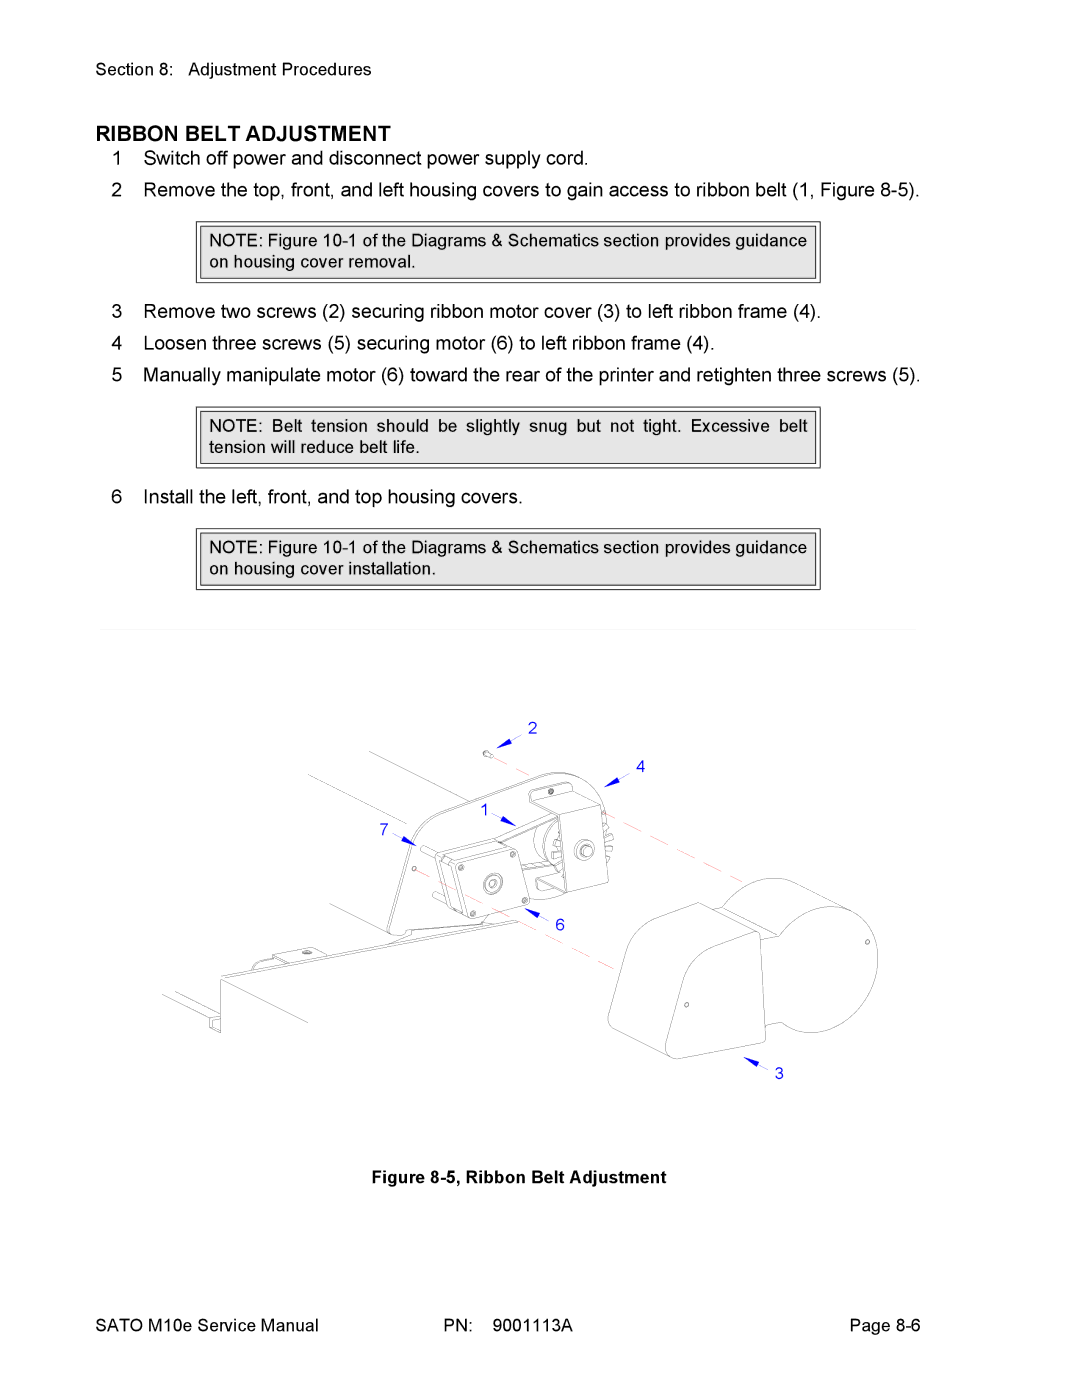
2Remove the top, front, and left housing covers to gain access to ribbon belt (1, Figure
NOTE: Figure
3Remove two screws (2) securing ribbon motor cover (3) to left ribbon frame (4).
4Loosen three screws (5) securing motor (6) to left ribbon frame (4).
5Manually manipulate motor (6) toward the rear of the printer and retighten three screws (5).
NOTE: Belt tension should be slightly snug but not tight. Excessive belt tension will reduce belt life.
6 Install the left, front, and top housing covers.
NOTE: Figure
2
4
1 ![]()
7
6
![]() 3
3
Figure 8-5, Ribbon Belt Adjustment
SATO M10e Service Manual | PN: 9001113A | Page |
