REPLACEMENT PROCEDURES | 7 |
The SATO M10e Printer contains replaceable components and
PRINT HEAD REPLACEMENT
If the print head becomes damaged, it can be easily removed and replaced without having to make critical adjustments. Before replacing the print head, clear the head counter values. Refer to its relative instructions located in this manual.
1Switch off the printer and disconnect the power supply cord.
2Open the top housing cover and remove ribbon stock as applicable.
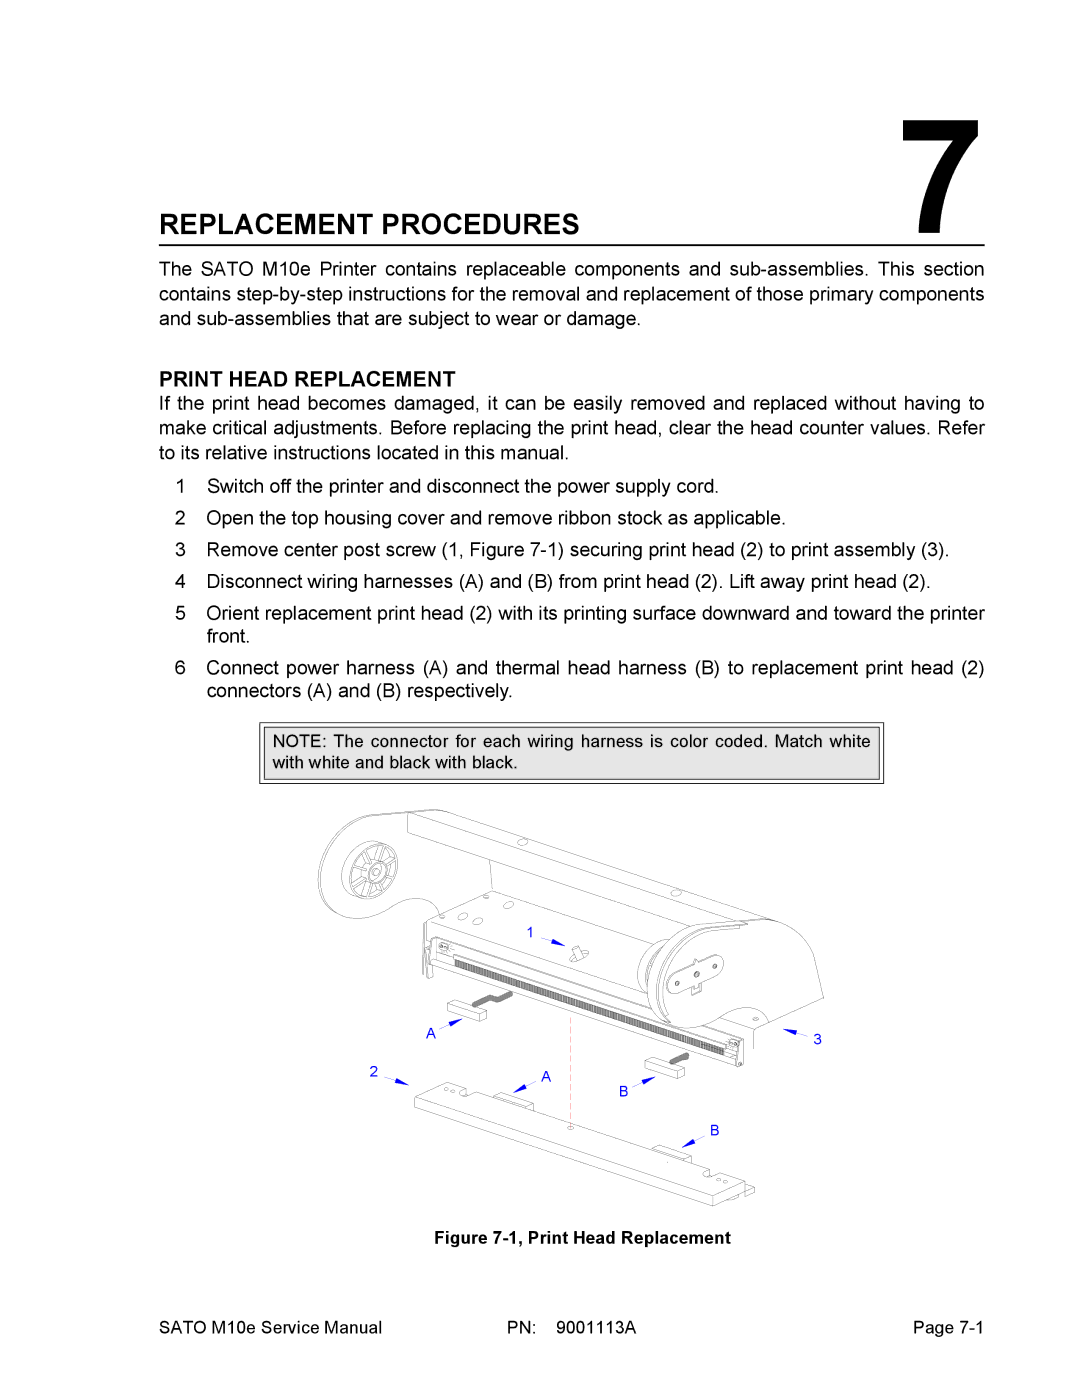
3Remove center post screw (1, Figure
4Disconnect wiring harnesses (A) and (B) from print head (2). Lift away print head (2).
5Orient replacement print head (2) with its printing surface downward and toward the printer front.
6Connect power harness (A) and thermal head harness (B) to replacement print head (2) connectors (A) and (B) respectively.
NOTE: The connector for each wiring harness is color coded. Match white with white and black with black.
1
A
2A
3
B ![]()
B
Figure 7-1, Print Head Replacement
SATO M10e Service Manual | PN: 9001113A | Page |