Section 7: Replacement Procedures
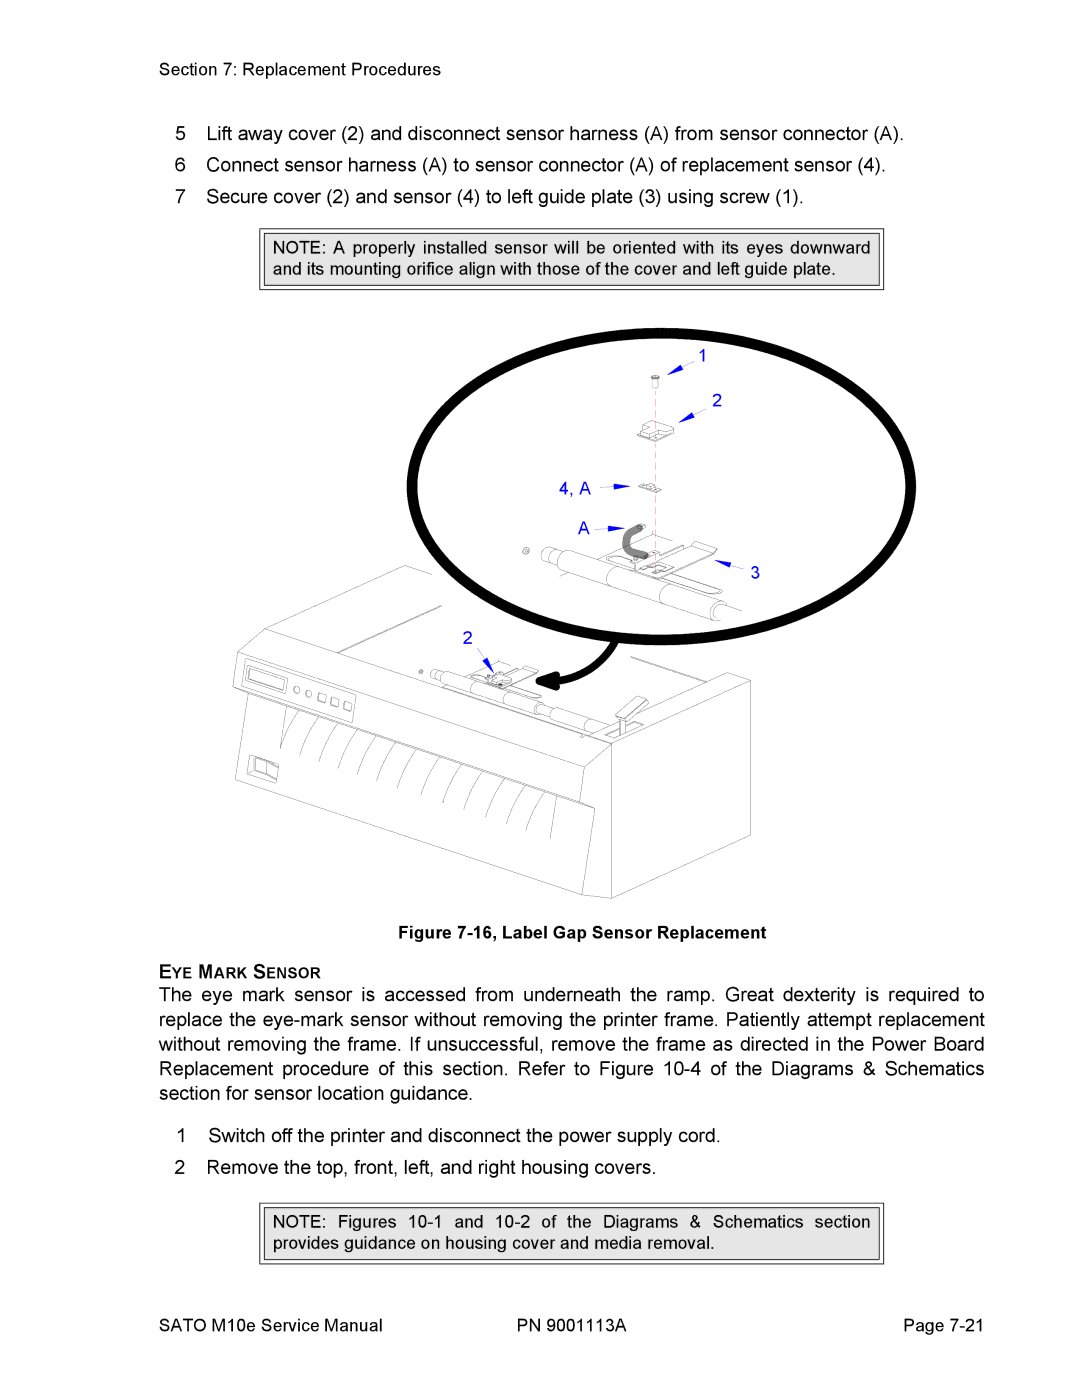
5Lift away cover (2) and disconnect sensor harness (A) from sensor connector (A).
6Connect sensor harness (A) to sensor connector (A) of replacement sensor (4).
7Secure cover (2) and sensor (4) to left guide plate (3) using screw (1).
NOTE: A properly installed sensor will be oriented with its eyes downward and its mounting orifice align with those of the cover and left guide plate.
1
2
4, A ![]()
A ![]()
![]()
![]()
![]() 3
3
2
Figure 7-16, Label Gap Sensor Replacement
EYE MARK SENSOR
The eye mark sensor is accessed from underneath the ramp. Great dexterity is required to replace the
1Switch off the printer and disconnect the power supply cord.
2 Remove the top, front, left, and right housing covers.
NOTE: Figures
SATO M10e Service Manual | PN 9001113A | Page |