Section 5: Printer Configuration
LCD DISPLAY | DEFINITION |
|
|
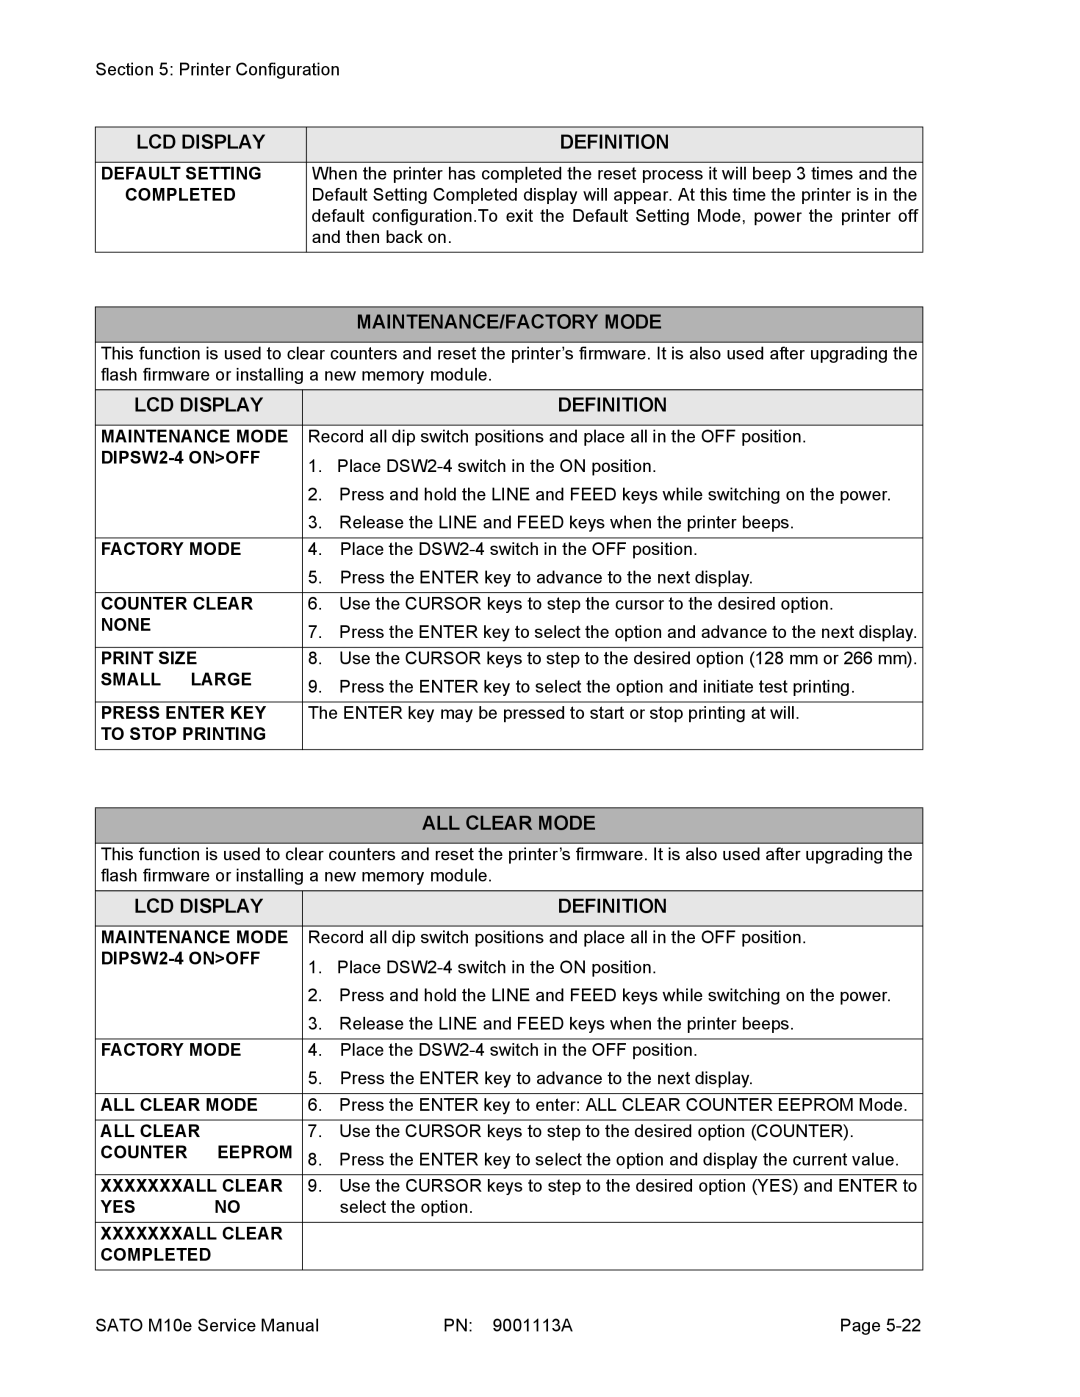
DEFAULT SETTING | When the printer has completed the reset process it will beep 3 times and the |
COMPLETED | Default Setting Completed display will appear. At this time the printer is in the |
| default configuration.To exit the Default Setting Mode, power the printer off |
| and then back on. |
MAINTENANCE/FACTORY MODE
This function is used to clear counters and reset the printer’s firmware. It is also used after upgrading the flash firmware or installing a new memory module.
LCD DISPLAY |
| DEFINITION |
MAINTENANCE MODE | Record all dip switch positions and place all in the OFF position. | |
| 1. | Place |
| ||
| 2. | Press and hold the LINE and FEED keys while switching on the power. |
| 3. | Release the LINE and FEED keys when the printer beeps. |
|
|
|
FACTORY MODE | 4. | Place the |
5.Press the ENTER key to advance to the next display.
COUNTER CLEAR 6. Use the CURSOR keys to step the cursor to the desired option.
NONE | 7. | Press the ENTER key to select the option and advance to the next display. |
| ||
|
|
|
PRINT SIZE | 8. | Use the CURSOR keys to step to the desired option (128 mm or 266 mm). |
SMALL LARGE | 9. | Press the ENTER key to select the option and initiate test printing. |
| ||
|
| |
PRESS ENTER KEY | The ENTER key may be pressed to start or stop printing at will. | |
TO STOP PRINTING |
|
|
ALL CLEAR MODE
This function is used to clear counters and reset the printer’s firmware. It is also used after upgrading the flash firmware or installing a new memory module.
LCD DISPLAY |
| DEFINITION | |
|
| ||
MAINTENANCE MODE | Record all dip switch positions and place all in the OFF position. | ||
1. | Place | ||
|
| ||
|
| 2. | Press and hold the LINE and FEED keys while switching on the power. |
|
| 3. | Release the LINE and FEED keys when the printer beeps. |
|
|
| |
FACTORY MODE | 4. | Place the | |
|
| 5. | Press the ENTER key to advance to the next display. |
|
| ||
ALL CLEAR MODE | 6. Press the ENTER key to enter: ALL CLEAR COUNTER EEPROM Mode. | ||
ALL CLEAR |
| 7. | Use the CURSOR keys to step to the desired option (COUNTER). |
COUNTER | EEPROM | 8. | Press the ENTER key to select the option and display the current value. |
|
| ||
XXXXXXXALL CLEAR | 9. Use the CURSOR keys to step to the desired option (YES) and ENTER to | ||
YES | NO |
| select the option. |
XXXXXXXALL CLEAR |
|
| |
COMPLETED |
|
|
|
SATO M10e Service Manual | PN: 9001113A | Page |
