Section 5: Printer Configuration
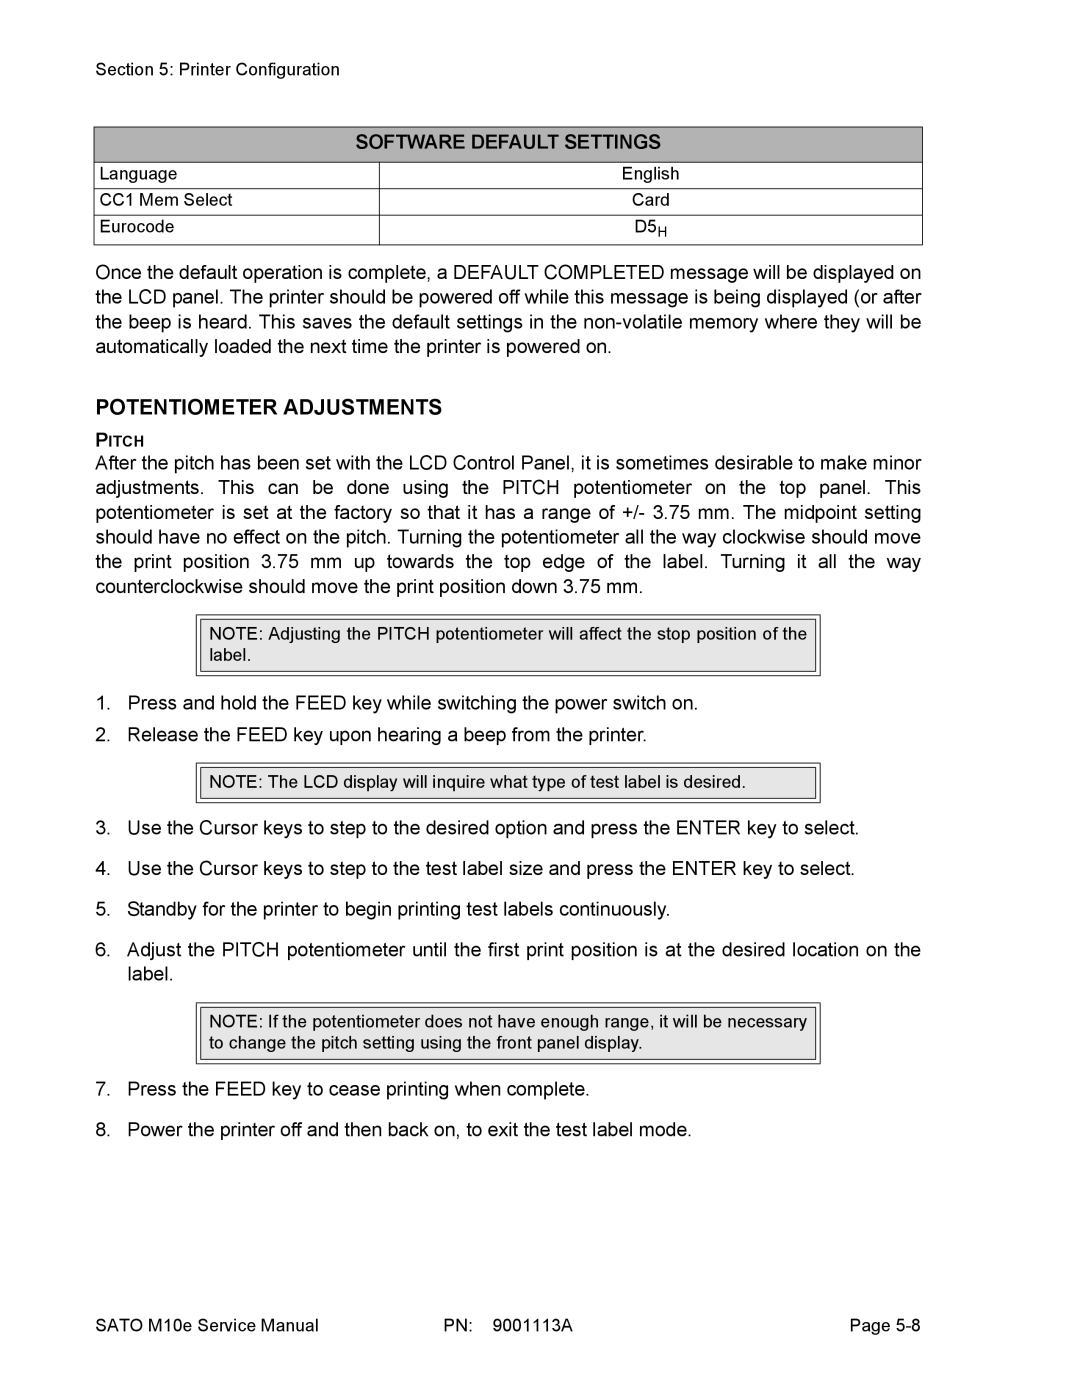
SOFTWARE DEFAULT SETTINGS
Language
CC1 Mem Select
Eurocode
English
Card
D5H
Once the default operation is complete, a DEFAULT COMPLETED message will be displayed on the LCD panel. The printer should be powered off while this message is being displayed (or after the beep is heard. This saves the default settings in the
POTENTIOMETER ADJUSTMENTS
PITCH
After the pitch has been set with the LCD Control Panel, it is sometimes desirable to make minor adjustments. This can be done using the PITCH potentiometer on the top panel. This potentiometer is set at the factory so that it has a range of +/- 3.75 mm. The midpoint setting should have no effect on the pitch. Turning the potentiometer all the way clockwise should move the print position 3.75 mm up towards the top edge of the label. Turning it all the way counterclockwise should move the print position down 3.75 mm.
NOTE: Adjusting the PITCH potentiometer will affect the stop position of the label.
1.Press and hold the FEED key while switching the power switch on.
2.Release the FEED key upon hearing a beep from the printer.
![]()
![]() NOTE: The LCD display will inquire what type of test label is desired.
NOTE: The LCD display will inquire what type of test label is desired.
3.Use the Cursor keys to step to the desired option and press the ENTER key to select.
4.Use the Cursor keys to step to the test label size and press the ENTER key to select.
5.Standby for the printer to begin printing test labels continuously.
6.Adjust the PITCH potentiometer until the first print position is at the desired location on the label.
NOTE: If the potentiometer does not have enough range, it will be necessary to change the pitch setting using the front panel display.
7.Press the FEED key to cease printing when complete.
8.Power the printer off and then back on, to exit the test label mode.
SATO M10e Service Manual | PN: 9001113A | Page |
