Section 6: Troubleshooting
3Place the printer in the
4Place the
5Press the LINE key to place the printer back
6Press the FEED key to activate the print process.
7Return switch
8Turn the printer off and then back on to return to the normal print mode.
TP TEST MODULE USAGE
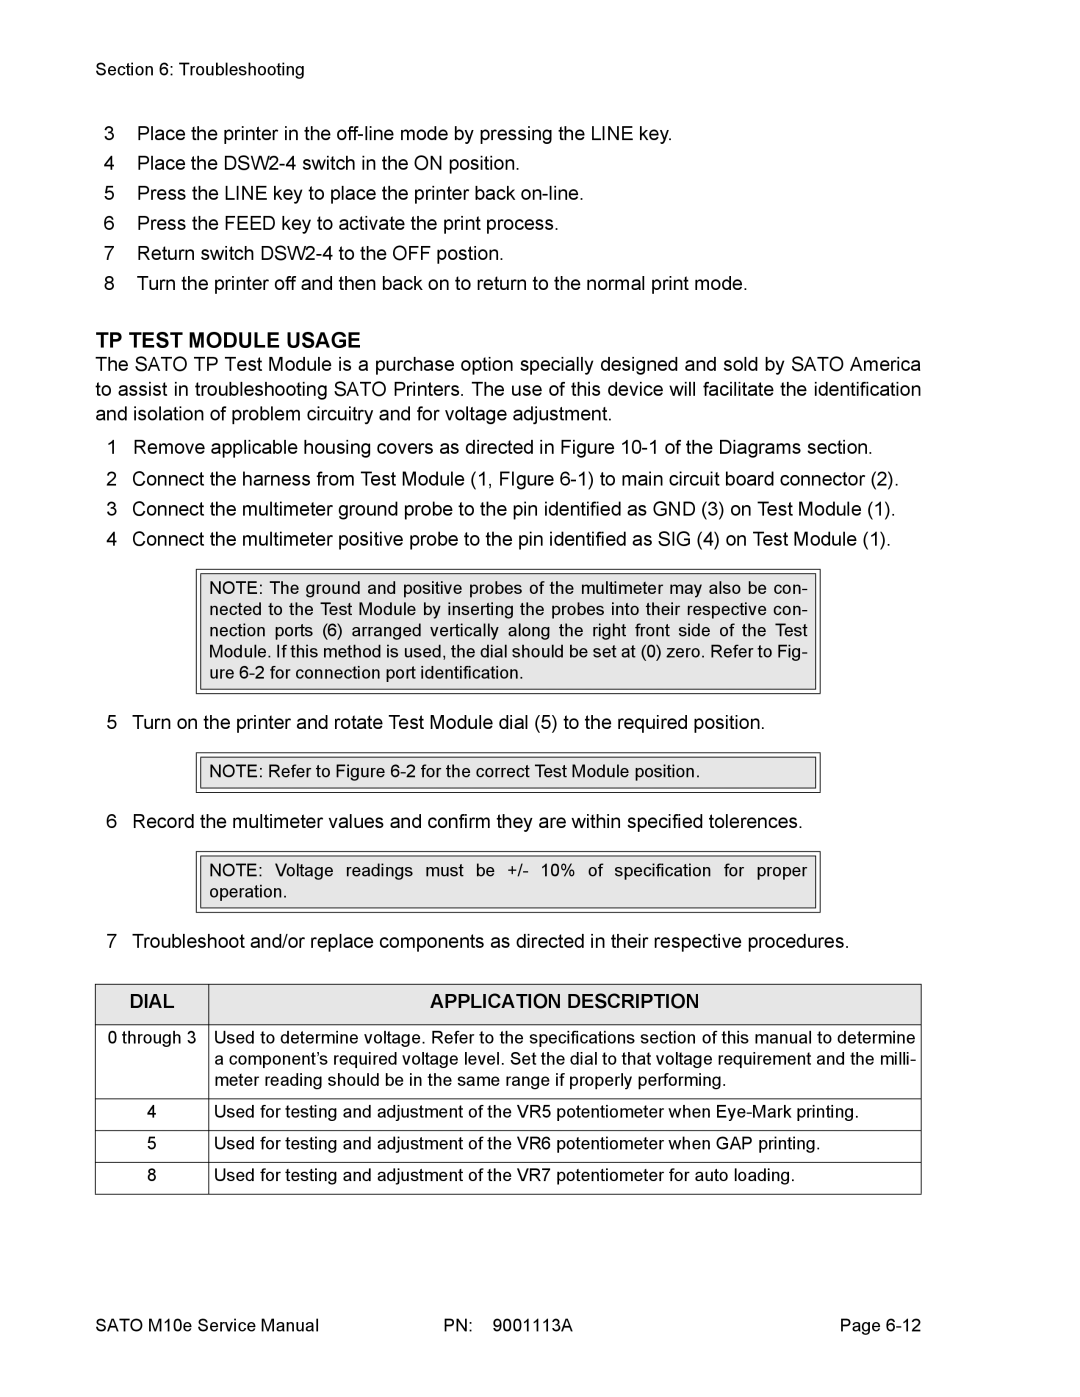
The SATO TP Test Module is a purchase option specially designed and sold by SATO America to assist in troubleshooting SATO Printers. The use of this device will facilitate the identification and isolation of problem circuitry and for voltage adjustment.
1Remove applicable housing covers as directed in Figure
2Connect the harness from Test Module (1, FIgure
3Connect the multimeter ground probe to the pin identified as GND (3) on Test Module (1).
4Connect the multimeter positive probe to the pin identified as SIG (4) on Test Module (1).
NOTE: The ground and positive probes of the multimeter may also be con- nected to the Test Module by inserting the probes into their respective con- nection ports (6) arranged vertically along the right front side of the Test Module. If this method is used, the dial should be set at (0) zero. Refer to Fig- ure
5 Turn on the printer and rotate Test Module dial (5) to the required position.
![]()
![]() NOTE: Refer to Figure
NOTE: Refer to Figure
6 Record the multimeter values and confirm they are within specified tolerences.
NOTE: Voltage readings must be +/- 10% of specification for proper operation.
7 Troubleshoot and/or replace components as directed in their respective procedures.
DIAL | APPLICATION DESCRIPTION |
| |
0 through 3 Used to determine voltage. Refer to the specifications section of this manual to determine | |
| a component’s required voltage level. Set the dial to that voltage requirement and the milli- |
| meter reading should be in the same range if properly performing. |
4Used for testing and adjustment of the VR5 potentiometer when
5Used for testing and adjustment of the VR6 potentiometer when GAP printing.
8 | Used for testing and adjustment of the VR7 potentiometer for auto loading. |
SATO M10e Service Manual | PN: 9001113A | Page |
