TeamPoS 3000 XL and XL2 | Installation |
9.Place the second LCD face down on a clean dry surface. Remove the back cover by pressing in where indicated by the symbols.
10.Attach the cables to the connectors on the LCD. Connector labels are etched into the plastic casing of the LCD monitor.
11.Very loosely attach the top two screws to the back of the LCD. It may be necessary to ease the cables back into the stand
12.Place the dual stacked stand upright on a clean flat surface. Slide the monitor onto the customer facing mounting bracket and attach the bottom two screws. Make sure that bracket is as far up against the connectors as possible. Tighten the top two screws. Make sure that the tabs on the bottom hinge cover of the stand fit into the slots in the back of the LCD.
13.Replace the back of the monitor. The stand needs to be perpendicular to the monitor to do this. The back of the monitor must be replaced before replacing any of the other cosmetic covers. Replace circular filler, rotating it until it is flush with the stand.
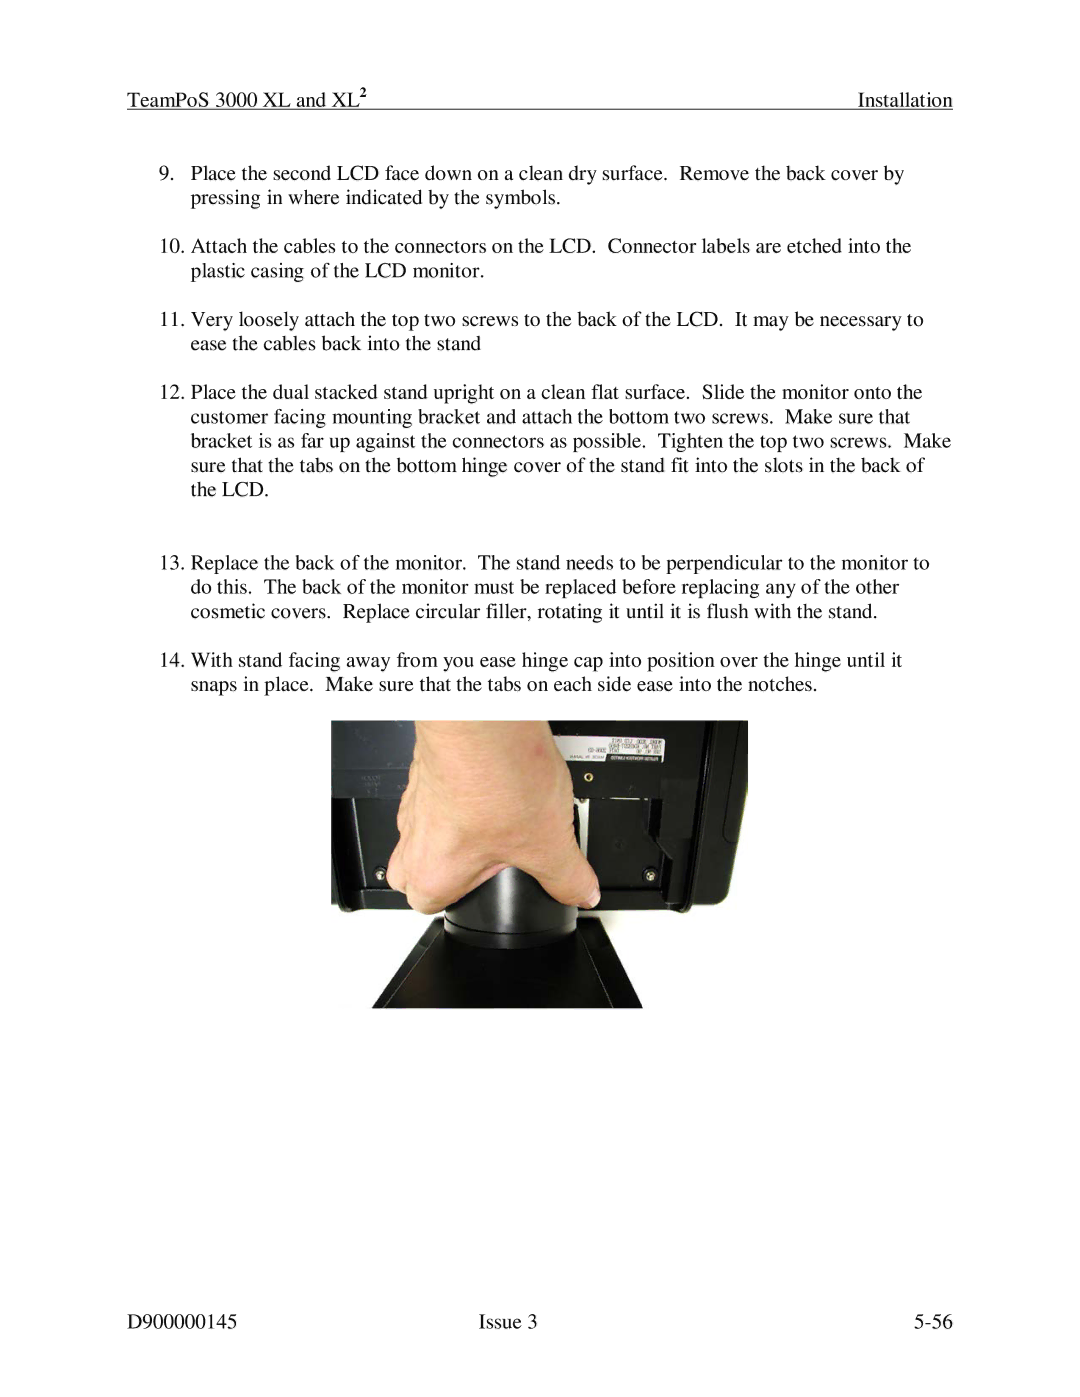
14.With stand facing away from you ease hinge cap into position over the hinge until it snaps in place. Make sure that the tabs on each side ease into the notches.
D900000145 | Issue 3 |