TeamPoS 3000 XL and XL2 | Maintenance |
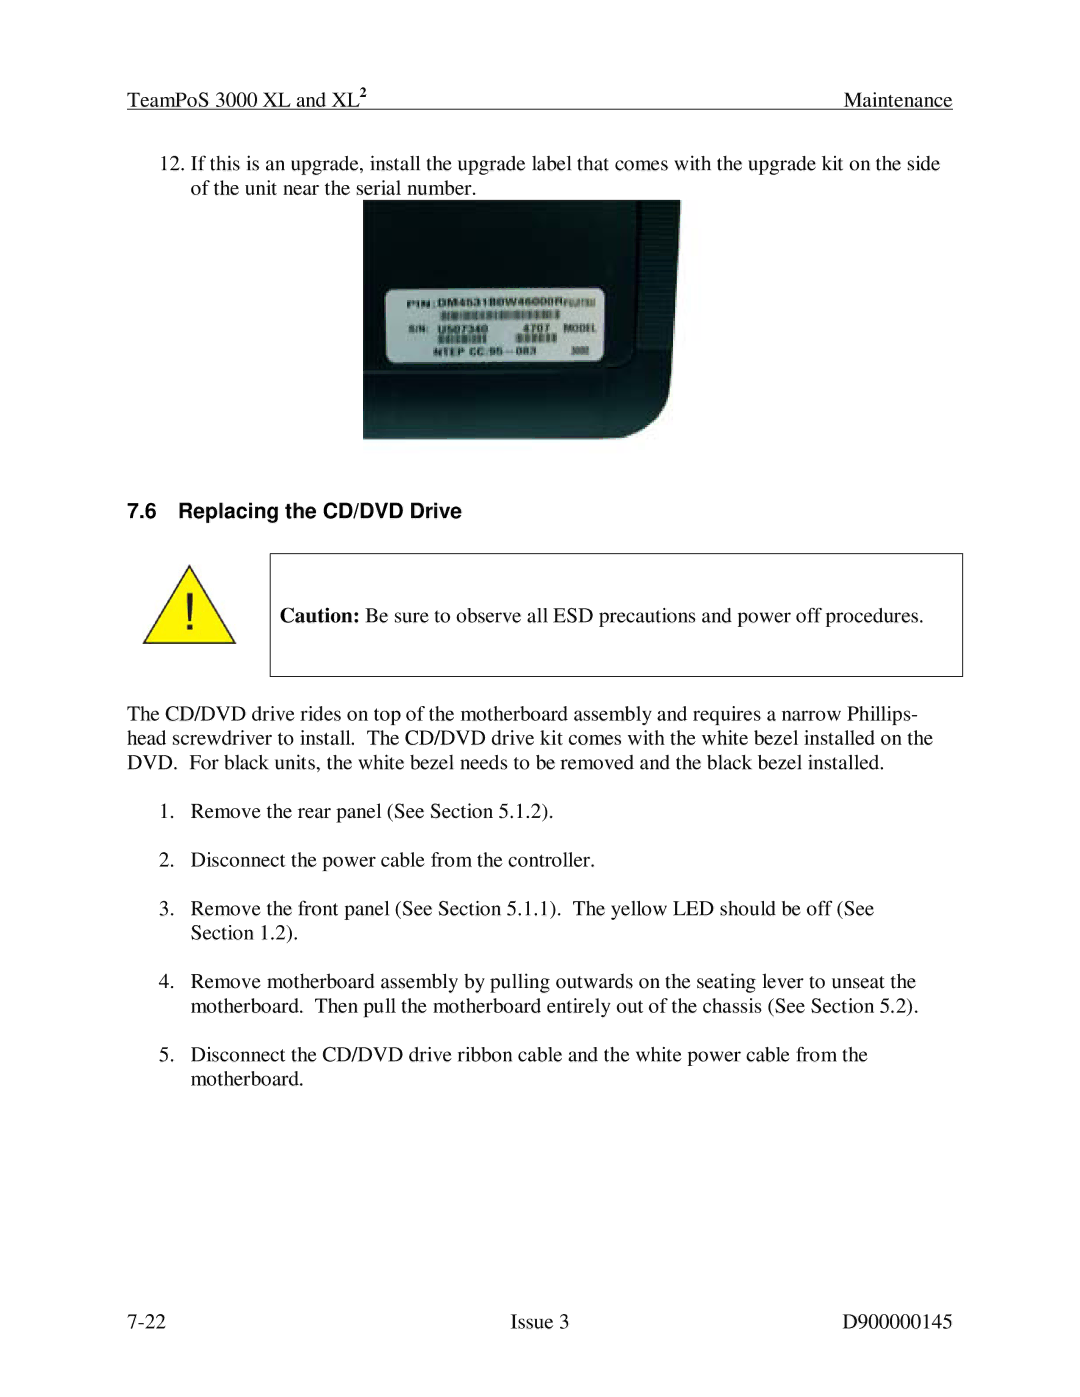
12.If this is an upgrade, install the upgrade label that comes with the upgrade kit on the side of the unit near the serial number.
7.6Replacing the CD/DVD Drive
Caution: Be sure to observe all ESD precautions and power off procedures.
The CD/DVD drive rides on top of the motherboard assembly and requires a narrow Phillips- head screwdriver to install. The CD/DVD drive kit comes with the white bezel installed on the DVD. For black units, the white bezel needs to be removed and the black bezel installed.
1.Remove the rear panel (See Section 5.1.2).
2.Disconnect the power cable from the controller.
3.Remove the front panel (See Section 5.1.1). The yellow LED should be off (See Section 1.2).
4.Remove motherboard assembly by pulling outwards on the seating lever to unseat the motherboard. Then pull the motherboard entirely out of the chassis (See Section 5.2).
5.Disconnect the CD/DVD drive ribbon cable and the white power cable from the motherboard.
Issue 3 | D900000145 |