TeamPoS 3000 XL and XL2 | Installation |
5.3Installing CPU and Heat Sink
Caution: Be sure to observe all ESD precautions and power off procedures.
The heat sink and CPU are installed on the motherboard (towards the front of the motherboard) just to the right of the memory. Both parts come in the same kit.
1.Remove the rear panel from the controller (see Section 5.1.2).
2.Disconnect the AC power cord from the controller.
3.Remove the front panel (See Section 5.1.1), and then yellow LED should be off (See Section 1.2).
4.Remove the motherboard assembly (see Section 5.2).
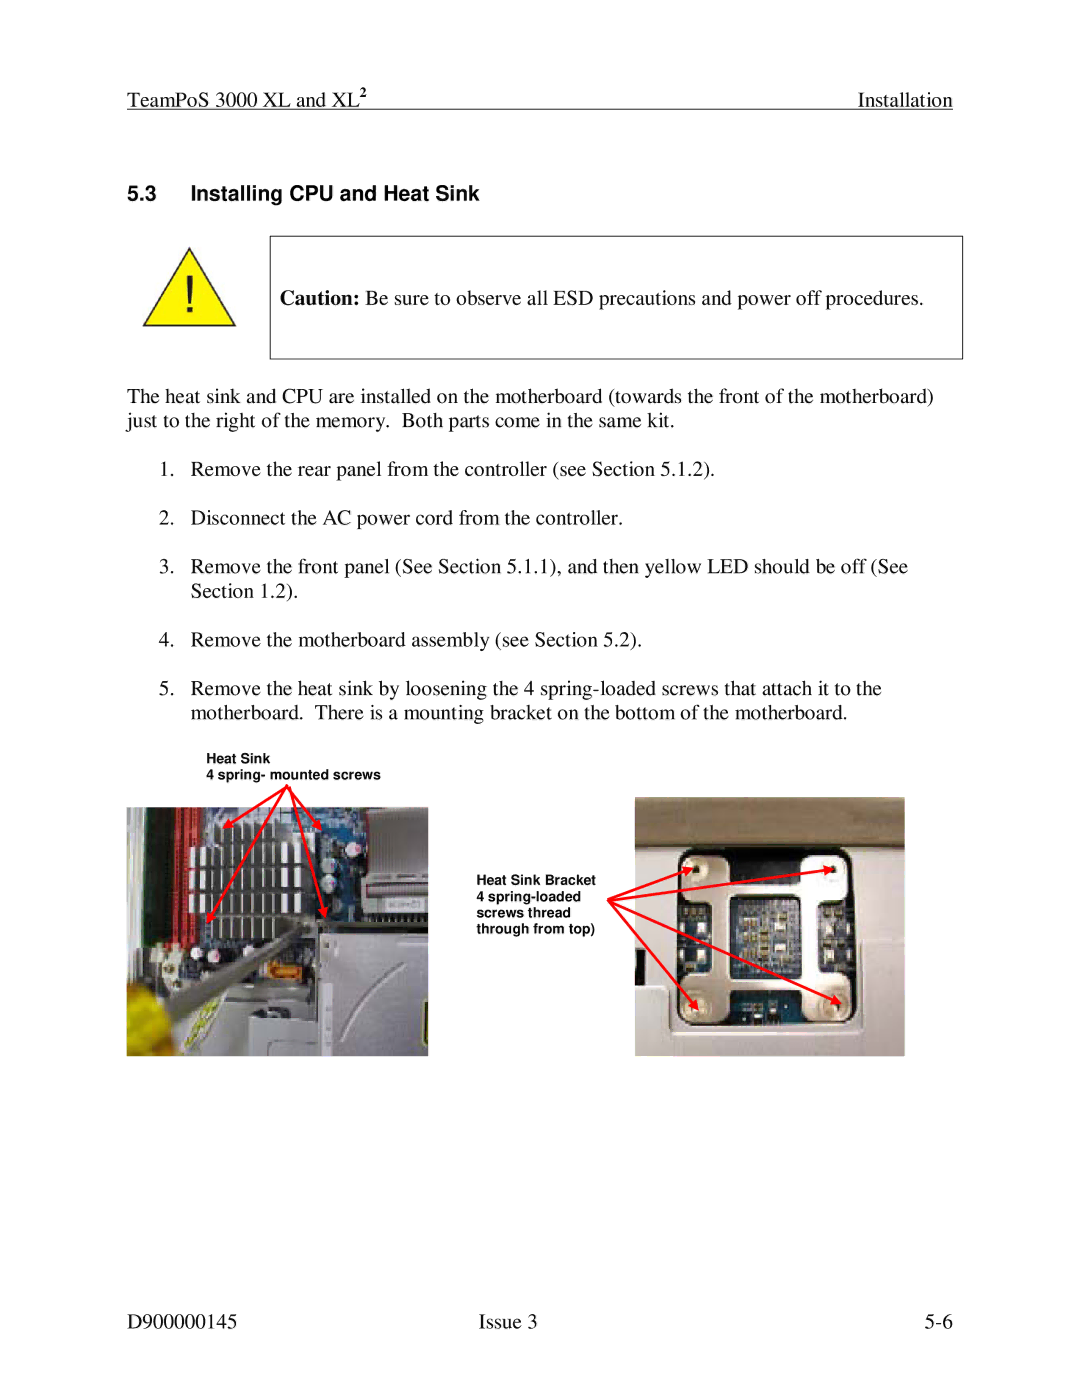
5.Remove the heat sink by loosening the 4
Heat Sink
4 spring- mounted screws
Heat Sink Bracket
4
Underside of
D900000145 | Issue 3 |