TeamPoS 3000 XL and XL2 | Maintenance |
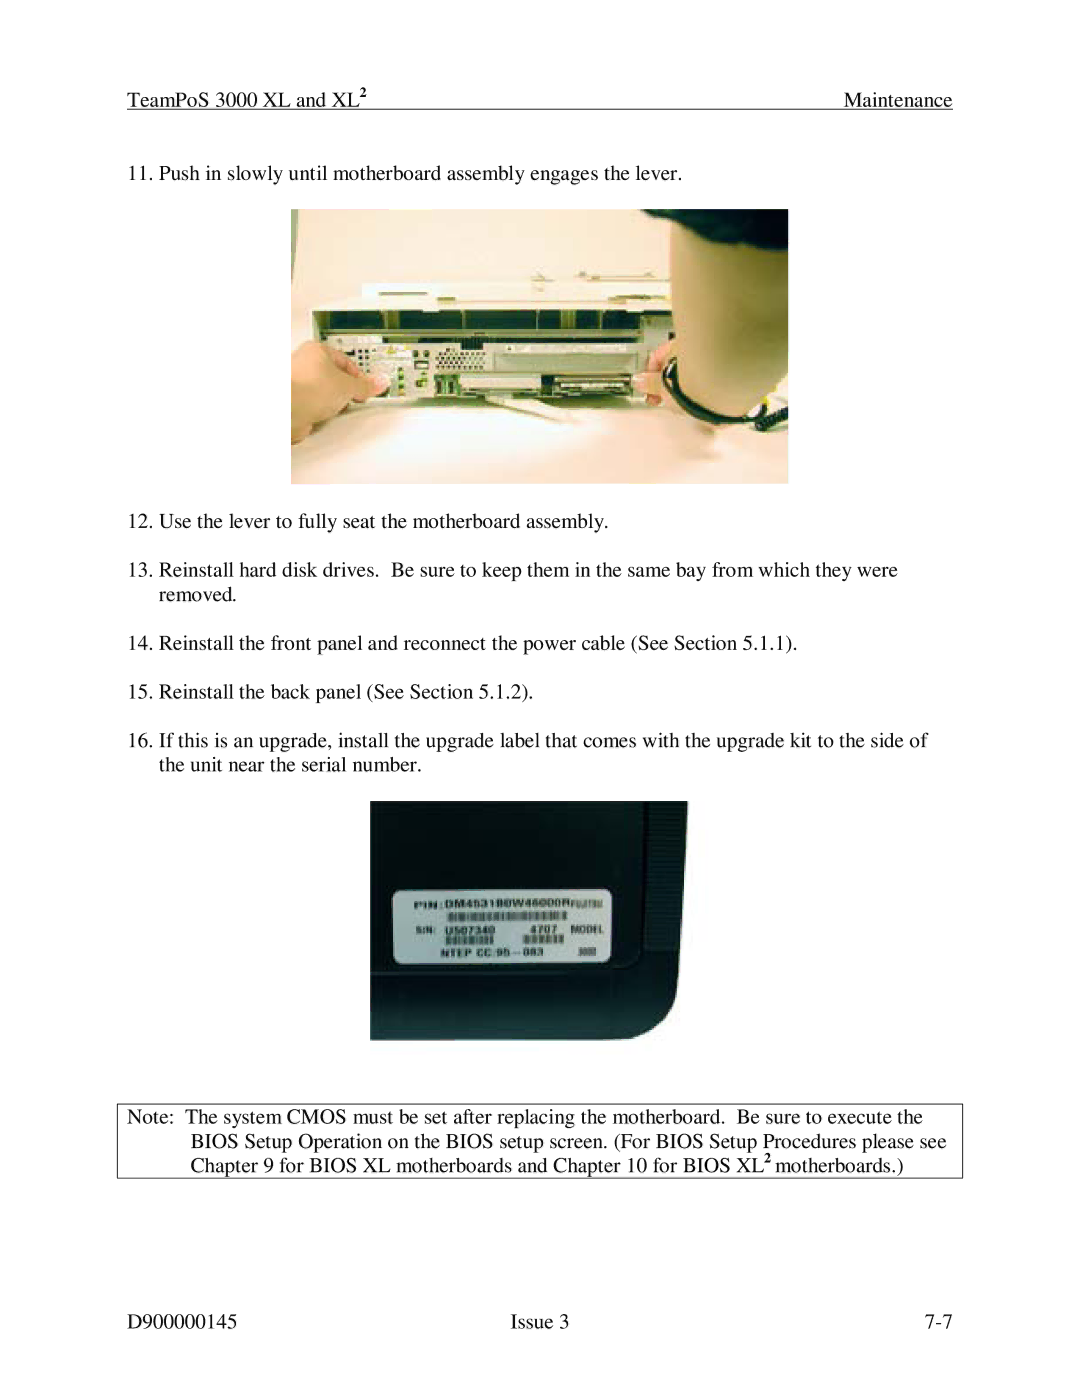
11. Push in slowly until motherboard assembly engages the lever.
12.Use the lever to fully seat the motherboard assembly.
13.Reinstall hard disk drives. Be sure to keep them in the same bay from which they were removed.
14.Reinstall the front panel and reconnect the power cable (See Section 5.1.1).
15.Reinstall the back panel (See Section 5.1.2).
16.If this is an upgrade, install the upgrade label that comes with the upgrade kit to the side of the unit near the serial number.
Note: The system CMOS must be set after replacing the motherboard. Be sure to execute the BIOS Setup Operation on the BIOS setup screen. (For BIOS Setup Procedures please see Chapter 9 for BIOS XL motherboards and Chapter 10 for BIOS XL2 motherboards.)
D900000145 | Issue 3 |