Installing the Rack Model in a Rack Enclosure
Preparing the Rack Enclosure
In this section, you will use the following parts:
Ÿ | Two | slide | bracket | assemblies | ||
Ÿ | Two | slide | rails (fitted to system unit) | |||
Ÿ | One | arm |
| |||
Ÿ | Ten | long | screws (M6 | by | 16 mm) | |
Ÿ | Ten | cage |
| nuts |
|
|
ŸInstallation template
Attention:
To ensure cabinet stability, plan the installation of servers in the ra starting from the bottom.
Note: This procedure requires two people.
To attach the mounting hardware to the rack enclosure:
1.Mark the positions of the slide brackets on the mounting rails on th enclosure.
a. Position the template on the front | mounting | rail | on | the rack | enclos | |||||||||
aligning the holes. Secure | the template | in | place | with | tape. |
| ||||||||
b. Mark | the | holes | for | the | slide | brackets | and | cage | nutsall . If | you | ||||
the | cage | nut positions on | the | rack | at | this | time. |
|
|
| ||||
c. Carefully | remove | the | tape from | the | mounting | rails, | and | attach the | ||||||
to the rear mounting rails. Mark | the | locations | for | the | slide | brac | ||||||||
cage | nuts. |
|
|
|
|
|
|
|
|
|
|
|
| |
Notes:
a. You must align the slide brackets correctly, or the installation completed.
b. The slide rails have four screws each to allow for length adju
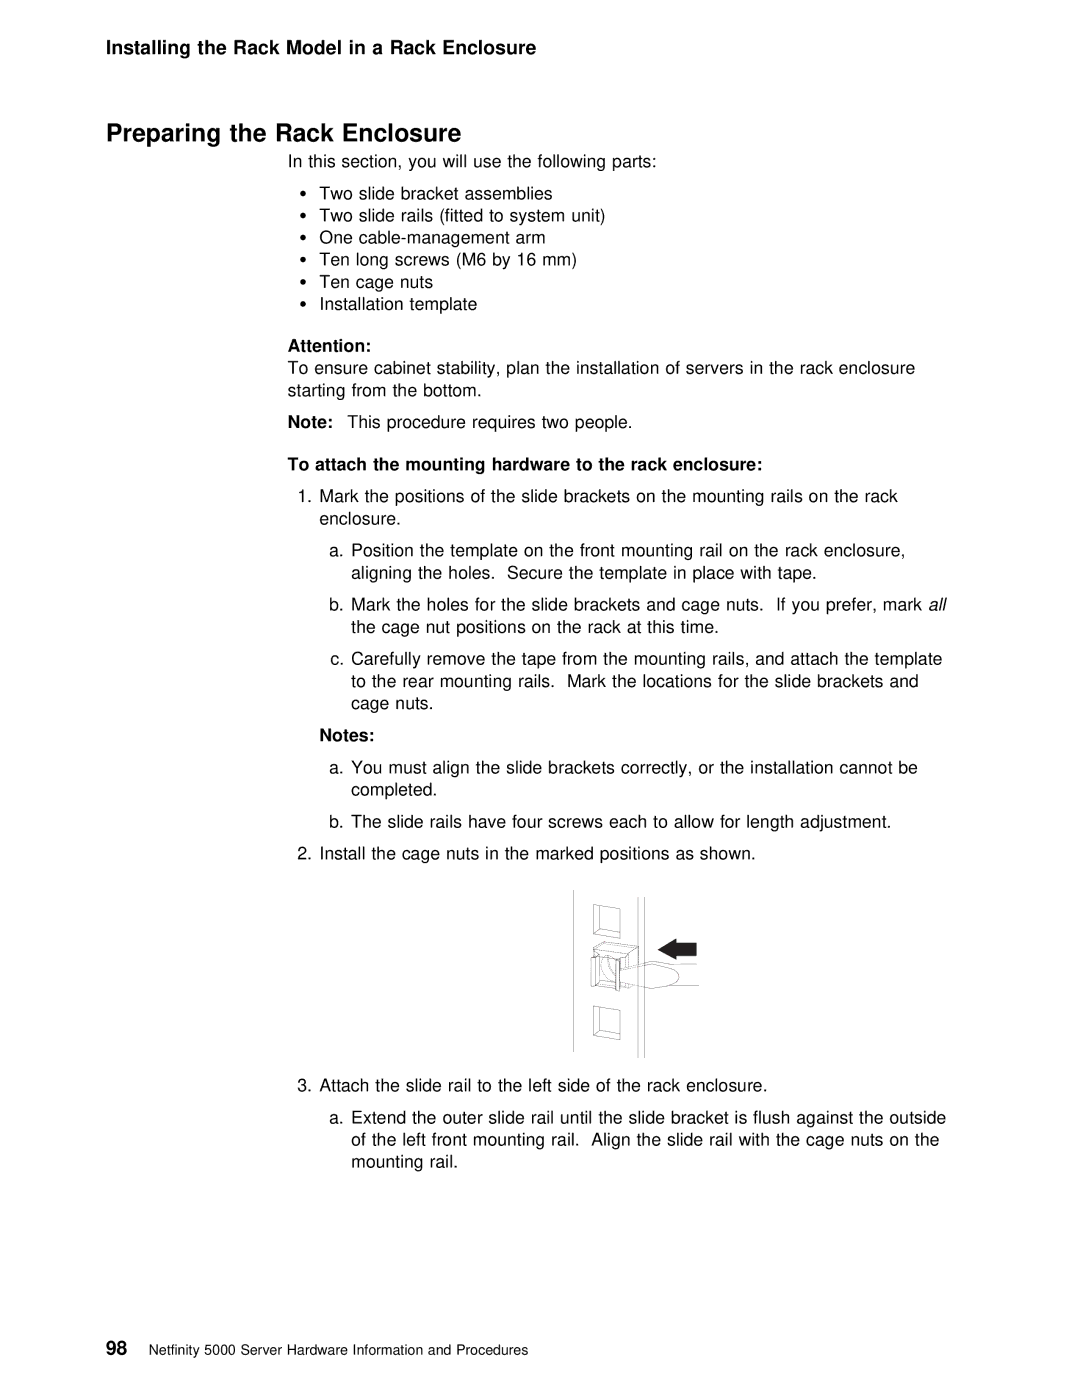
2. Install the cage nuts in the marked positions as shown.
3. Attach the slide rail to the left side of the rack enclosure.
a. Extend | the | outer | slide rail until the slide bracket is | flush | ag |
of the | left | front | mounting rail. Align the slide rail with | the | ca |
mounting | rail. |
|
|
|
|
98 Netfinity 5000 Server Hardware Information and Procedures