Completing the Installation
Completing the Rack Model Installation
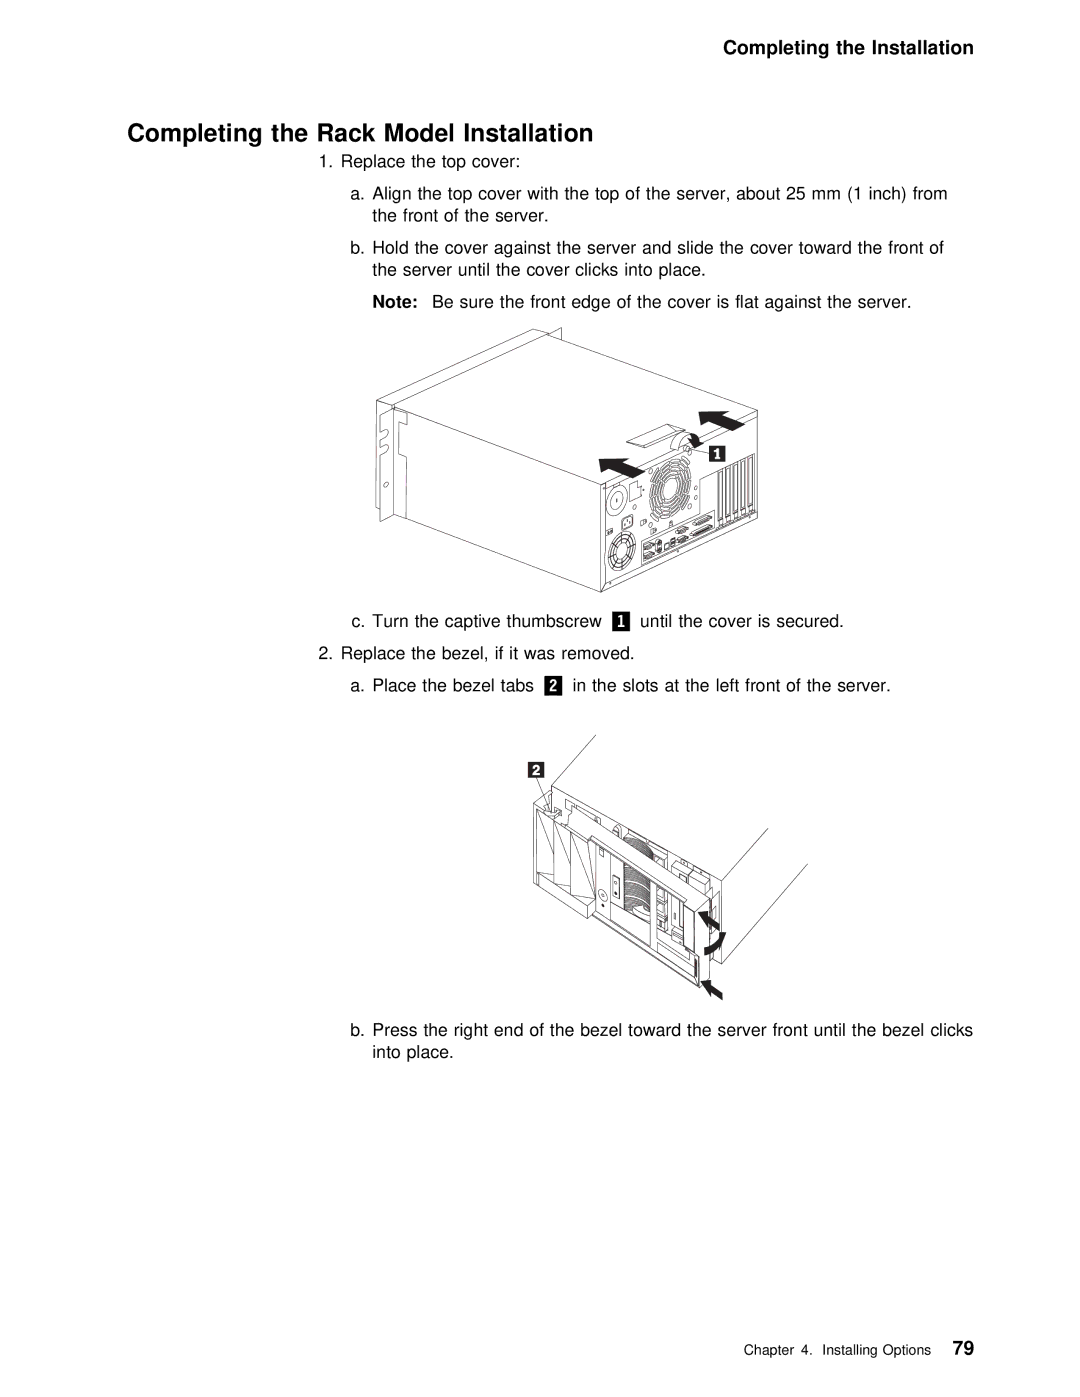
1. Replace the | top |
| cover: |
|
|
|
|
|
|
|
|
|
| ||
a. Align | the | top | cover | with | the | top | of | the server, | about | 25 | mm | ||||
the | front | of | the server. |
|
|
|
|
|
|
|
|
| |||
b. Hold | the | cover | against | the | server and slide | the | cover | toward | |||||||
the | server | until | the cover | clicks | into | place. |
|
|
|
| |||||
Note: | Be sure | the | front | edge | of | the | cover | is flat against | t | ||||||
|
|
|
|
|
|
|
|
|
|
|
|
|
|
|
|
|
|
|
|
|
|
|
|
|
|
|
|
|
|
|
|
c. Turn the captive thumbscrew.1/ until the cover is secured.
2. Replace the bezel, if it was removed.
a. Place the bezel.2/ tabsinthe slots at the left front of the ser
b. Press the right end of the bezel toward the server front u into place.
Chapter 4. Installing Options79