Preparing to Install Options
5.Remove the top cover.
a. Locate the captive thumbscrew.1/ on the back of the cover and turn release the cover.
b. Slide the cover back about 25 mm (1 inch); then, lift the cov it.
c. Set the cover aside in a safe place.
a. If you are installing or removing a drive in bays A to C, re bezel.
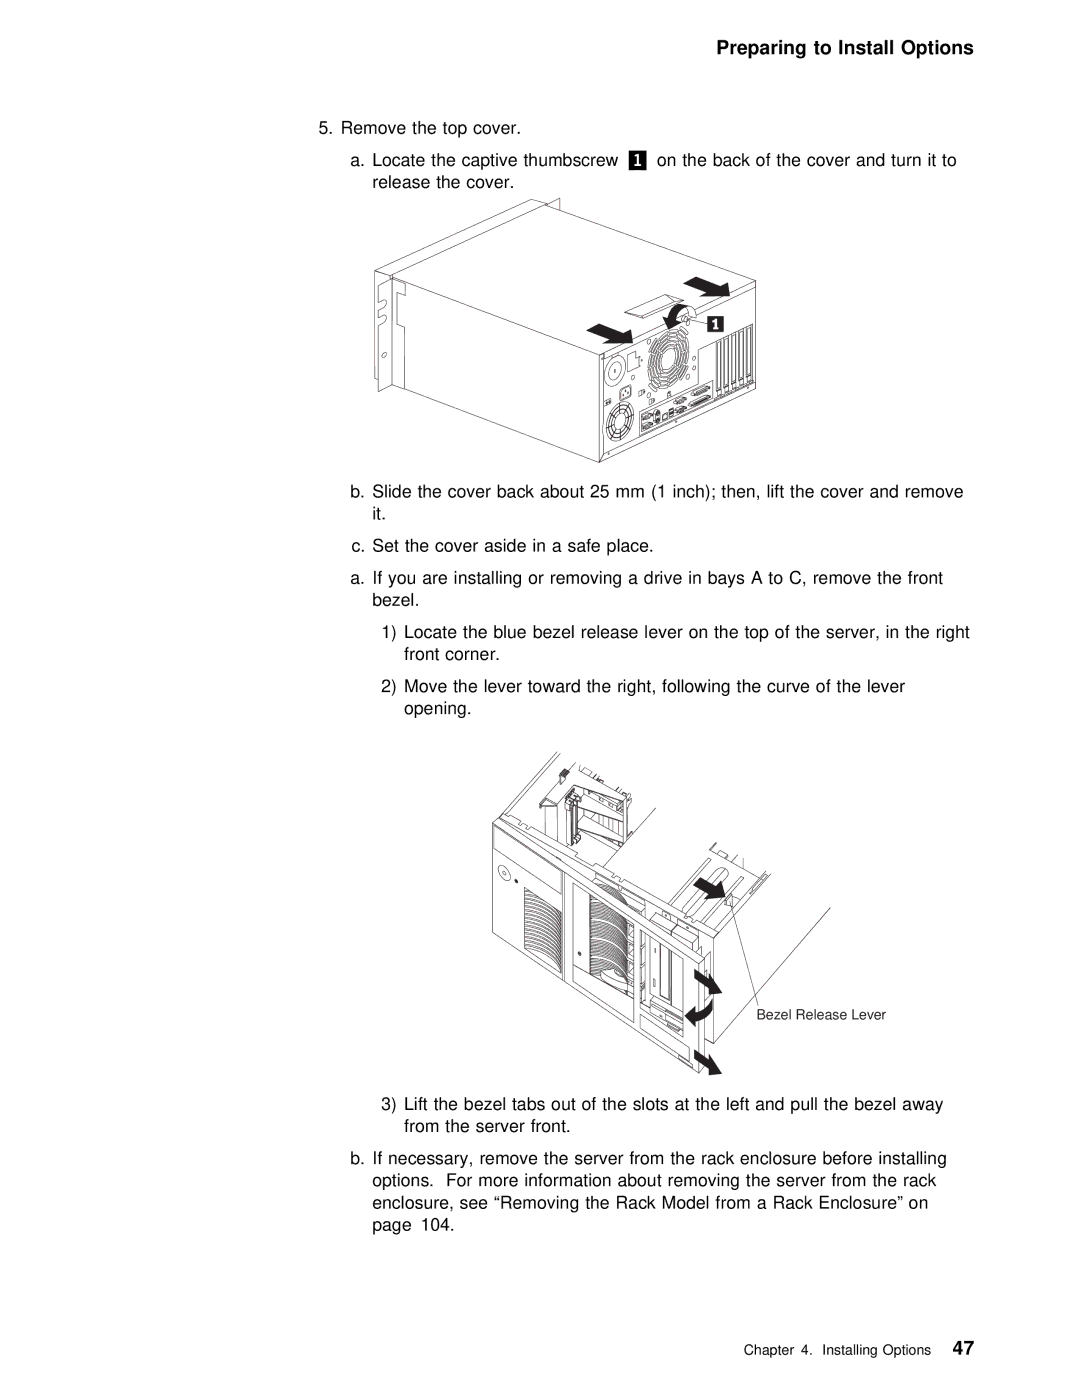
1)Locate the blue bezel release lever on the top of the s front corner.
2)Move the lever toward the right, following the curve of the opening.
Bezel Release Lever
3) Lift | the | bezel | tabs out of the slots at the left and pu |
from | the | server | front. |
b. If necessary, remove the server from the rack enclosure bef options. For more information about removing the server from the enclosure, see “Removing the Rack Model from a Rack Enclosure” o page 104.