3. Printing

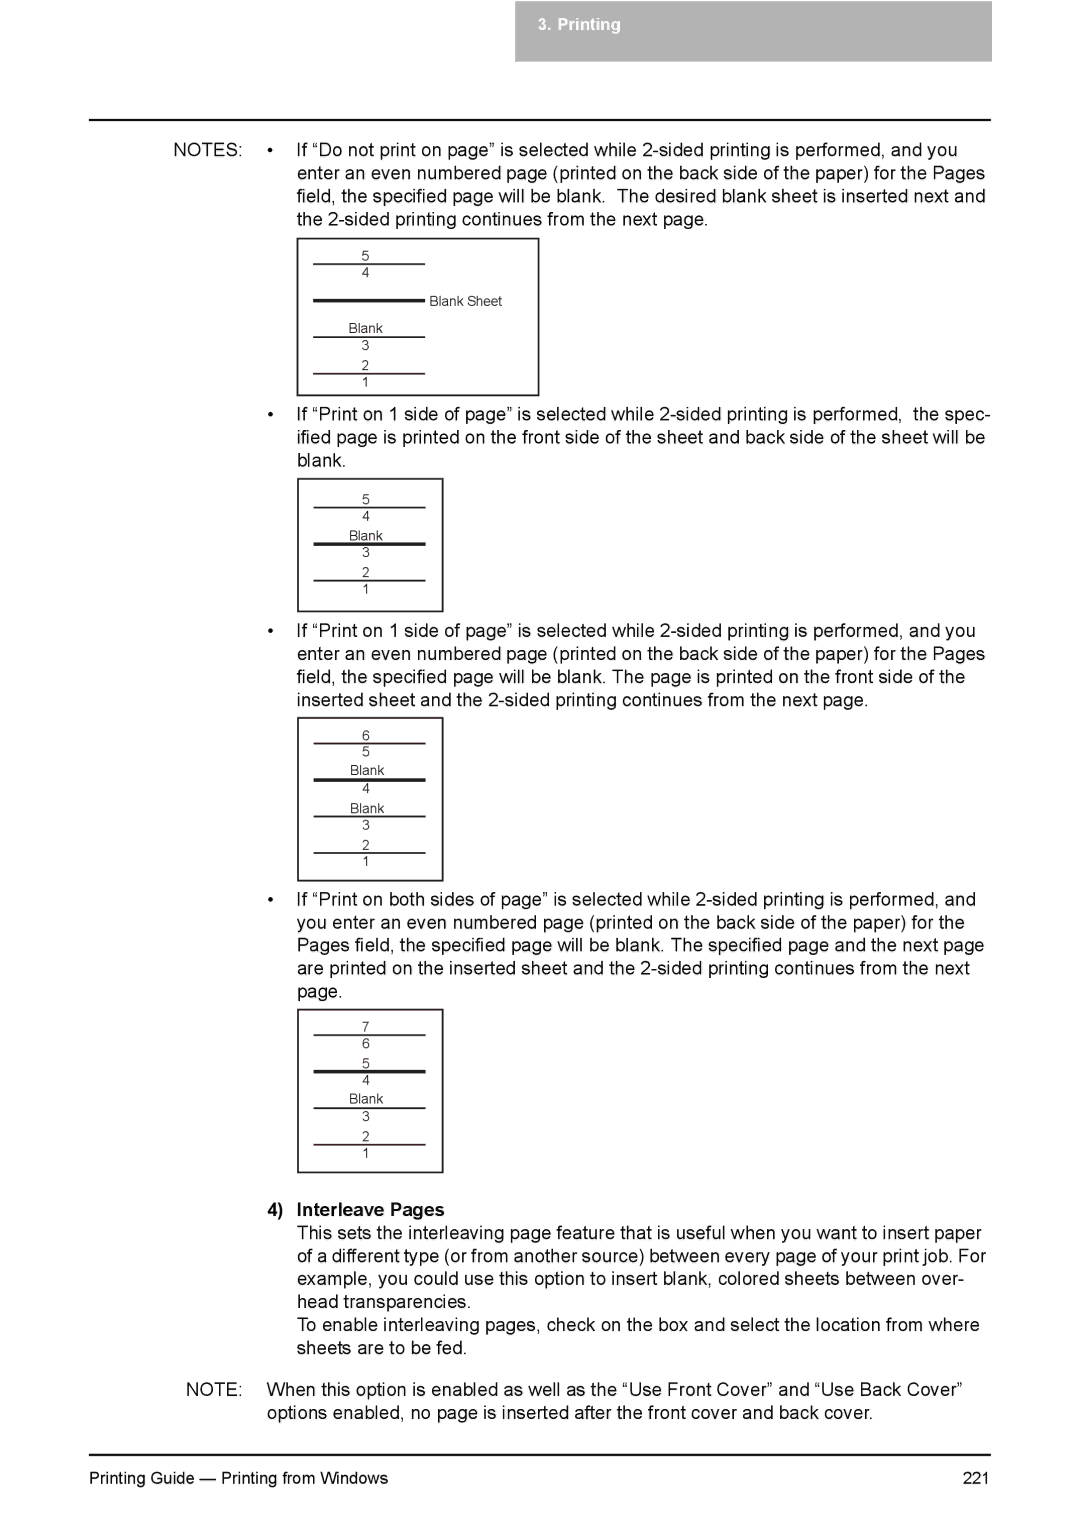
NOTES: • If “Do not print on page” is selected while 2-sided printing is performed, and you enter an even numbered page (printed on the back side of the paper) for the Pages field, the specified page will be blank. The desired blank sheet is inserted next and the 2-sided printing continues from the next page.

5

4

Blank Sheet

Blank

3

2

1

If “Print on 1 side of page” is selected while 2-sided printing is performed, the spec- ified page is printed on the front side of the sheet and back side of the sheet will be blank.

5

4

Blank

3

2

1

If “Print on 1 side of page” is selected while 2-sided printing is performed, and you enter an even numbered page (printed on the back side of the paper) for the Pages field, the specified page will be blank. The page is printed on the front side of the inserted sheet and the 2-sided printing continues from the next page.

6

5 Blank

4 Blank

3

2

1

If “Print on both sides of page” is selected while 2-sided printing is performed, and you enter an even numbered page (printed on the back side of the paper) for the Pages field, the specified page will be blank. The specified page and the next page are printed on the inserted sheet and the 2-sided printing continues from the next page.

7

6

5

4

Blank

3

2

1

4)Interleave Pages

This sets the interleaving page feature that is useful when you want to insert paper of a different type (or from another source) between every page of your print job. For example, you could use this option to insert blank, colored sheets between over- head transparencies.

To enable interleaving pages, check on the box and select the location from where sheets are to be fed.

NOTE: When this option is enabled as well as the “Use Front Cover” and “Use Back Cover” options enabled, no page is inserted after the front cover and back cover.

Printing Guide — Printing from Windows

221

Page 221
Image 221
Toshiba 351C, 451C, 281C manual Interleave Pages