Chapter 2: Installing and Setting Up eXpress
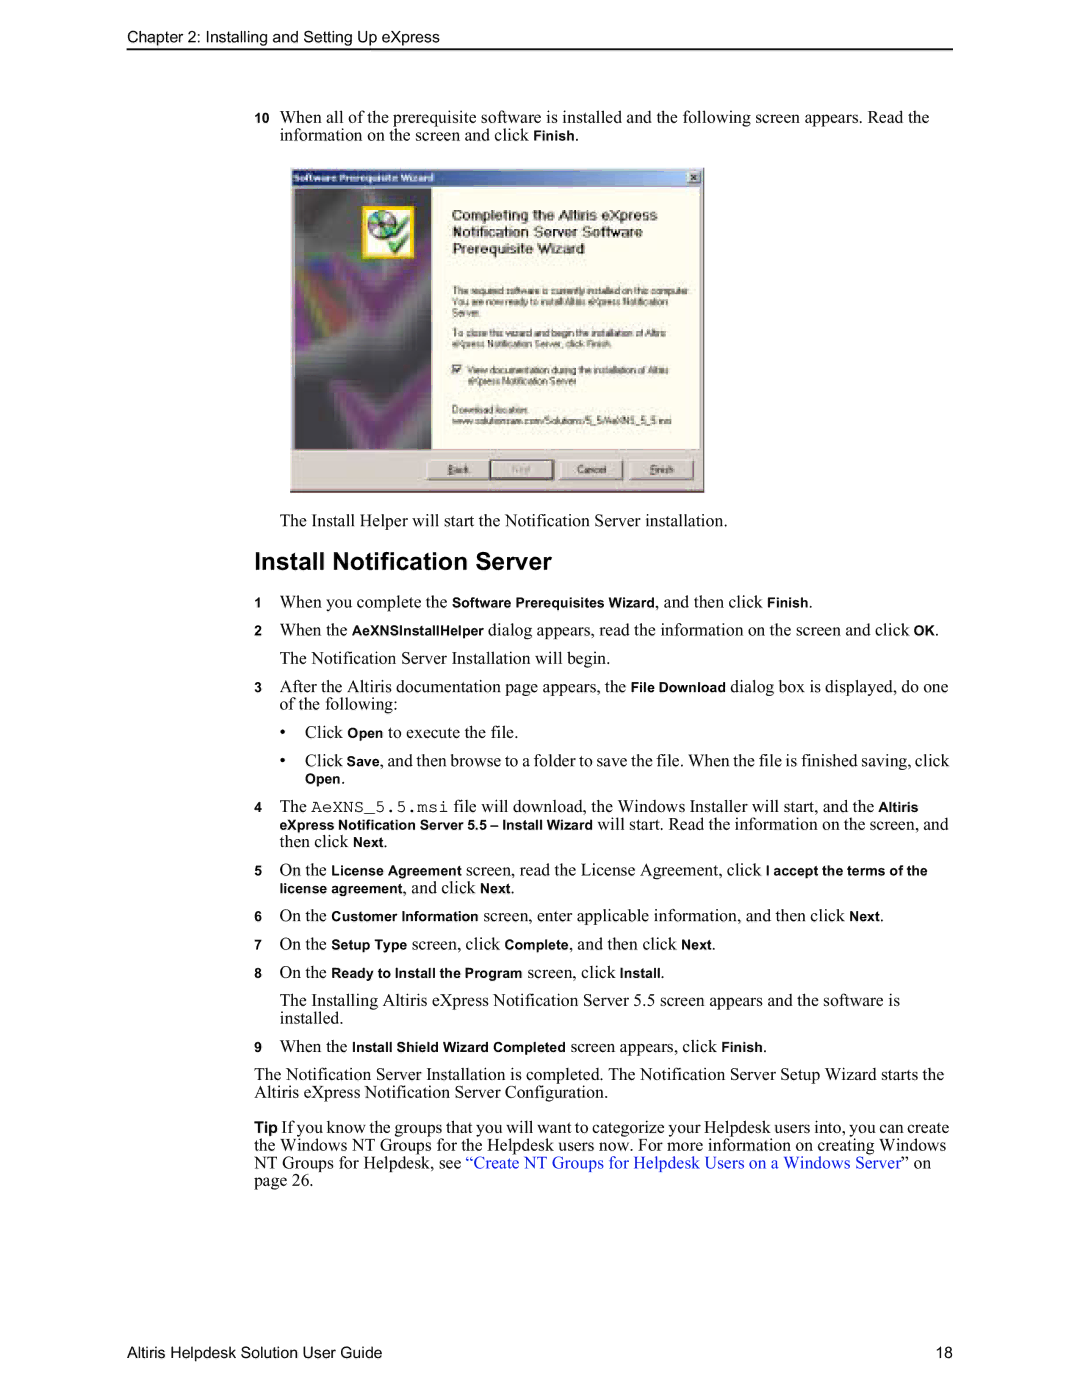
10When all of the prerequisite software is installed and the following screen appears. Read the information on the screen and click Finish.
The Install Helper will start the Notification Server installation.
Install Notification Server
1When you complete the Software Prerequisites Wizard, and then click Finish.
2When the AeXNSInstallHelper dialog appears, read the information on the screen and click OK. The Notification Server Installation will begin.
3After the Altiris documentation page appears, the File Download dialog box is displayed, do one of the following:
•Click Open to execute the file.
•Click Save, and then browse to a folder to save the file. When the file is finished saving, click
Open.
4The AeXNS_5.5.msi file will download, the Windows Installer will start, and the Altiris eXpress Notification Server 5.5 – Install Wizard will start. Read the information on the screen, and then click Next.
5On the License Agreement screen, read the License Agreement, click I accept the terms of the
license agreement, and click Next.
6On the Customer Information screen, enter applicable information, and then click Next.
7On the Setup Type screen, click Complete, and then click Next.
8On the Ready to Install the Program screen, click Install.
The Installing Altiris eXpress Notification Server 5.5 screen appears and the software is installed.
9When the Install Shield Wizard Completed screen appears, click Finish.
The Notification Server Installation is completed. The Notification Server Setup Wizard starts the Altiris eXpress Notification Server Configuration.
Tip If you know the groups that you will want to categorize your Helpdesk users into, you can create the Windows NT Groups for the Helpdesk users now. For more information on creating Windows NT Groups for Helpdesk, see “Create NT Groups for Helpdesk Users on a Windows Server” on page 26.
Altiris Helpdesk Solution User Guide | 18 |
