Configuring SNMP Trap Receiver Configuration Page
This menu will display an entry for every active Trap Receiver.
Configurable Data
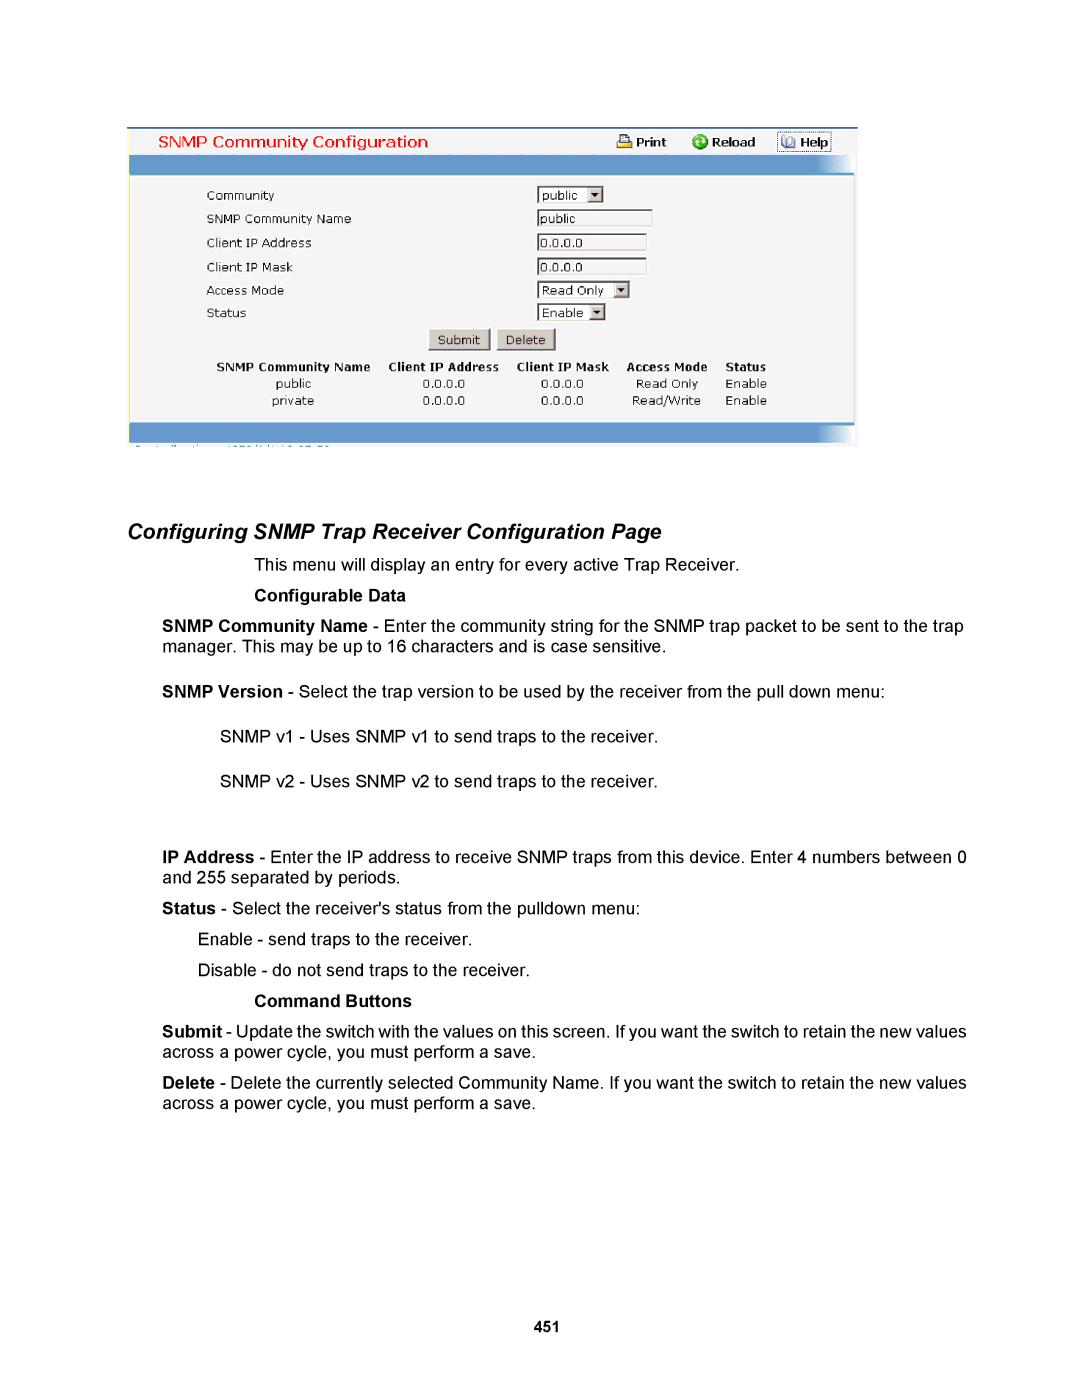
SNMP Community Name - Enter the community string for the SNMP trap packet to be sent to the trap manager. This may be up to 16 characters and is case sensitive.
SNMP Version - Select the trap version to be used by the receiver from the pull down menu:
SNMP v1 - Uses SNMP v1 to send traps to the receiver.
SNMP v2 - Uses SNMP v2 to send traps to the receiver.
IP Address - Enter the IP address to receive SNMP traps from this device. Enter 4 numbers between 0 and 255 separated by periods.
Status - Select the receiver's status from the pulldown menu: Enable - send traps to the receiver.
Disable - do not send traps to the receiver.
Command Buttons
Submit - Update the switch with the values on this screen. If you want the switch to retain the new values across a power cycle, you must perform a save.
Delete - Delete the currently selected Community Name. If you want the switch to retain the new values across a power cycle, you must perform a save.
451
