Appendix F: Replacing the Hard Drive
4Carefully turn the DVR back over.
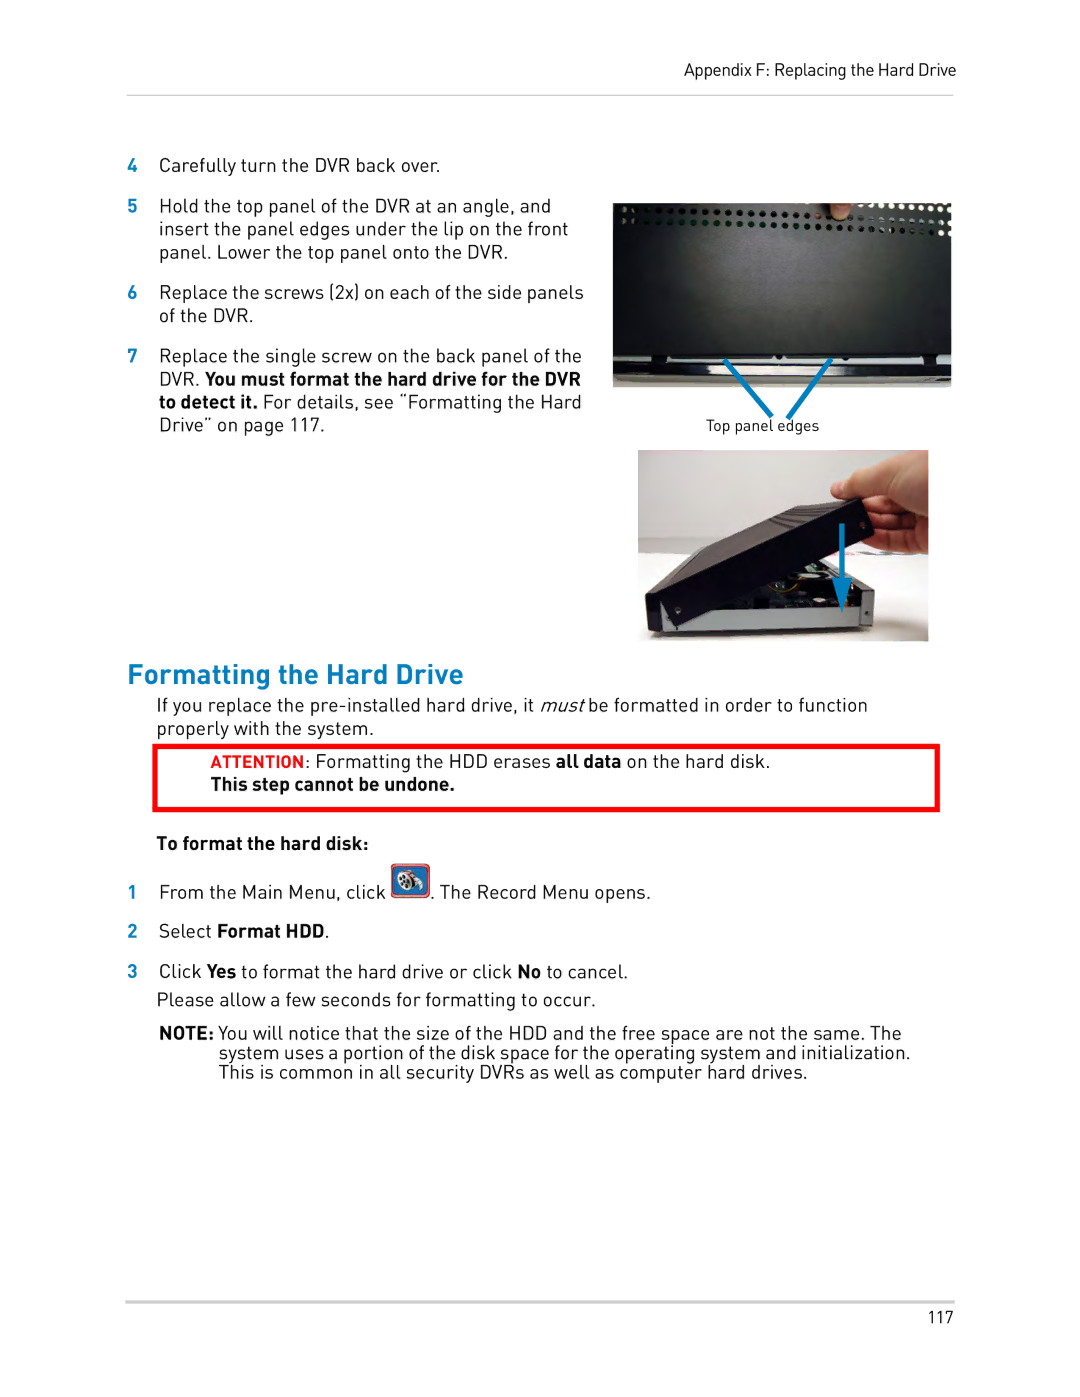
5Hold the top panel of the DVR at an angle, and insert the panel edges under the lip on the front panel. Lower the top panel onto the DVR.
6Replace the screws (2x) on each of the side panels of the DVR.
7 Replace the single screw on the back panel of the DVR. You must format the hard drive for the DVR to detect it. For details, see “Formatting the Hard
Drive” on page 117. | Top panel edges |
Formatting the Hard Drive
If you replace the
ATTENTION: Formatting the HDD erases all data on the hard disk.
This step cannot be undone.
To format the hard disk:
1From the Main Menu, click ![]() . The Record Menu opens.
. The Record Menu opens.
2Select Format HDD.
3Click Yes to format the hard drive or click No to cancel. Please allow a few seconds for formatting to occur.
NOTE: You will notice that the size of the HDD and the free space are not the same. The system uses a portion of the disk space for the operating system and initialization. This is common in all security DVRs as well as computer hard drives.
117