PC and Mac Client Software for Remote Viewing
4Click Apply to save your settings or click Clear to exit without saving.
5To ensure your DDNS settings are saved on your system, disconnect the power adapter from the rear panel of your system. Allow the system to power down for 15~20 seconds. Reconnect the power adapter.
NOTE: Please allow 10~15 minutes for the DDNS servers to update with your new DDNS address. This is normal for the DDNS system.
NOTE: You will have to reconfigure your DVR’s connection settings in DVR List to connect to the DVR using DDNS. For instructions, see “Changing DVR Settings” on page 65.
Viewing System Status
By default, Setup Mode opens to the System tab. However, you can view this screen at any time when navigating Setup Mode.
To view system status:
System tab
•Click the System tab from Setup Mode. The System Status screen appears.
NOTE: You cannot edit the IP address or port number.
Configuring Email Alerts
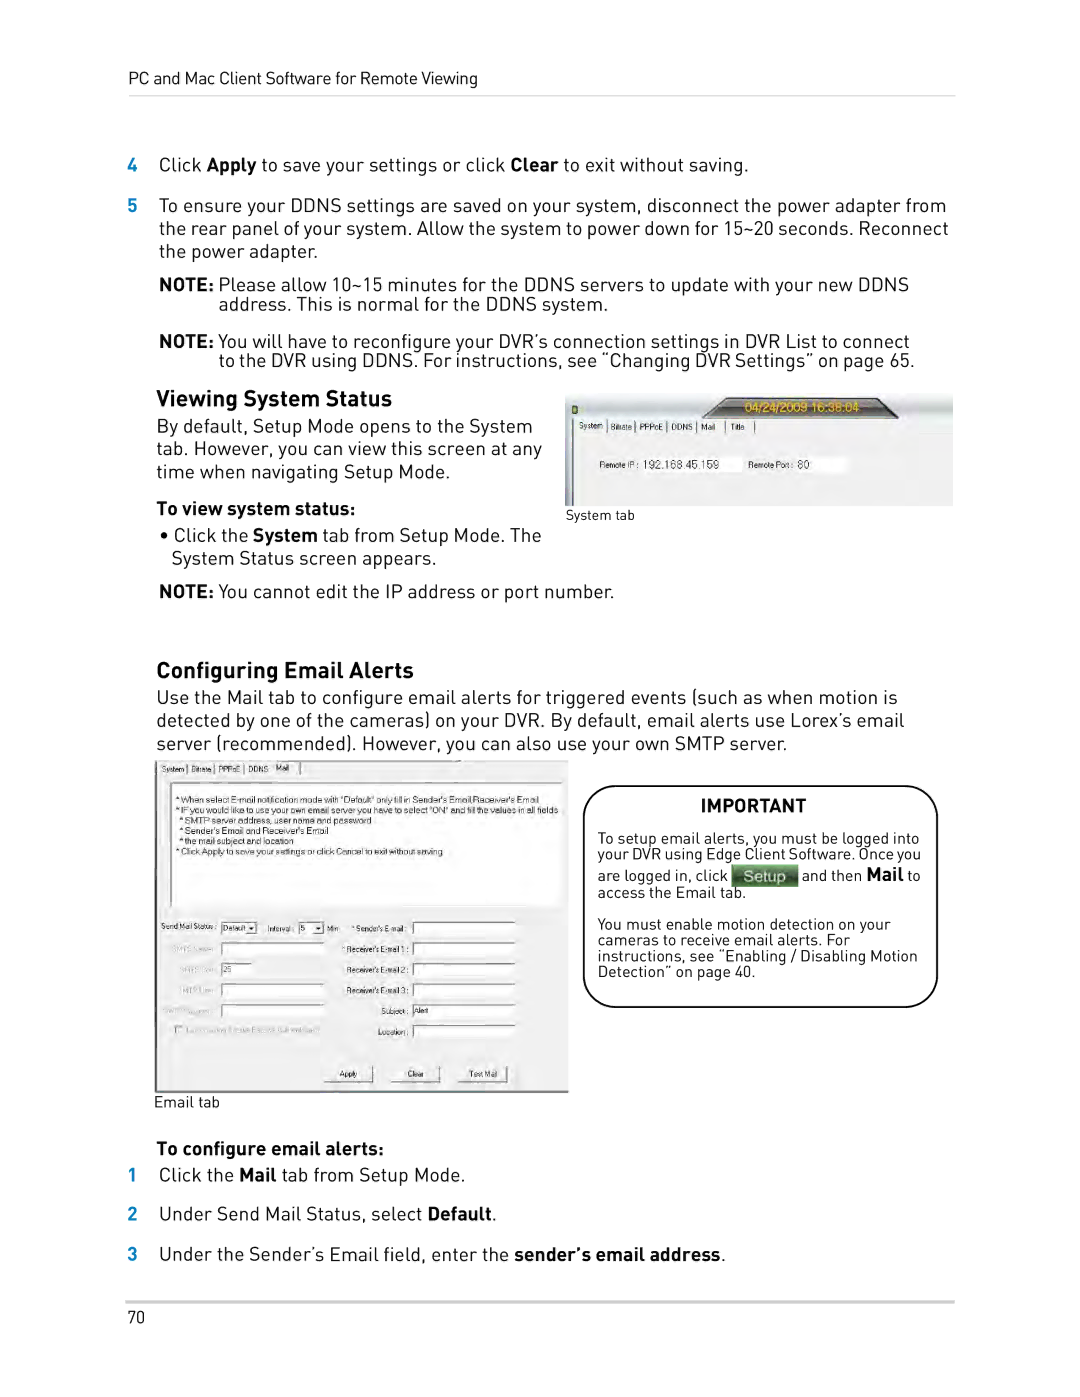
Use the Mail tab to configure email alerts for triggered events (such as when motion is detected by one of the cameras) on your DVR. By default, email alerts use Lorex’s email server (recommended). However, you can also use your own SMTP server.
IMPORTANT
To setup email alerts, you must be logged into your DVR using Edge Client Software. Once you
are logged in, click | and then Mail to |
access the Email tab. |
|
You must enable motion detection on your cameras to receive email alerts. For instructions, see “Enabling / Disabling Motion Detection” on page 40.
Email tab
To configure email alerts:
1Click the Mail tab from Setup Mode.
2Under Send Mail Status, select Default.
3Under the Sender’s Email field, enter the sender’s email address.
70
