PC and Mac Client Software for Remote Viewing
Changing Bitrate Speed
1Click the Bitrate tab from Setup Mode.
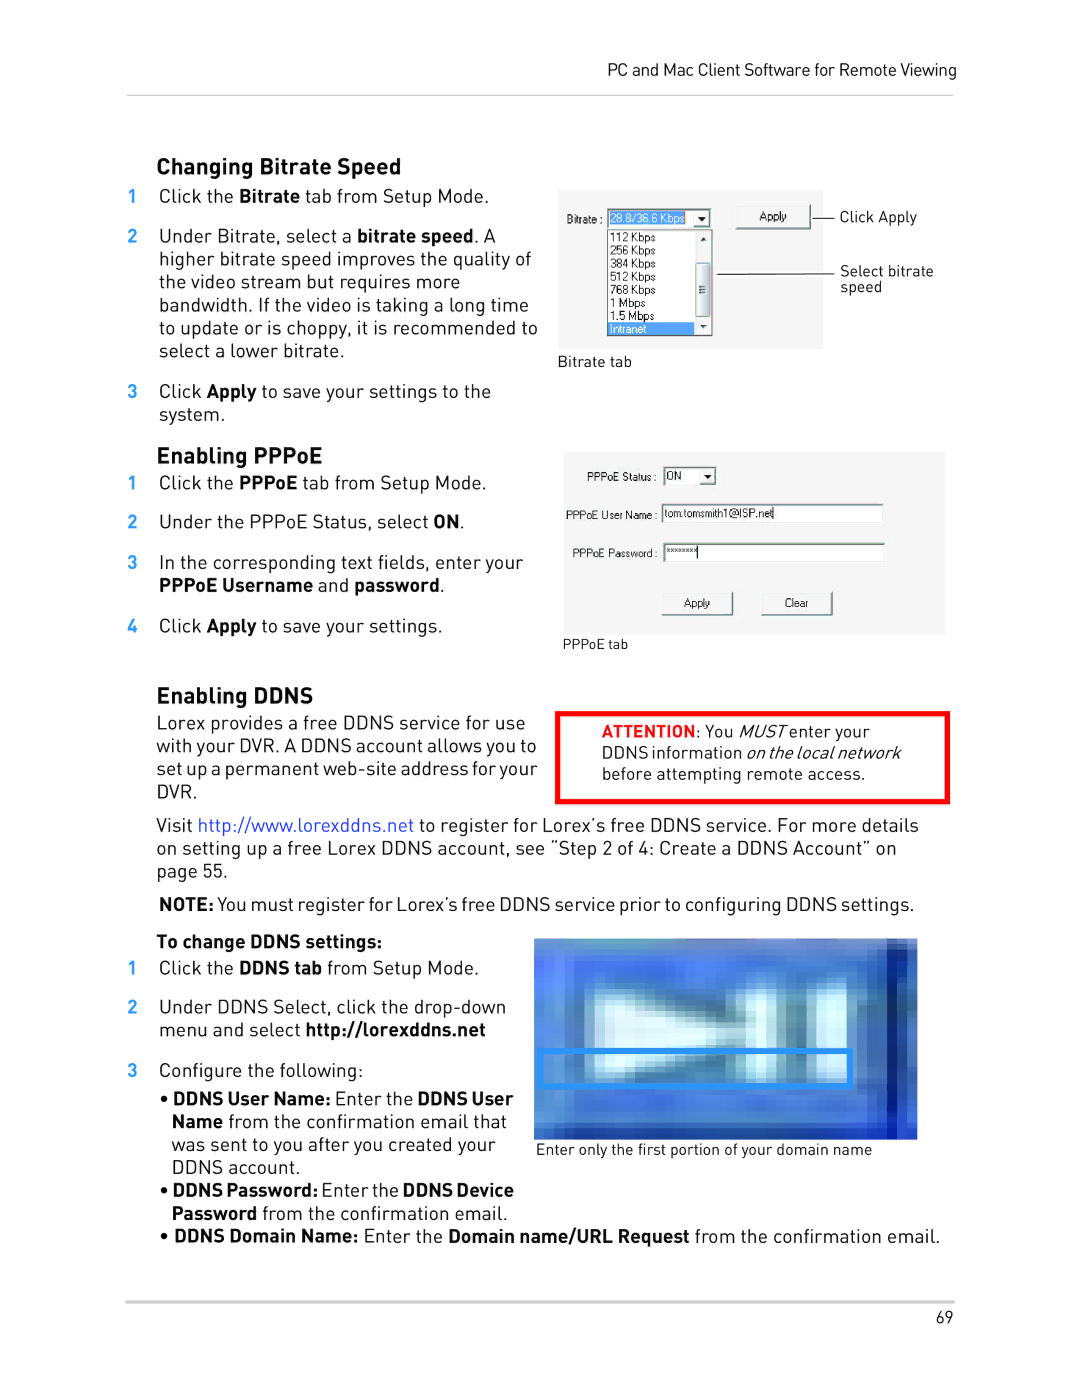
2 Under Bitrate, select a bitrate speed. A higher bitrate speed improves the quality of the video stream but requires more bandwidth. If the video is taking a long time to update or is choppy, it is recommended to select a lower bitrate.
Bitrate tab
3Click Apply to save your settings to the system.
Click Apply
![]() Select bitrate speed
Select bitrate speed
Enabling PPPoE
1Click the PPPoE tab from Setup Mode.
2Under the PPPoE Status, select ON.
3In the corresponding text fields, enter your PPPoE Username and password.
4Click Apply to save your settings.
PPPoE tab
Enabling DDNS
Lorex provides a free DDNS service for use with your DVR. A DDNS account allows you to set up a permanent
ATTENTION: You MUST enter your DDNS information on the local network before attempting remote access.
Visit http://www.lorexddns.net to register for Lorex’s free DDNS service. For more details on setting up a free Lorex DDNS account, see “Step 2 of 4: Create a DDNS Account” on page 55.
NOTE: You must register for Lorex’s free DDNS service prior to configuring DDNS settings.
To change DDNS settings:
1Click the DDNS tab from Setup Mode.
2Under DDNS Select, click the
3 Configure the following:
•DDNS User Name: Enter the DDNS User Name from the confirmation email that
was sent to you after you created your DDNS account.
•DDNS Password: Enter the DDNS Device Password from the confirmation email.
•DDNS Domain Name: Enter the Domain name/URL Request from the confirmation email.
69
