Taking Screenshots
Using Screenshots
Once you have taken screenshots, connect the USB flash drive to a computer to view, print, or archive the images.
To use screenshots (Windows):
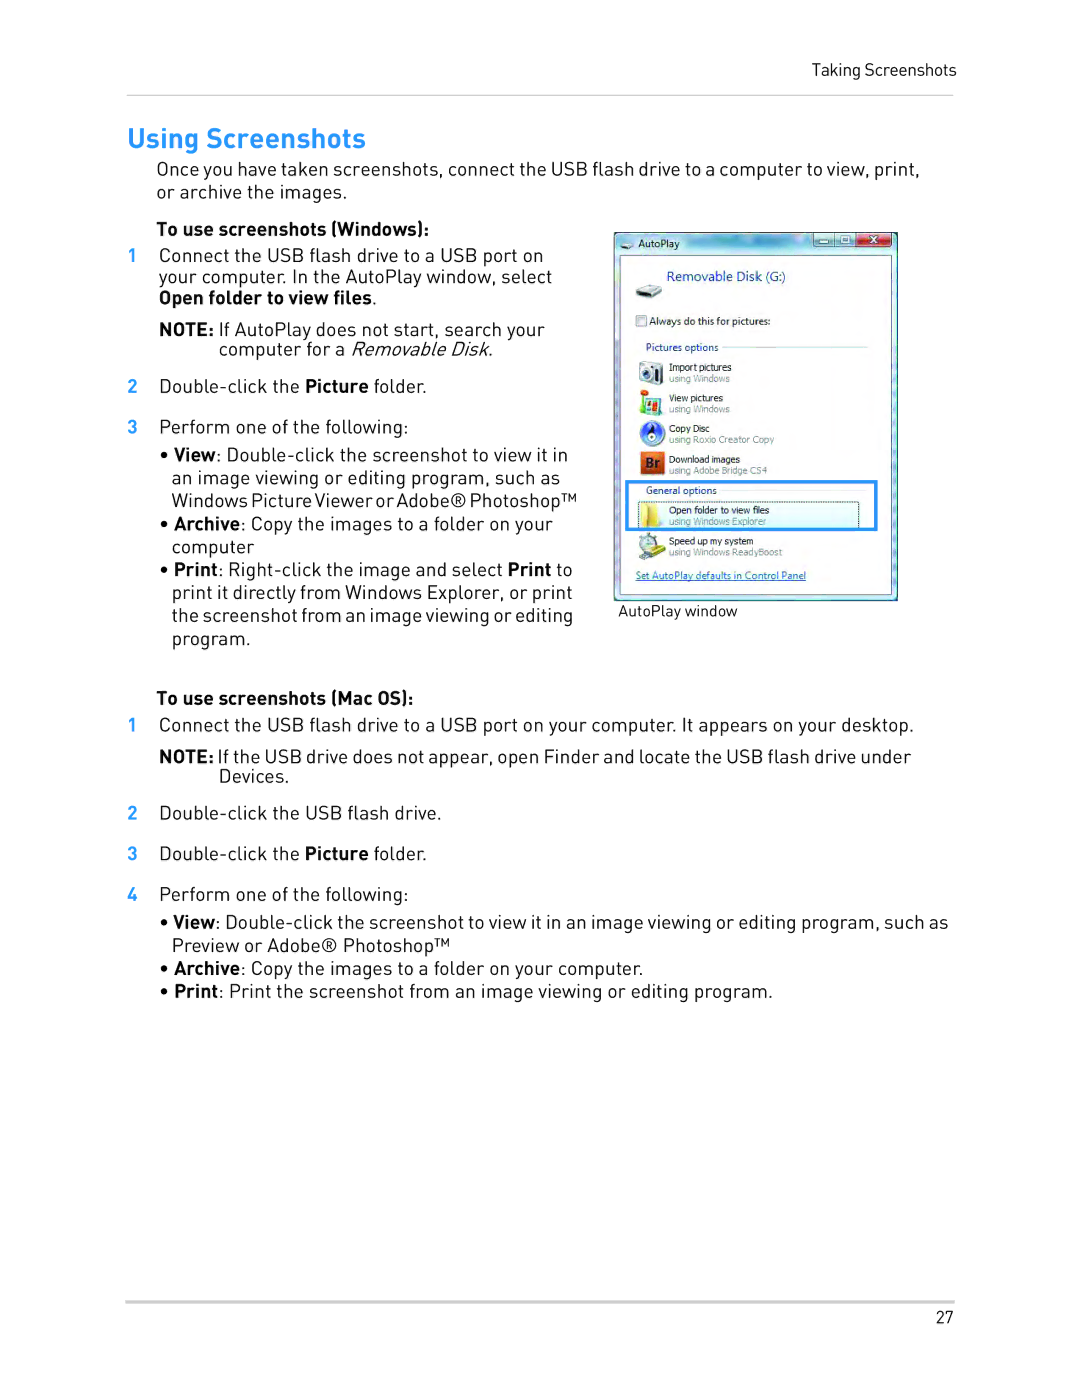
1Connect the USB flash drive to a USB port on your computer. In the AutoPlay window, select Open folder to view files.
NOTE: If AutoPlay does not start, search your computer for a Removable Disk.
2
3Perform one of the following:
•View:
•Archive: Copy the images to a folder on your computer
•Print:
print it directly from Windows Explorer, or print
the screenshot from an image viewing or editing AutoPlay window program.
To use screenshots (Mac OS):
1Connect the USB flash drive to a USB port on your computer. It appears on your desktop.
NOTE: If the USB drive does not appear, open Finder and locate the USB flash drive under Devices.
2
3
4Perform one of the following:
•View:
•Archive: Copy the images to a folder on your computer.
•Print: Print the screenshot from an image viewing or editing program.
27