Setting the Date and Time
It is highly recommended to immediately set the date and time when first setting up your DVR.
Inaccurate time stamps may render your footage unusable as court evidence.
To set the date and time:
1Click ![]() to open the Main Menu.
to open the Main Menu.
2Click ![]() to open the Setup Menu.
to open the Setup Menu.
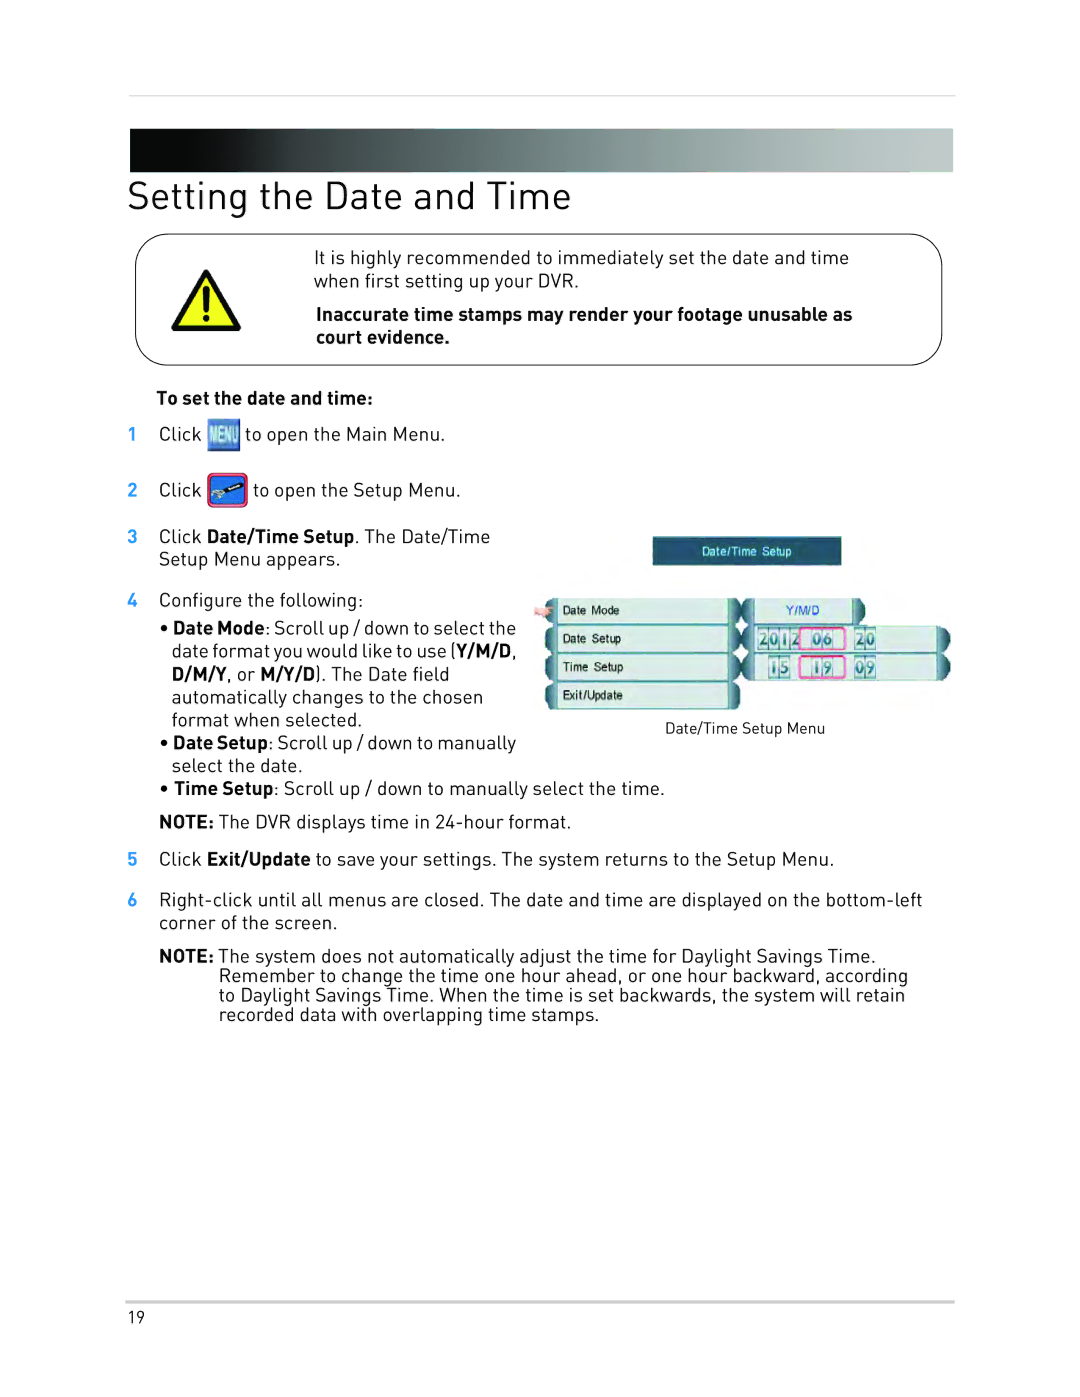
3Click Date/Time Setup. The Date/Time Setup Menu appears.
4Configure the following:
•Date Mode: Scroll up / down to select the date format you would like to use (Y/M/D, D/M/Y, or M/Y/D). The Date field automatically changes to the chosen
format when selected. | Date/Time Setup Menu |
•Date Setup: Scroll up / down to manually select the date.
•Time Setup: Scroll up / down to manually select the time.
NOTE: The DVR displays time in
5Click Exit/Update to save your settings. The system returns to the Setup Menu.
6
NOTE: The system does not automatically adjust the time for Daylight Savings Time. Remember to change the time one hour ahead, or one hour backward, according to Daylight Savings Time. When the time is set backwards, the system will retain recorded data with overlapping time stamps.
19