Using the Main Menu
8Click SMTP Password and enter the SMTP password. Click ![]() to confirm.
to confirm.
9
10To enable secure authentication (such as SSL), click Log on using Secure and select O.
11Click
12Under Sender’s ![]() to confirm
to confirm
13Under Receiver’s Email, enter up to 3 email addresses to receive notifications
using the ![]() to confirm each entry.
to confirm each entry.
Enter the Sender’s email address and up to 3 receivers
14
15(Optional) Click Subject & Location. Enter a custom email subject and location. Click
![]() to confirm each entry.
to confirm each entry.
16Click Test Mail to send a test notification.
17
Enabling/Disabling UPnP
The DVR features UPnP compatibility to allow a PC to automatically detect the IP address. For details on how to connect to your DVR using UPnP, see “Connecting to the DVR over a LAN Using UPnP” on page 77.
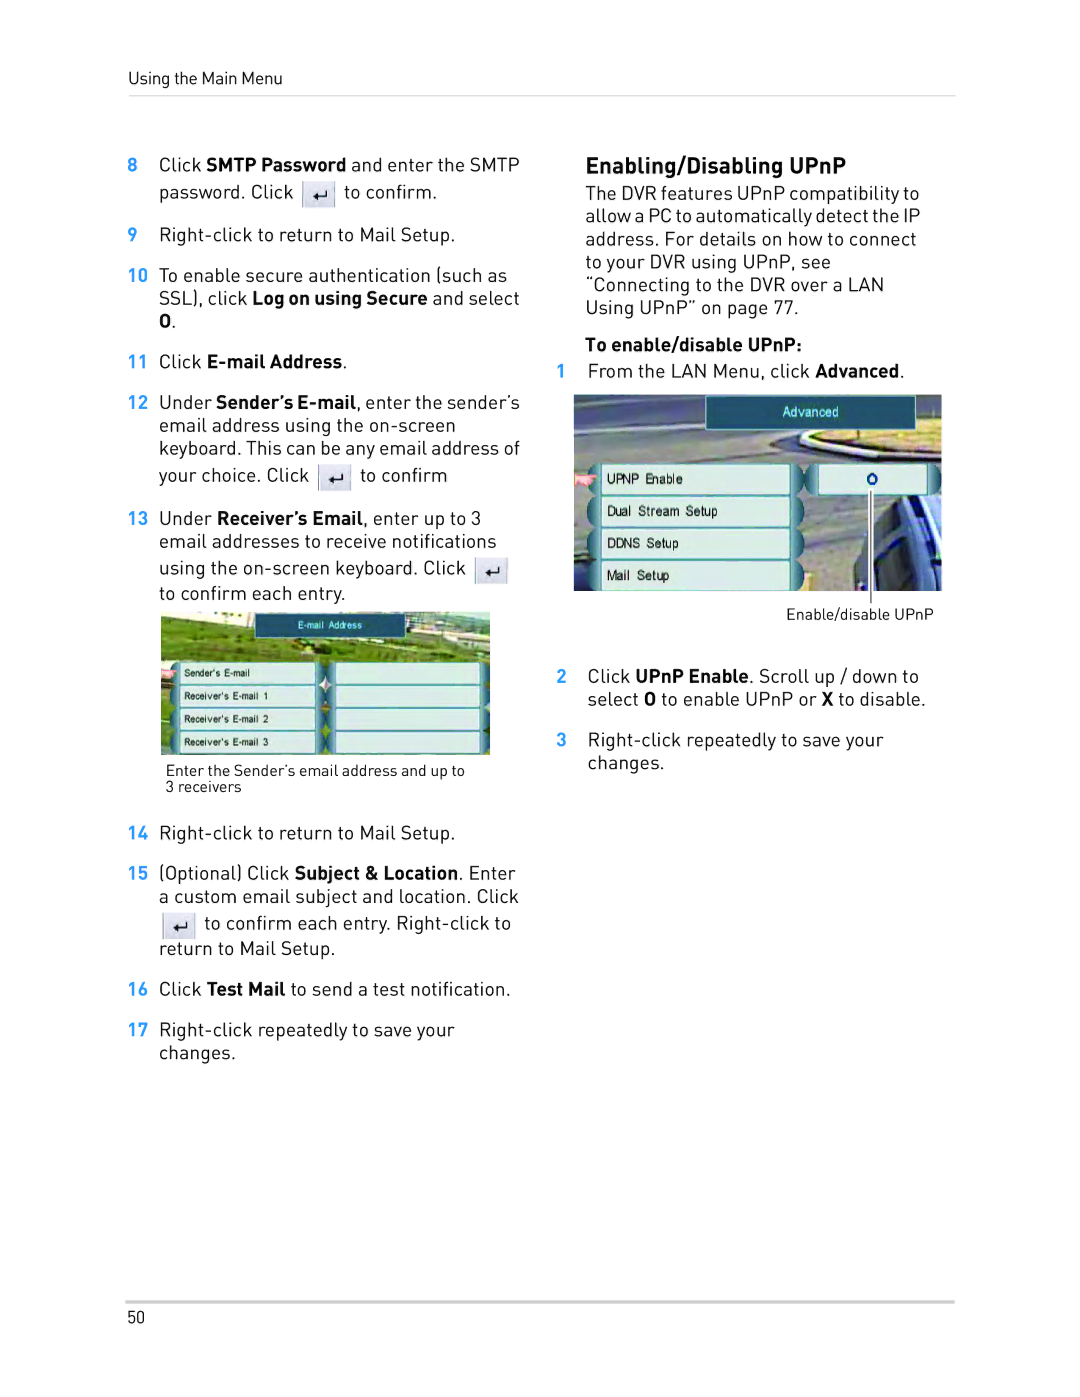
To enable/disable UPnP:
1From the LAN Menu, click Advanced.
Enable/disable UPnP
2Click UPnP Enable. Scroll up / down to select O to enable UPnP or X to disable.
3
50