PC and Mac Client Software for Remote Viewing
•Name: Enter the name you would like to use for your DVR. You can use your name, your company or business name, or anything of your choice.
•IP / DDNS: Enter the DDNS address or IP address of your DVR. For the DDNS address, enter the Domain name/URL Request sent to you in the confirmation email, followed by
.lorexddns.net (for example, tomsmith.lorexddns.net)
•Port: Enter the HTTP port (default: 80) for your DVR.
•ID: Enter a user ID for remote viewing.
•Password: Enter the corresponding password for remote viewing.
4Click Change. Then click Close to return to the client window.
5To test your settings, select your DVR from the
click ![]() to connect. Live video from your cameras will appear when the connection is successful.
to connect. Live video from your cameras will appear when the connection is successful.
NOTE: If it does not connect within 30 seconds, click![]() and click
and click ![]() again to refresh the connection.
again to refresh the connection.
Changing DVR Settings
Change the settings for an existing DVR. You will need to do this if you change the passwords or port configuration of your DVR.
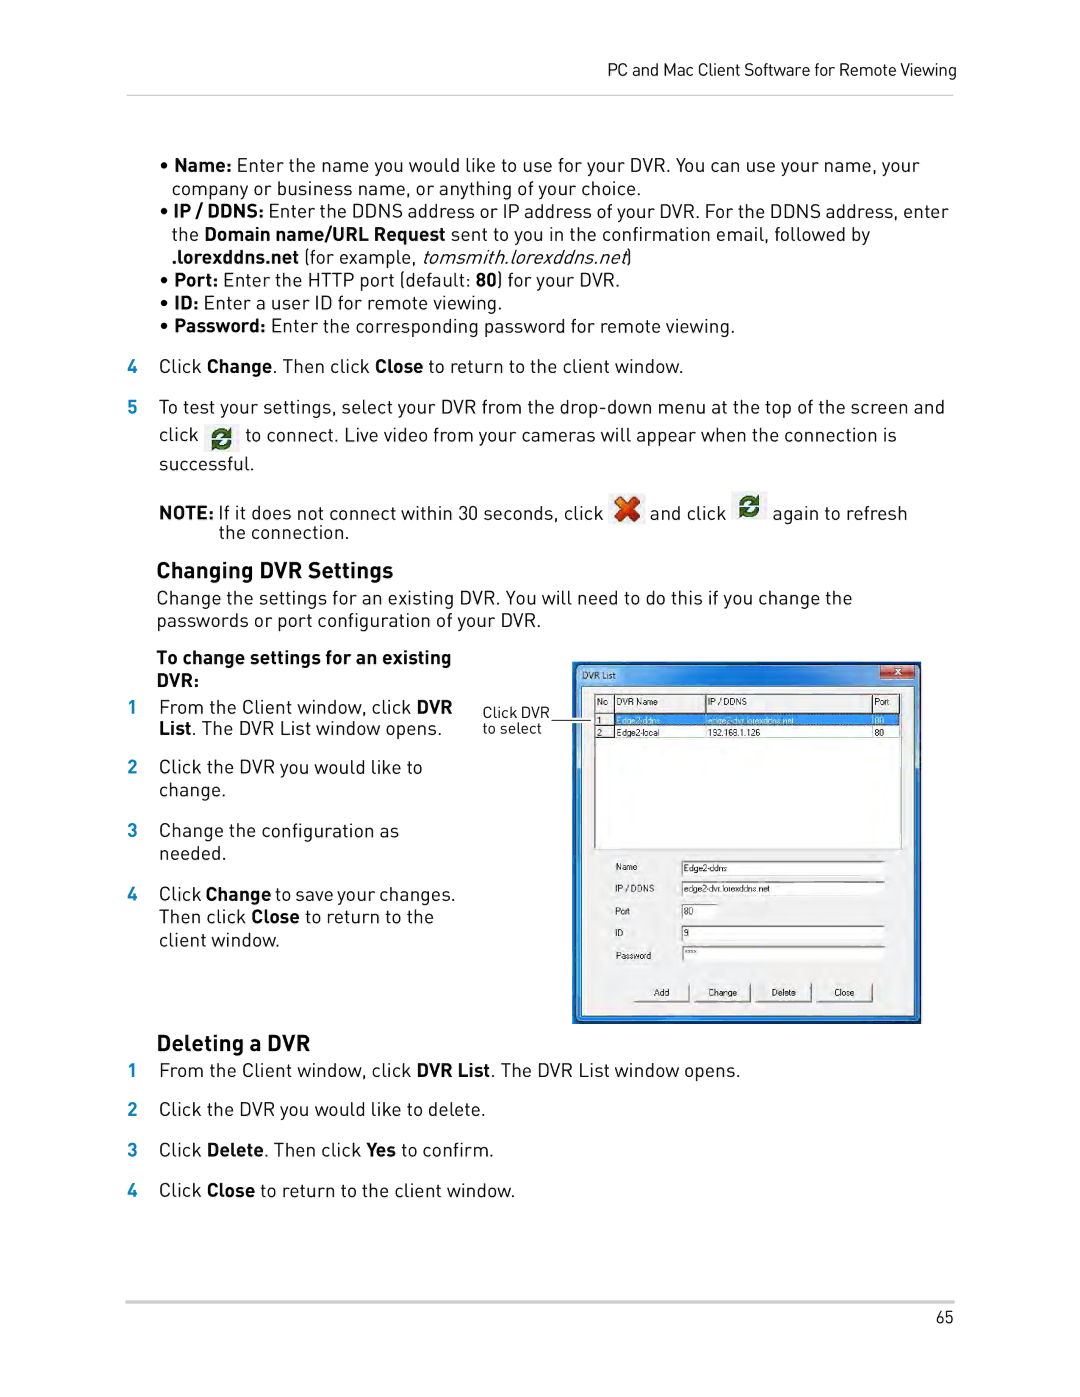
To change settings for an existing DVR:
1From the Client window, click DVR List. The DVR List window opens.
2Click the DVR you would like to change.
3Change the configuration as needed.
4Click Change to save your changes. Then click Close to return to the client window.
Click DVR to select
Deleting a DVR
1From the Client window, click DVR List. The DVR List window opens.
2Click the DVR you would like to delete.
3Click Delete. Then click Yes to confirm.
4Click Close to return to the client window.
65