PC and Mac Client Software for Remote Viewing
4In the Interval
5Under the Receiver Email fields, enter the email address or addresses you would like alerts to be sent to. You can enter up to 3 email recipients.
NOTE: You must enter a sender and receiver email address for email alerts to work.
6(Optional) Enter a subject for the notification and a location (of the DVR) in the respective fields.
7Click Apply to save your settings, or click Clear to exit without saving. Click OK to close the confirmation window.
8Click Test Mail to send a test notification. Click OK to close the confirmation window.
NOTE: If you have made a mistake with either email addresses, you will not receive the test notification.
9Restart the DVR by disconnecting the power adapter from the rear panel of the DVR and reconnect it.
NOTE: If you want to use your own SMTP server, select ON from the Send Mail Status
Creating Custom Camera Titles
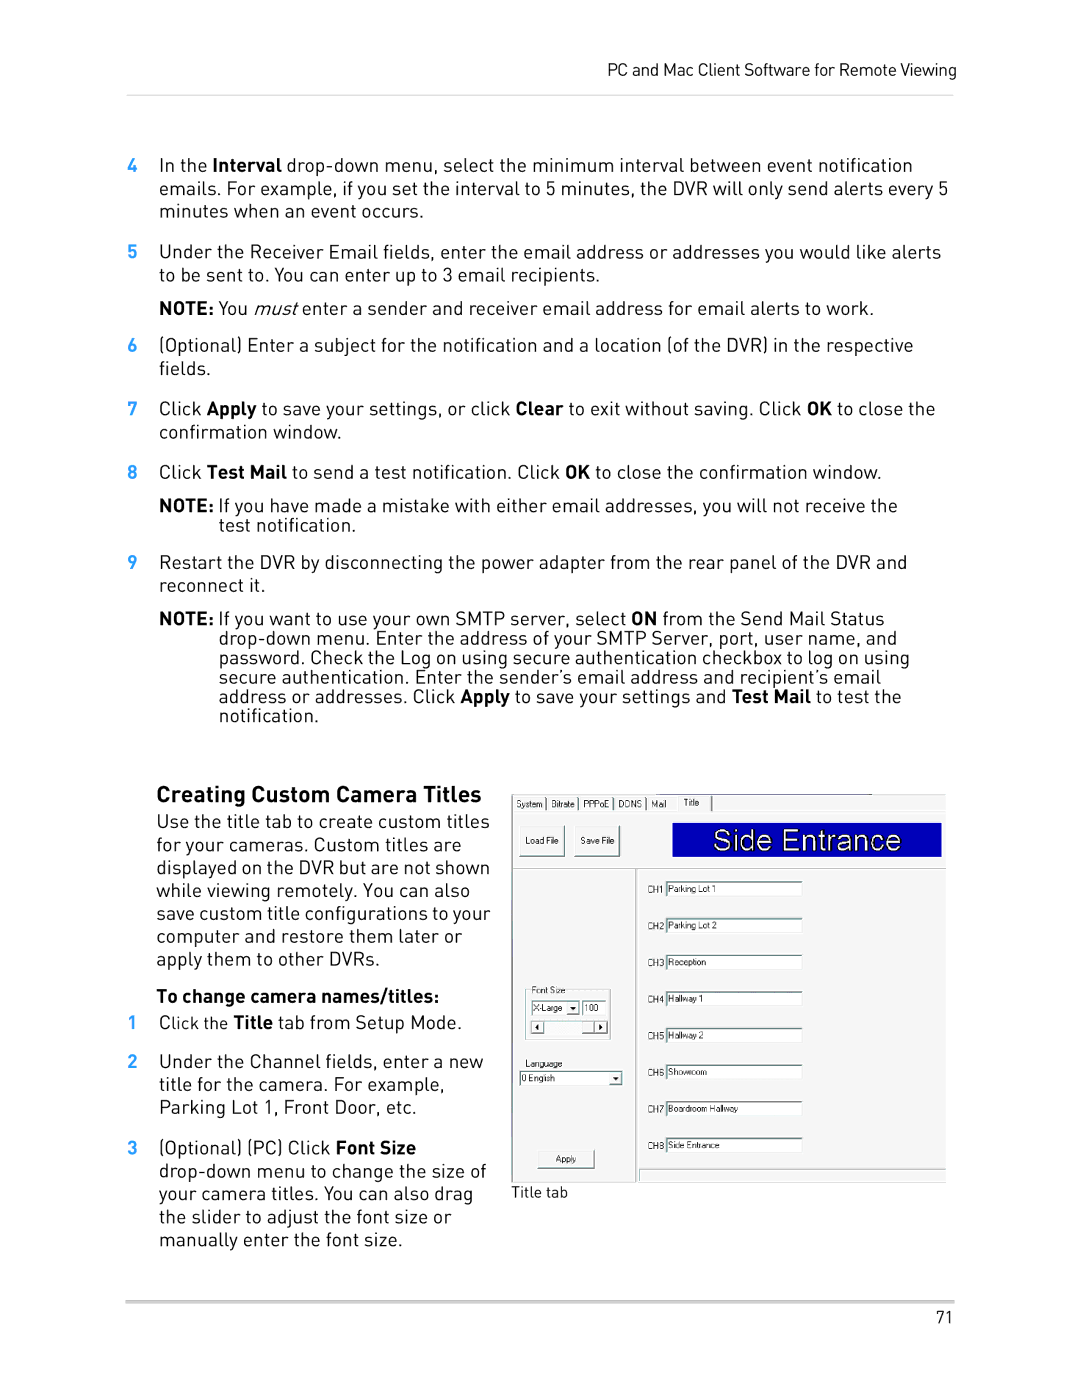
Use the title tab to create custom titles for your cameras. Custom titles are displayed on the DVR but are not shown while viewing remotely. You can also save custom title configurations to your computer and restore them later or apply them to other DVRs.
To change camera names/titles:
1Click the Title tab from Setup Mode.
2Under the Channel fields, enter a new title for the camera. For example, Parking Lot 1, Front Door, etc.
3(Optional) (PC) Click Font Size
your camera titles. You can also drag Title tab the slider to adjust the font size or manually enter the font size.
71
