Getting Started
Step 4: Connect the Ethernet Cable
•Connect the Ethernet cable to the LAN port on the rear panel of the DVR. Connect the other end of the Ethernet cable to a router on your network.
Connect Ethernet cable
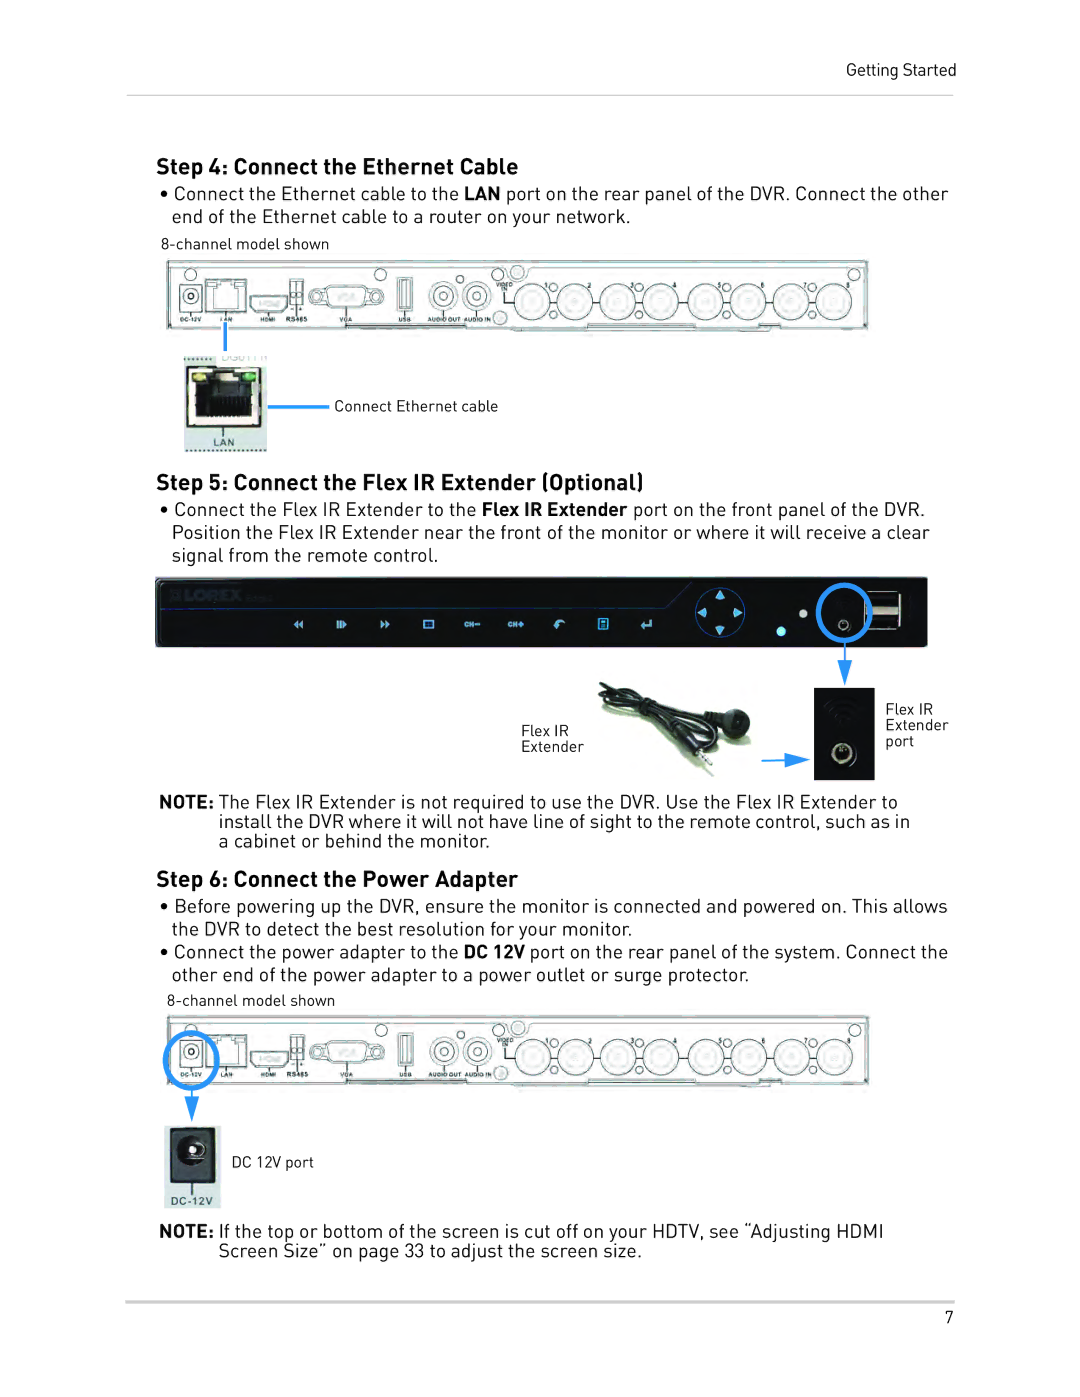
Step 5: Connect the Flex IR Extender (Optional)
•Connect the Flex IR Extender to the Flex IR Extender port on the front panel of the DVR. Position the Flex IR Extender near the front of the monitor or where it will receive a clear signal from the remote control.
| Flex IR | |
Flex IR | Extender | |
port | ||
Extender | ||
|
NOTE: The Flex IR Extender is not required to use the DVR. Use the Flex IR Extender to install the DVR where it will not have line of sight to the remote control, such as in a cabinet or behind the monitor.
Step 6: Connect the Power Adapter
•Before powering up the DVR, ensure the monitor is connected and powered on. This allows the DVR to detect the best resolution for your monitor.
•Connect the power adapter to the DC 12V port on the rear panel of the system. Connect the other end of the power adapter to a power outlet or surge protector.
DC 12V port
NOTE: If the top or bottom of the screen is cut off on your HDTV, see “Adjusting HDMI Screen Size” on page 33 to adjust the screen size.
7