Overview
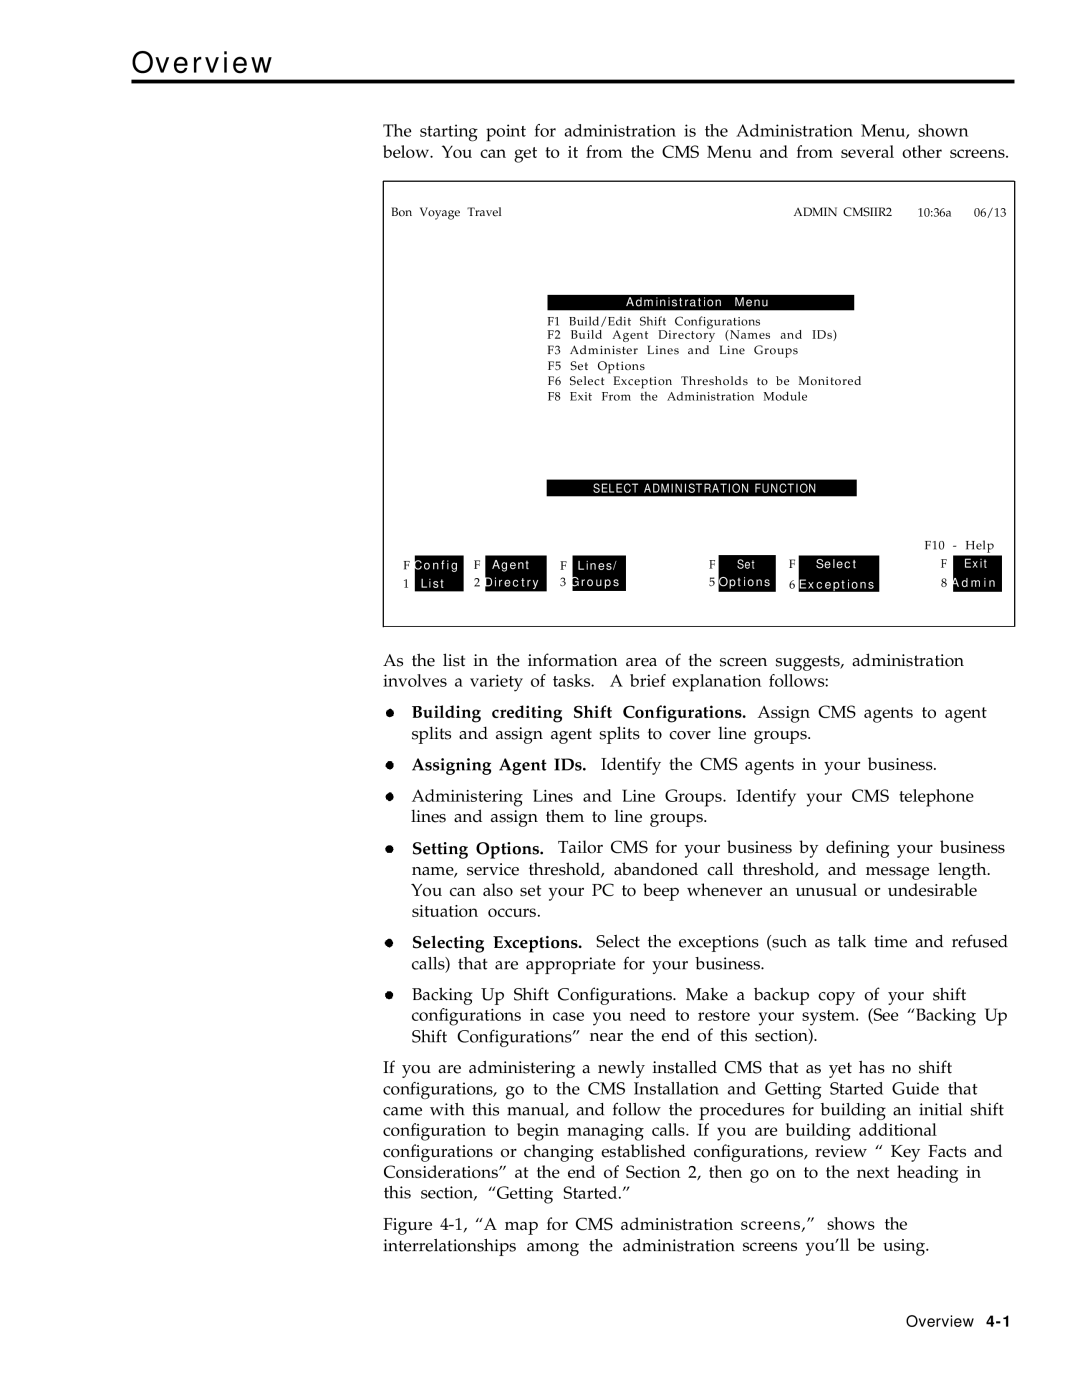
The starting point for administration is the Administration Menu, shown
below. You can get to it from the CMS Menu and from several other screens.
Bon Voyage Travel | ADMIN CMSIIR2 10:36a 06/13 |
Administration Menu
F1 Build/Edit Shift Configurations
F2 Build Agent Directory (Names and IDs)
F3 Administer Lines and Line Groups
F5 Set Options
F6 Select Exception Thresholds to be Monitored
F8 Exit From the Administration Module
|
|
|
|
| SELECT ADMINISTRATION FUNCTION |
|
|
| ||||
|
|
|
|
|
|
|
|
|
|
| F10 | - Help |
|
|
|
|
|
|
|
|
|
|
| ||
F | Config | F | Agent | F | Lines/ | F | Set | F | Select | F | Exit | |
1 | List | 2 | Directry | 3 | Groups | 5 | Options | 6 | Exceptions | 8 | Admin | |
As the list in the information area of the screen suggests, administration involves a variety of tasks. A brief explanation follows:
Building crediting Shift Configurations. Assign CMS agents to agent splits and assign agent splits to cover line groups.
Assigning Agent IDs. Identify the CMS agents in your business.
Administering Lines and Line Groups. Identify your CMS telephone lines and assign them to line groups.
Setting Options. Tailor CMS for your business by defining your business name, service threshold, abandoned call threshold, and message length. You can also set your PC to beep whenever an unusual or undesirable situation occurs.
Selecting Exceptions. Select the exceptions (such as talk time and refused calls) that are appropriate for your business.
Backing Up Shift Configurations. Make a backup copy of your shift configurations in case you need to restore your system. (See “Backing Up Shift Configurations” near the end of this section).
If you are administering a newly installed CMS that as yet has no shift configurations, go to the CMS Installation and Getting Started Guide that came with this manual, and follow the procedures for building an initial shift configuration to begin managing calls. If you are building additional configurations or changing established configurations, review “ Key Facts and Considerations” at the end of Section 2, then go on to the next heading in this section, “Getting Started.”
Figure 4-1, “A map for CMS administration screens,” shows the interrelationships among the administration screens you’ll be using.
Overview
