6. Raise the fuser oil bottle cover [2].
7.Close the fuser access door and the feeder access door.
8.Close the front door.
Printing Test Pages
Use the following procedure to print test pages to determine if you have correctly installed the new fuser.
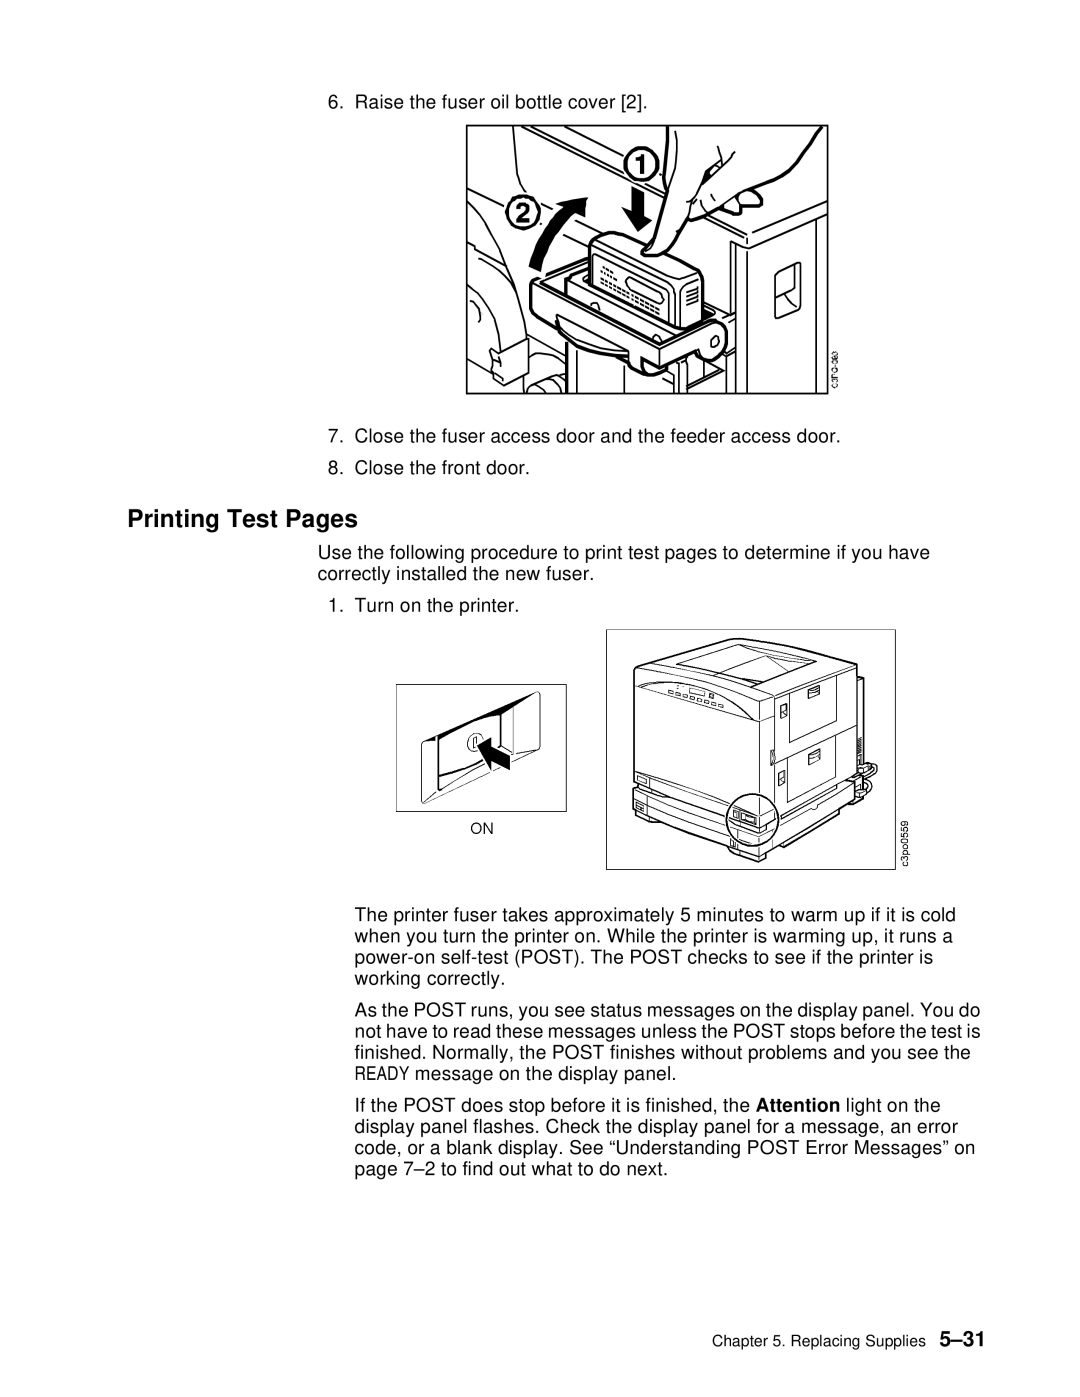
1. Turn on the printer.
The printer fuser takes approximately 5 minutes to warm up if it is cold when you turn the printer on. While the printer is warming up, it runs a
As the POST runs, you see status messages on the display panel. You do not have to read these messages unless the POST stops before the test is finished. Normally, the POST finishes without problems and you see the READY message on the display panel.
If the POST does stop before it is finished, the Attention light on the display panel flashes. Check the display panel for a message, an error code, or a blank display. See “Understanding POST Error Messages” on page