Navigating the Menus
Use the following procedure to navigate the menus.
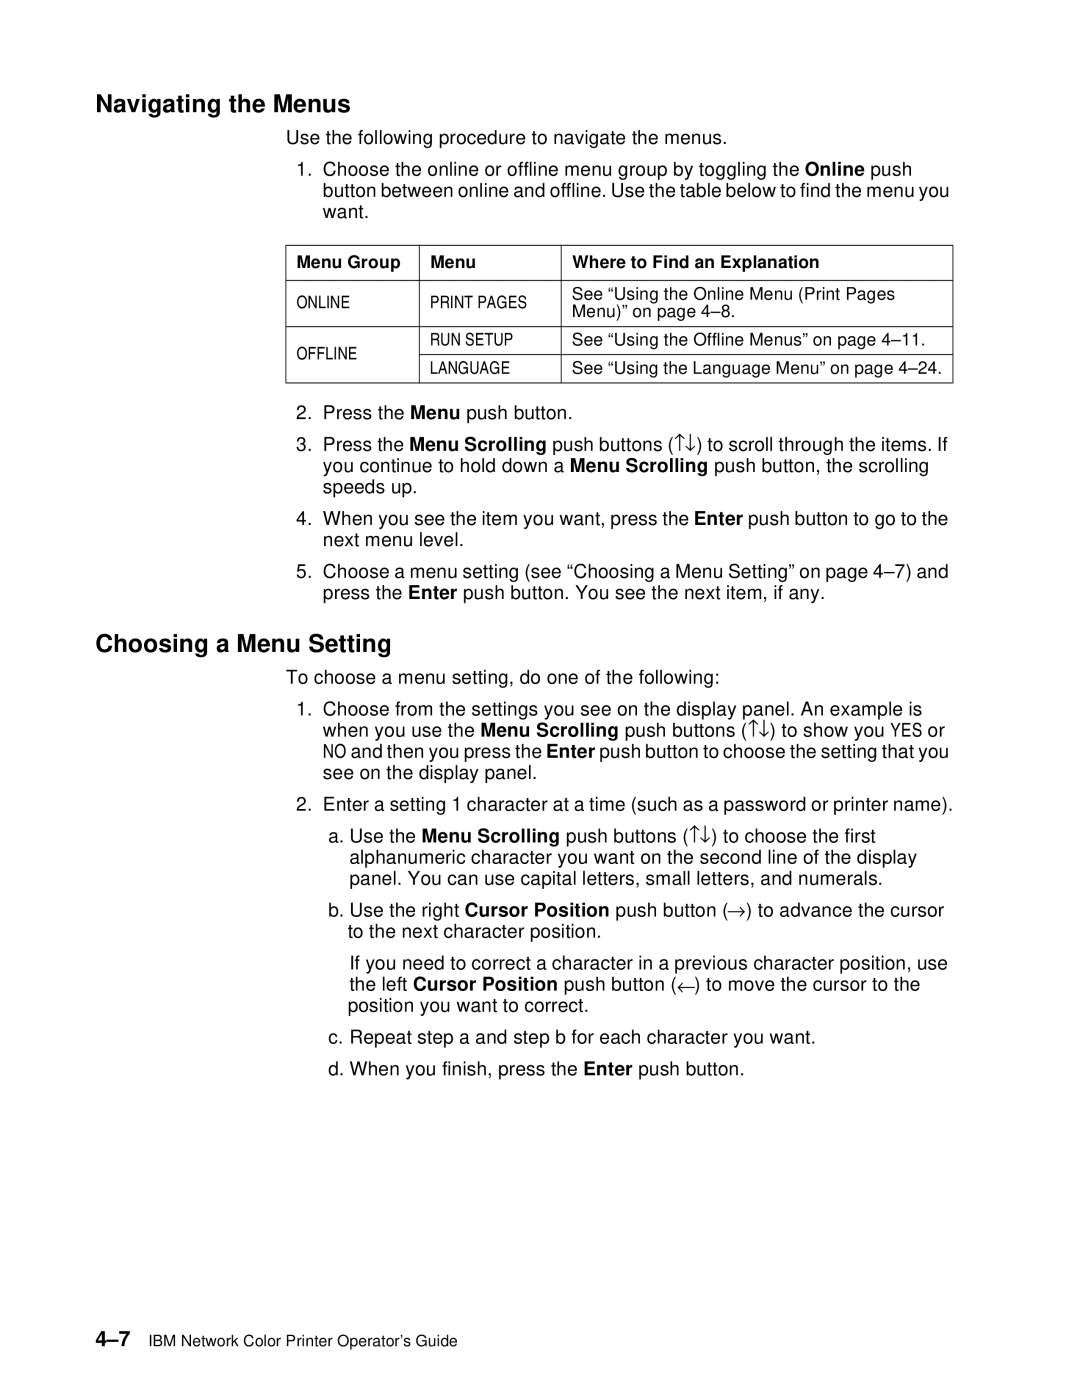
1.Choose the online or offline menu group by toggling the Online push button between online and offline. Use the table below to find the menu you want.
Menu Group | Menu | Where to Find an Explanation | |
|
|
| |
ONLINE | PRINT PAGES | See “Using the Online Menu (Print Pages | |
Menu)” on page | |||
|
| ||
|
|
| |
OFFLINE | RUN SETUP | See “Using the Offline Menus” on page | |
|
| ||
LANGUAGE | See “Using the Language Menu” on page | ||
| |||
|
|
|
2.Press the Menu push button.
3.Press the Menu Scrolling push buttons (−↓) to scroll through the items. If you continue to hold down a Menu Scrolling push button, the scrolling speeds up.
4.When you see the item you want, press the Enter push button to go to the next menu level.
5.Choose a menu setting (see “Choosing a Menu Setting” on page
Choosing a Menu Setting
To choose a menu setting, do one of the following:
1.Choose from the settings you see on the display panel. An example is when you use the Menu Scrolling push buttons (−↓) to show you YES or NO and then you press the Enter push button to choose the setting that you see on the display panel.
2.Enter a setting 1 character at a time (such as a password or printer name).
a.Use the Menu Scrolling push buttons (−↓) to choose the first alphanumeric character you want on the second line of the display panel. You can use capital letters, small letters, and numerals.
b.Use the right Cursor Position push button (→) to advance the cursor to the next character position.
If you need to correct a character in a previous character position, use the left Cursor Position push button (←) to move the cursor to the position you want to correct.
c.Repeat step a and step b for each character you want.
d.When you finish, press the Enter push button.
