Identifying Parts on the Density Control Panel
This section helps you identify each part of the density control panel.
You rarely will need to use the density control panel. See “Adjusting the Color Density” on page
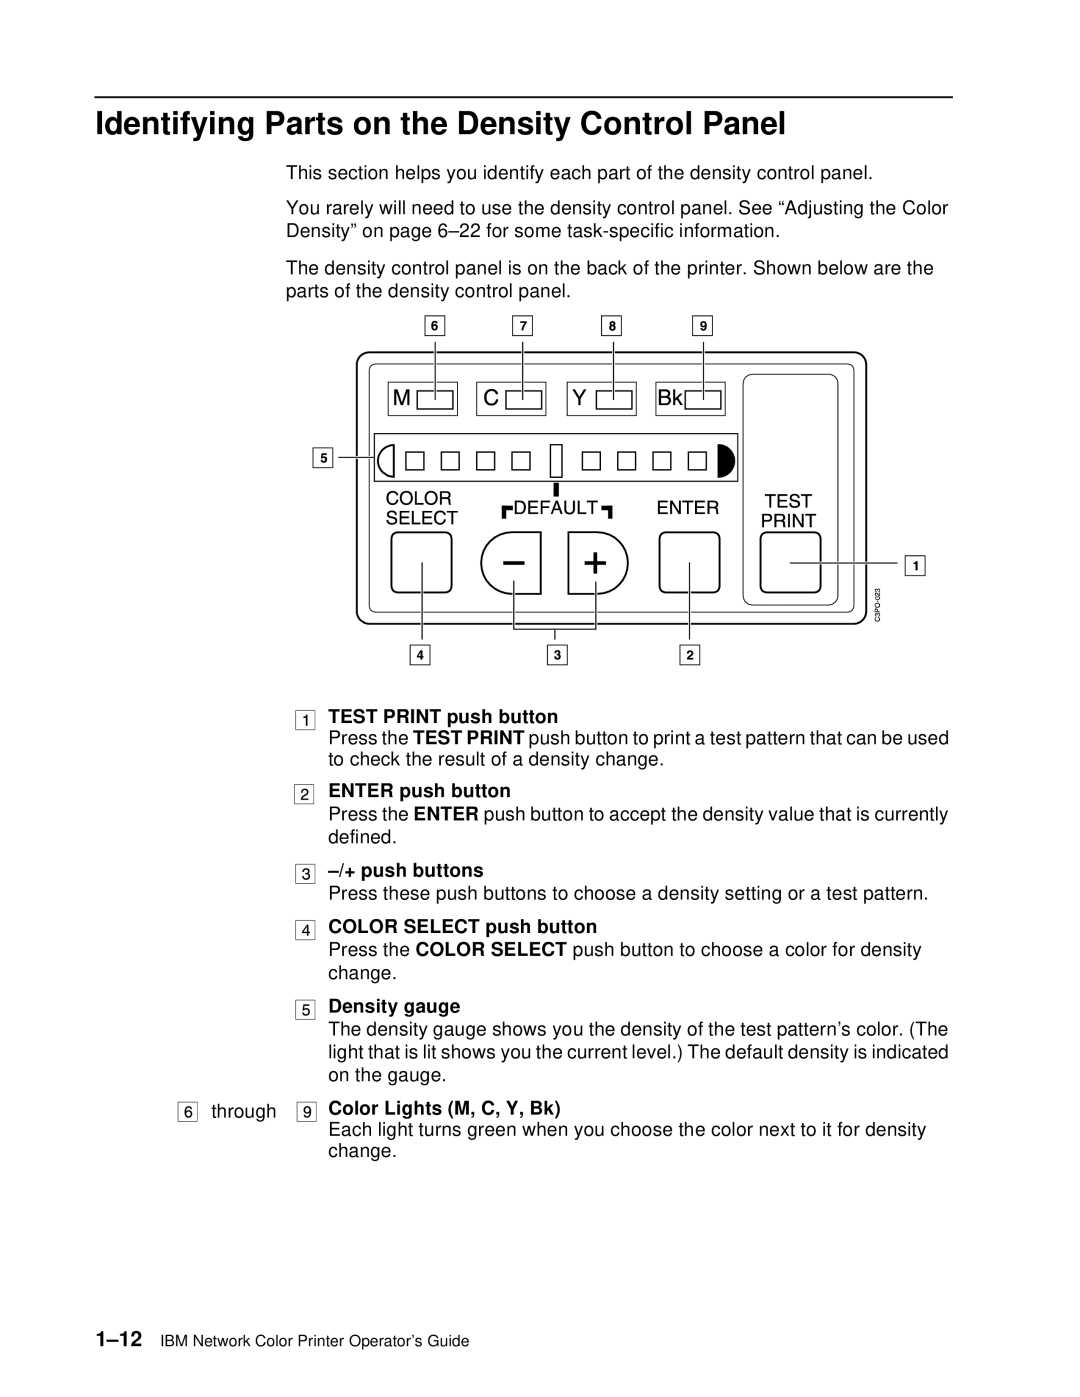
The density control panel is on the back of the printer. Shown below are the parts of the density control panel.
TEST PRINT push button
Press the TEST PRINT push button to print a test pattern that can be used to check the result of a density change.
ENTER push button
Press the ENTER push button to accept the density value that is currently defined.
Press these push buttons to choose a density setting or a test pattern.
COLOR SELECT push button
Press the COLOR SELECT push button to choose a color for density change.
Density gauge
The density gauge shows you the density of the test pattern’s color. (The light that is lit shows you the current level.) The default density is indicated on the gauge.
through | Color Lights (M, C, Y, Bk) |
| Each light turns green when you choose the color next to it for density |
| change. |