Adjusting the Color Density
This section tells you how to make minor adjustments to the color density from the density control panel.
Note: If you use a Macintosh and have a color calibration hardware device (such as a Status T or XRite densitometer; see the User’s Guide for specifications), then you can use the Calibrator utility supplied on the utility diskette that came with this printer to test the accuracy of the color density. (See the User’s Guide for information regarding this program.)
Generally, you do not need to make any adjustments to the color density. The printer conducts an automatic density adjustment when you turn it on and after printing a prescribed number of pages. If the color density does not match your configured selections, print a test page (see “Printing a Test Page” on page
Note: If you change the color density using the instructions that follow, the printed color may not match the color specified by print jobs.
Use the following procedure to adjust the color density.
1.Find the density control panel on the back of the printer.
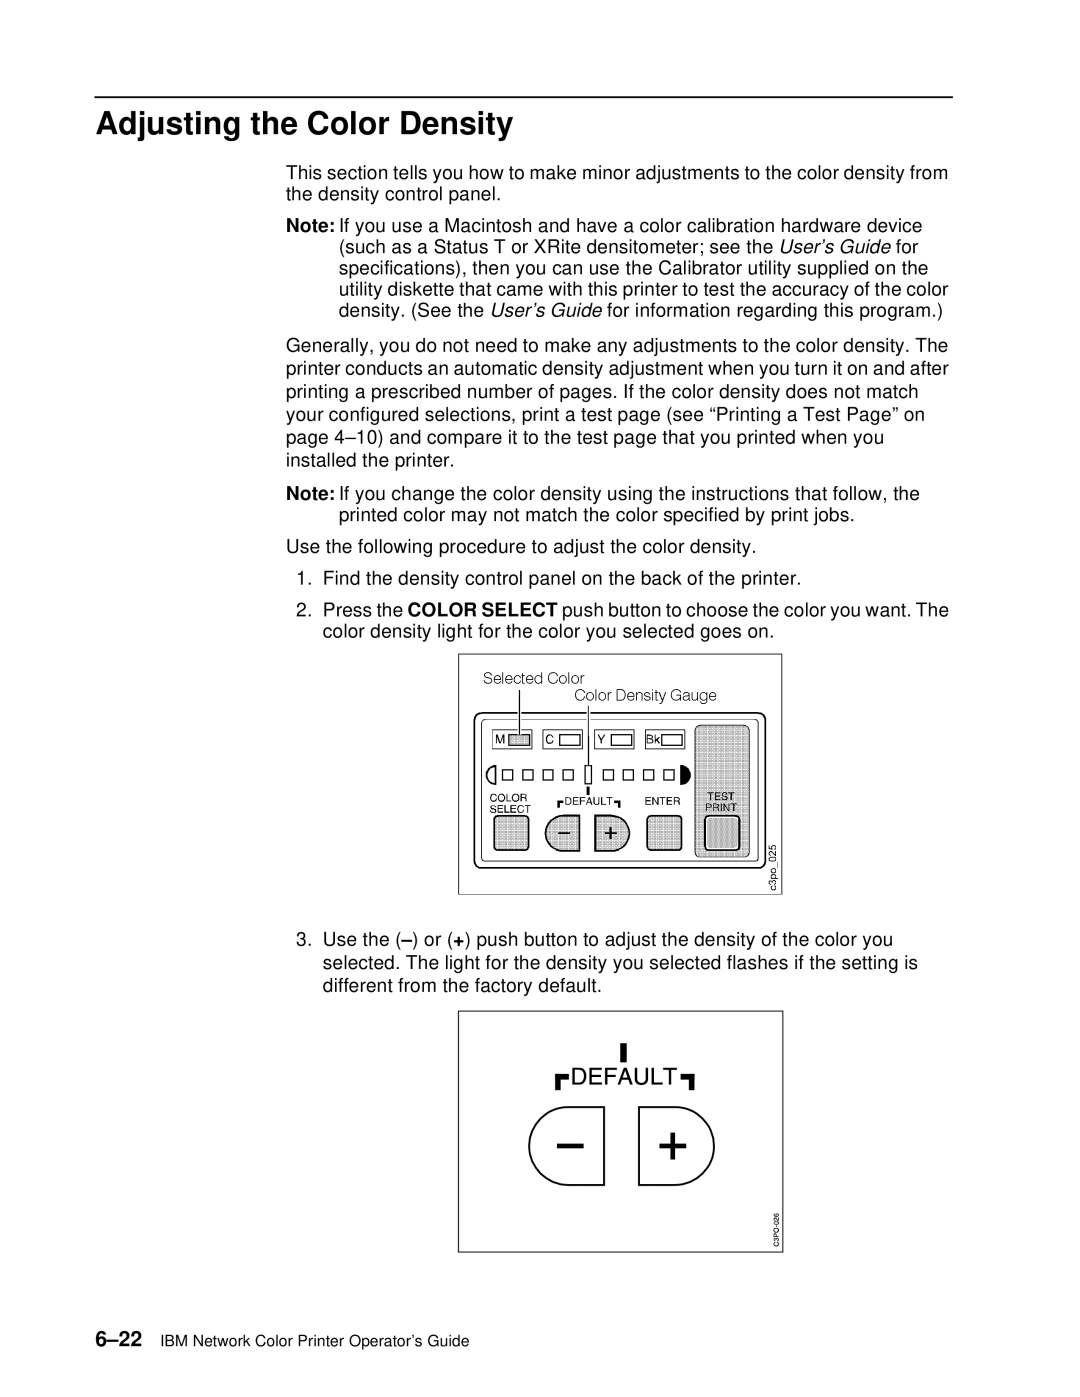
2.Press the COLOR SELECT push button to choose the color you want. The color density light for the color you selected goes on.
3.Use the (– ) or (+) push button to adjust the density of the color you selected. The light for the density you selected flashes if the setting is different from the factory default.