Adjusting the Side Registration on Tray 2 Printouts
This section tells you how to adjust the side registration on tray 2 printouts.
If you are using the optional tray 2 paper feeder and you notice that the margins on your printouts are not the same as when you use the tray 1 paper feeder, you may need to adjust the tray 2 side registration to match that of tray 1 (approximately 2 mm or 0.08 inches).
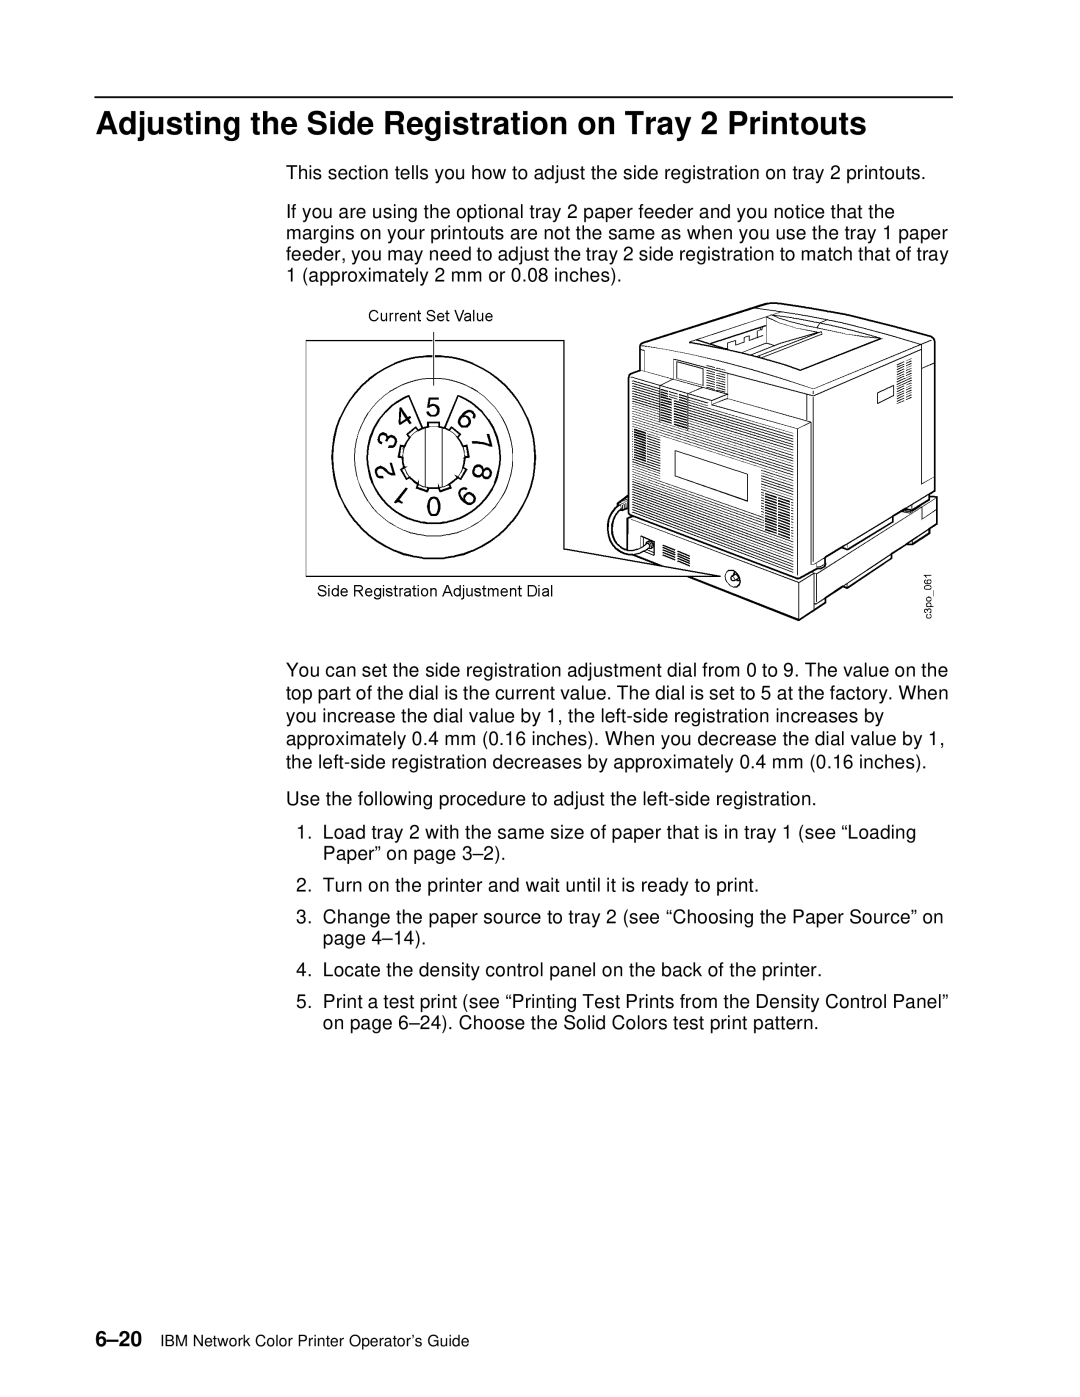
You can set the side registration adjustment dial from 0 to 9. The value on the top part of the dial is the current value. The dial is set to 5 at the factory. When you increase the dial value by 1, the
Use the following procedure to adjust the
1.Load tray 2 with the same size of paper that is in tray 1 (see “Loading Paper” on page
2.Turn on the printer and wait until it is ready to print.
3.Change the paper source to tray 2 (see “Choosing the Paper Source” on page
4.Locate the density control panel on the back of the printer.
5.Print a test print (see “Printing Test Prints from the Density Control Panel” on page
