Replacing the Photoconductor Drum Cartridge
This section tells you how to replace the photoconductor drum cartridge and clean the separation corona wire. If you see black vertical streaks or toner spots on printouts, it is time to replace the photoconductor drum cartridge. If you see the REPLACE DRUM TO ENSURE QUALITY message on the display panel, replace the cartridge immediately, using the procedure below.
Note: When you replace the photoconductor drum cartridge, replace it with a new cartridge. The printer may not work correctly with a used photoconductor drum cartridge.
Locating the Orange Photoconductor Drum Shield
Before you begin this procedure, locate the orange photoconductor drum shield that protected the cartridge before the cartridge was installed in the printer. It is bright orange in color and shaped like a trough. You will need this photoconductor drum shield when you remove the drum cartridge.
Removing the Old Photoconductor Drum Cartridge
Use the following procedure to remove the old photoconductor drum cartridge from the printer.
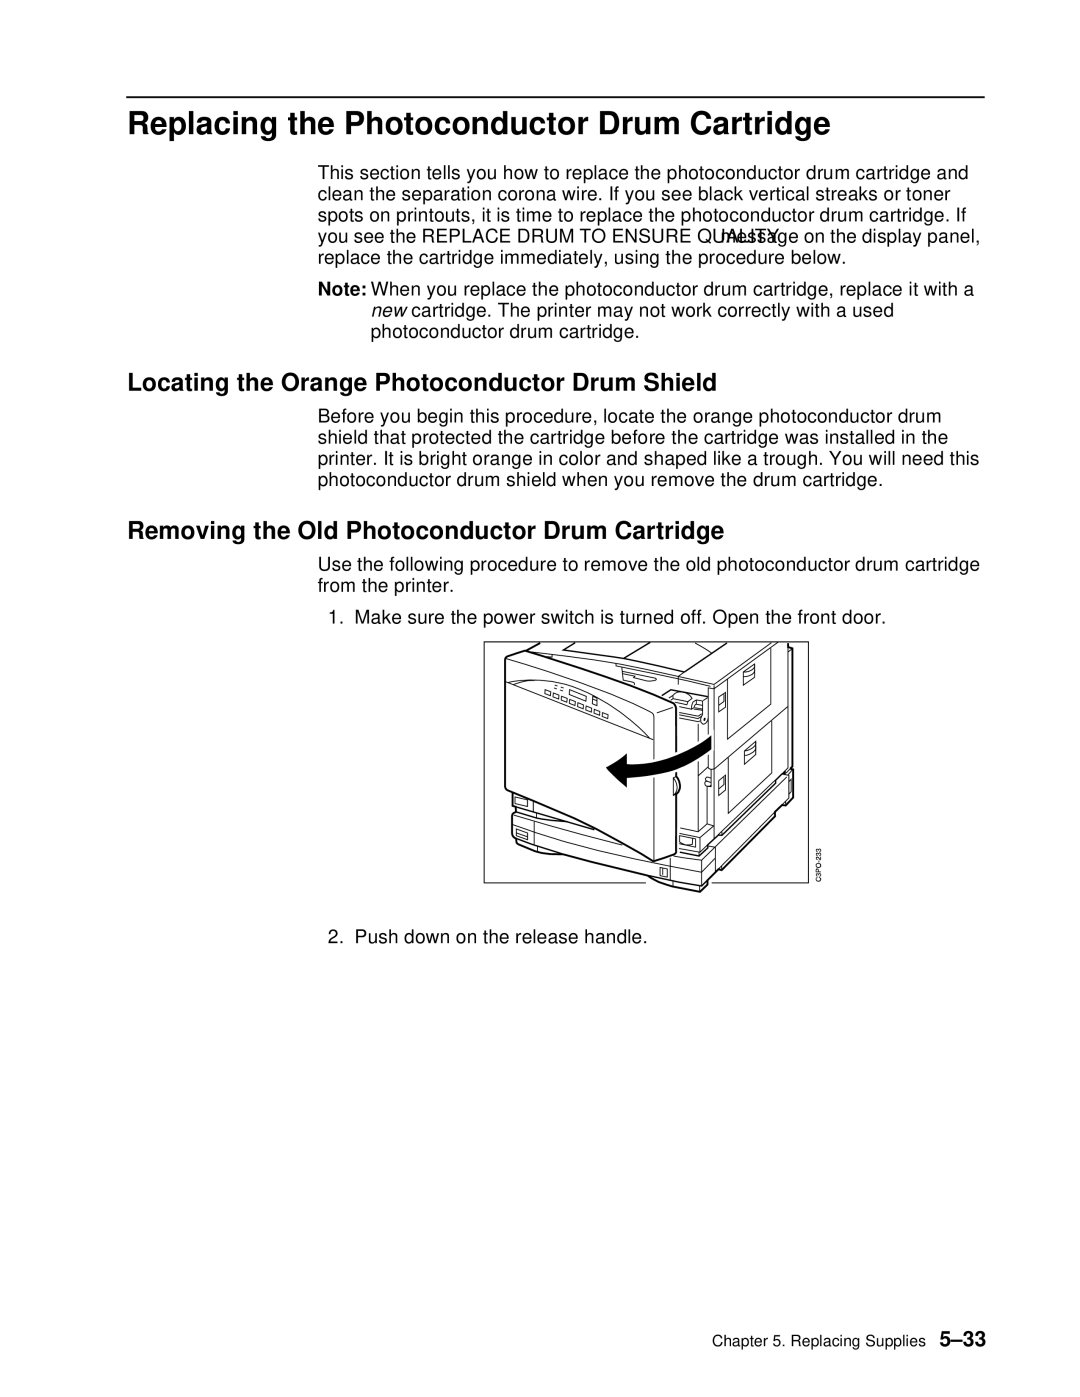
1. Make sure the power switch is turned off. Open the front door.
2. Push down on the release handle.
