STEP 2. CHECK STORAGE DEVICES
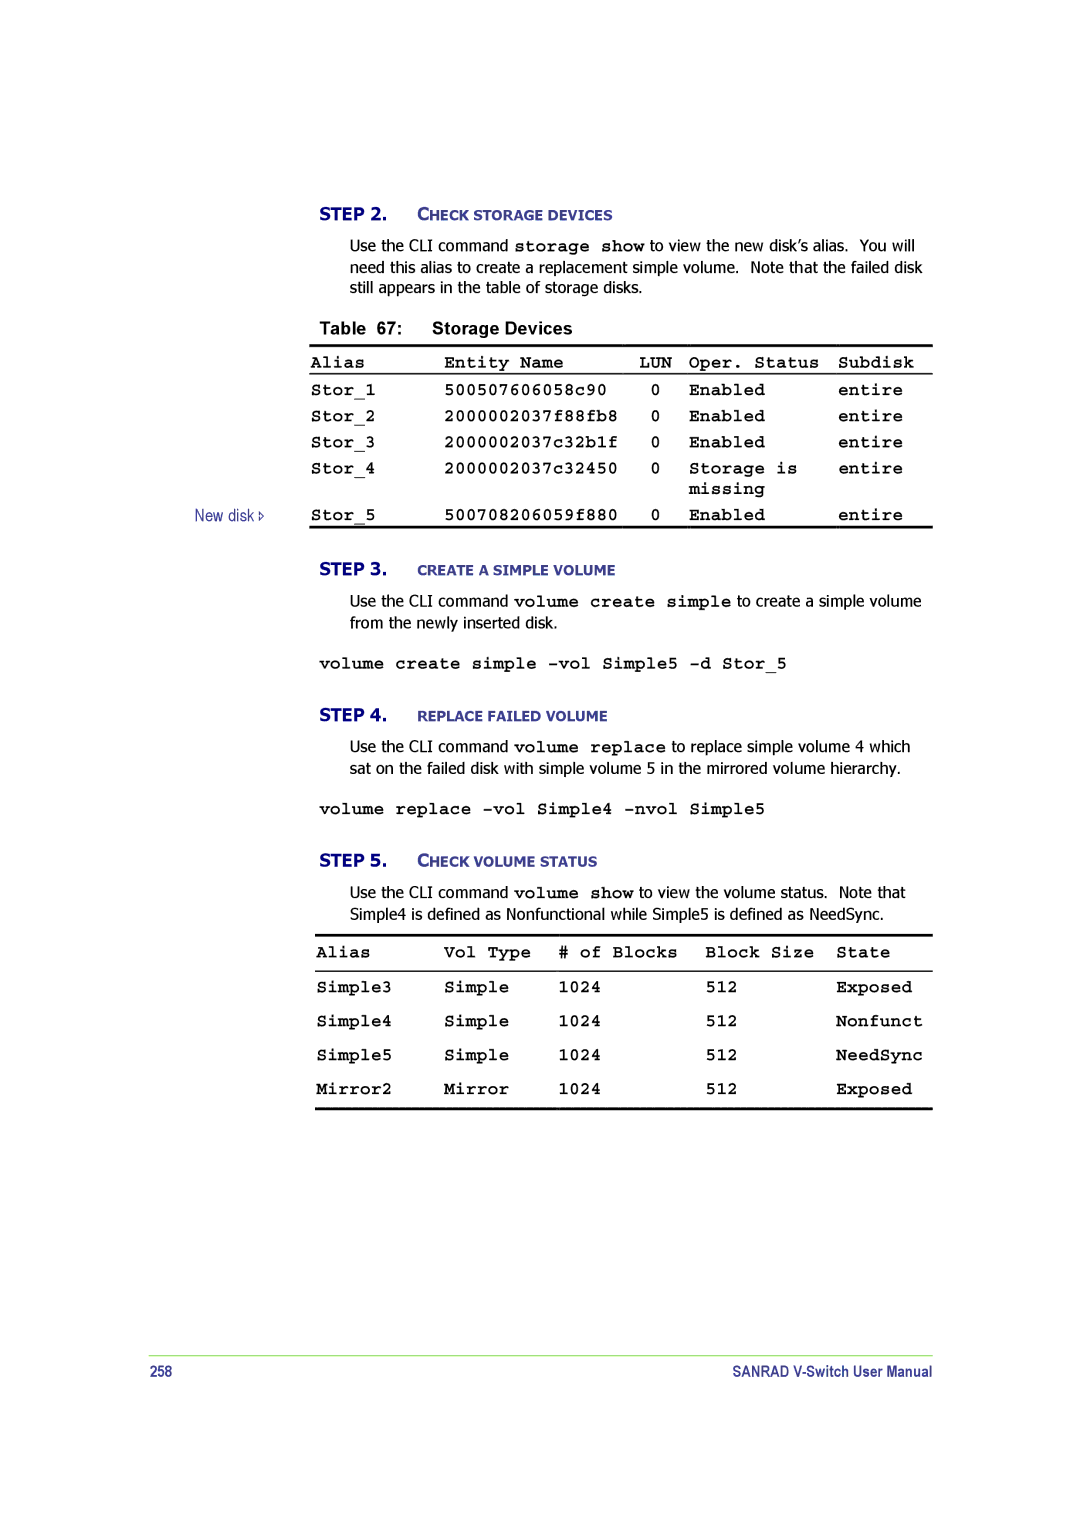
Use the CLI command storage show to view the new disk’s alias. You will
need this alias to create a replacement simple volume. Note that the failed disk still appears in the table of storage disks.
| Table 67: | Storage Devices |
|
|
|
| Alias | Entity Name | LUN | Oper. Status | Subdisk |
| Stor_1 | 500507606058c90 | 0 | Enabled | entire |
| Stor_2 | 2000002037f88fb8 | 0 | Enabled | entire |
| Stor_3 | 2000002037c32b1f | 0 | Enabled | entire |
| Stor_4 | 2000002037c32450 | 0 | Storage is | entire |
|
|
|
| missing |
|
New disk Ð | Stor_5 | 500708206059f880 | 0 | Enabled | entire |
STEP 3. CREATE A SIMPLE VOLUME
Use the CLI command volume create simple to create a simple volume from the newly inserted disk.
volume create simple –vol Simple5 –d Stor_5
STEP 4. REPLACE FAILED VOLUME
Use the CLI command volume replace to replace simple volume 4 which sat on the failed disk with simple volume 5 in the mirrored volume hierarchy.
volume replace –vol Simple4 –nvol Simple5
STEP 5. CHECK VOLUME STATUS
Use the CLI command volume show to view the volume status. Note that
Simple4 is defined as Nonfunctional while Simple5 is defined as NeedSync.
Alias | Vol Type | # of Blocks | Block Size | State |
|
|
|
|
|
Simple3 | Simple | 1024 | 512 | Exposed |
Simple4 | Simple | 1024 | 512 | Nonfunct |
Simple5 | Simple | 1024 | 512 | NeedSync |
Mirror2 | Mirror | 1024 | 512 | Exposed |
|
|
|
|
|
258 | SANRAD |
