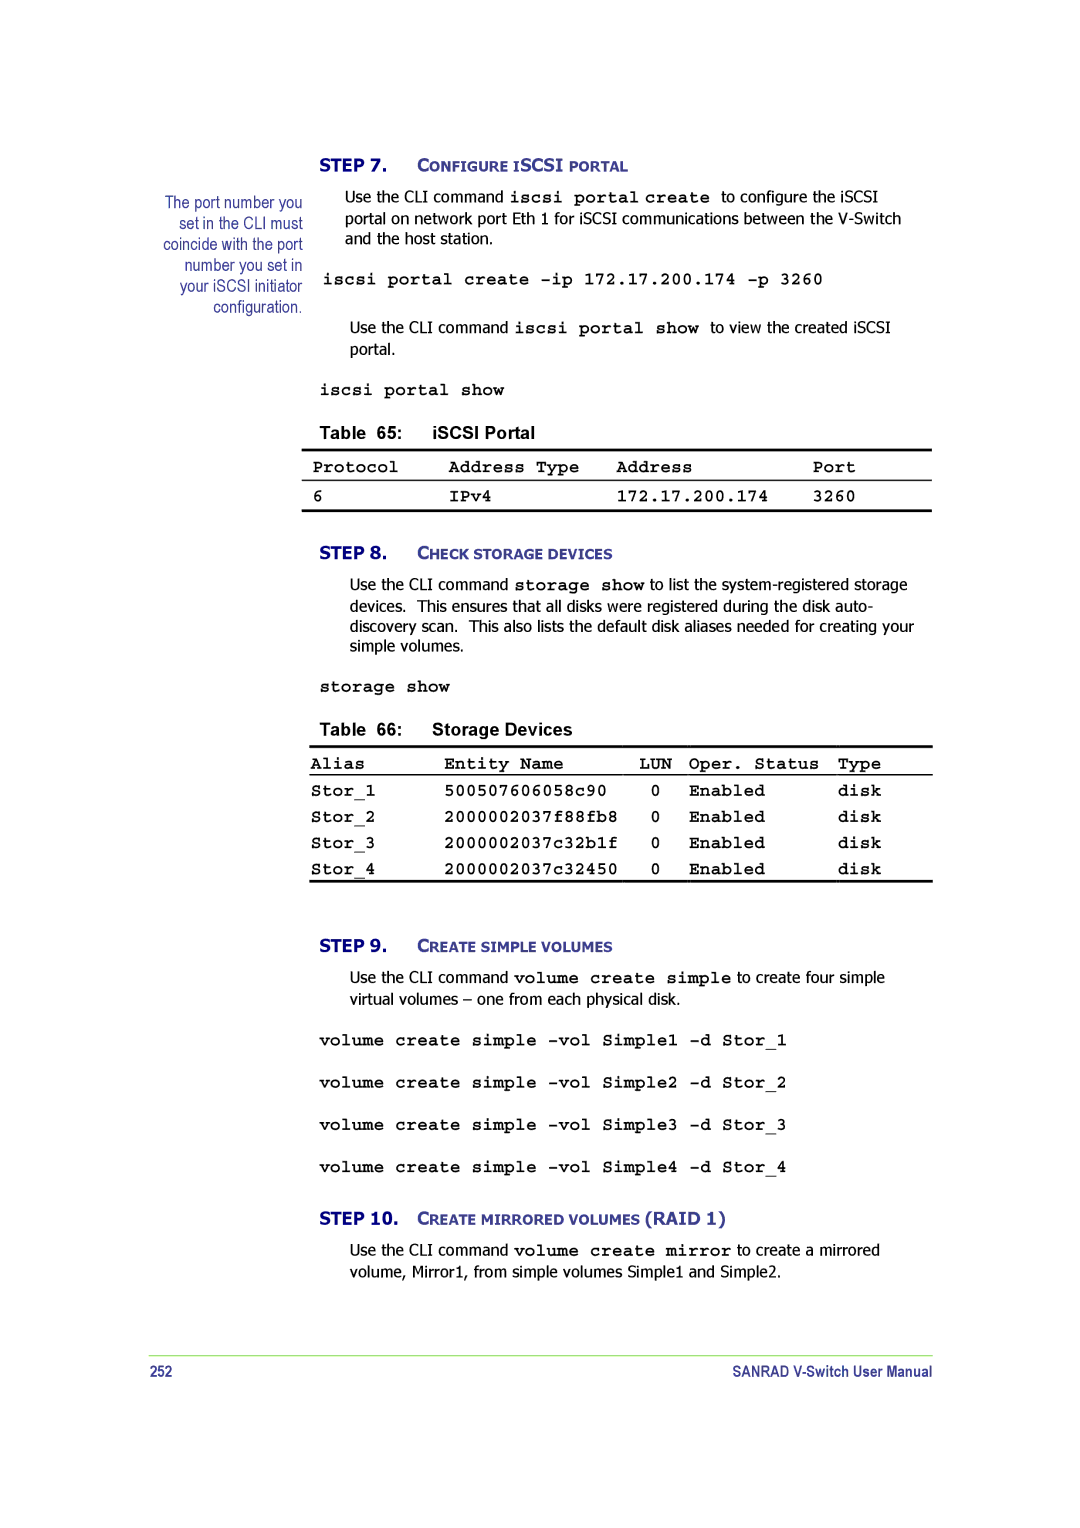
The port number you set in the CLI must coincide with the port number you set in your iSCSI initiator configuration.
STEP 7. CONFIGURE ISCSI PORTAL
Use the CLI command iscsi portal create to configure the iSCSI
portal on network port Eth 1 for iSCSI communications between the
iscsi portal create –ip 172.17.200.174 –p 3260
Use the CLI command iscsi portal show to view the created iSCSI portal.
iscsi portal show
Table 65: | iSCSI Portal |
|
|
Protocol | Address Type | Address | Port |
|
|
|
|
6 | IPv4 | 172.17.200.174 | 3260 |
|
|
|
|
STEP 8. CHECK STORAGE DEVICES
Use the CLI command storage show to list the
devices. This ensures that all disks were registered during the disk auto- discovery scan. This also lists the default disk aliases needed for creating your simple volumes.
storage show |
|
|
| |
Table 66: | Storage Devices |
|
|
|
|
|
|
|
|
Alias | Entity Name | LUN | Oper. Status | Type |
Stor_1 | 500507606058c90 | 0 | Enabled | disk |
Stor_2 | 2000002037f88fb8 | 0 | Enabled | disk |
Stor_3 | 2000002037c32b1f | 0 | Enabled | disk |
Stor_4 | 2000002037c32450 | 0 | Enabled | disk |
STEP 9. CREATE SIMPLE VOLUMES
Use the CLI command volume create simple to create four simple virtual volumes – one from each physical disk.
volume create simple
volume create simple
volume create simple
volume create simple
STEP 10. CREATE MIRRORED VOLUMES (RAID 1)
Use the CLI command volume create mirror to create a mirrored volume, Mirror1, from simple volumes Simple1 and Simple2.
252 | SANRAD |
