Press Enter to enter the IP mask and return to the main
V-Switch 3000
Status: OK
STEP 5. LOGIN TO THE MANAGEMENT PORT
From your management terminal, open a Telnet session with the management port.
From the Windows Start menu, select Run. In the Open window, enter:
telnet 100.100.100.2
Click OK. A Telnet session window opens.
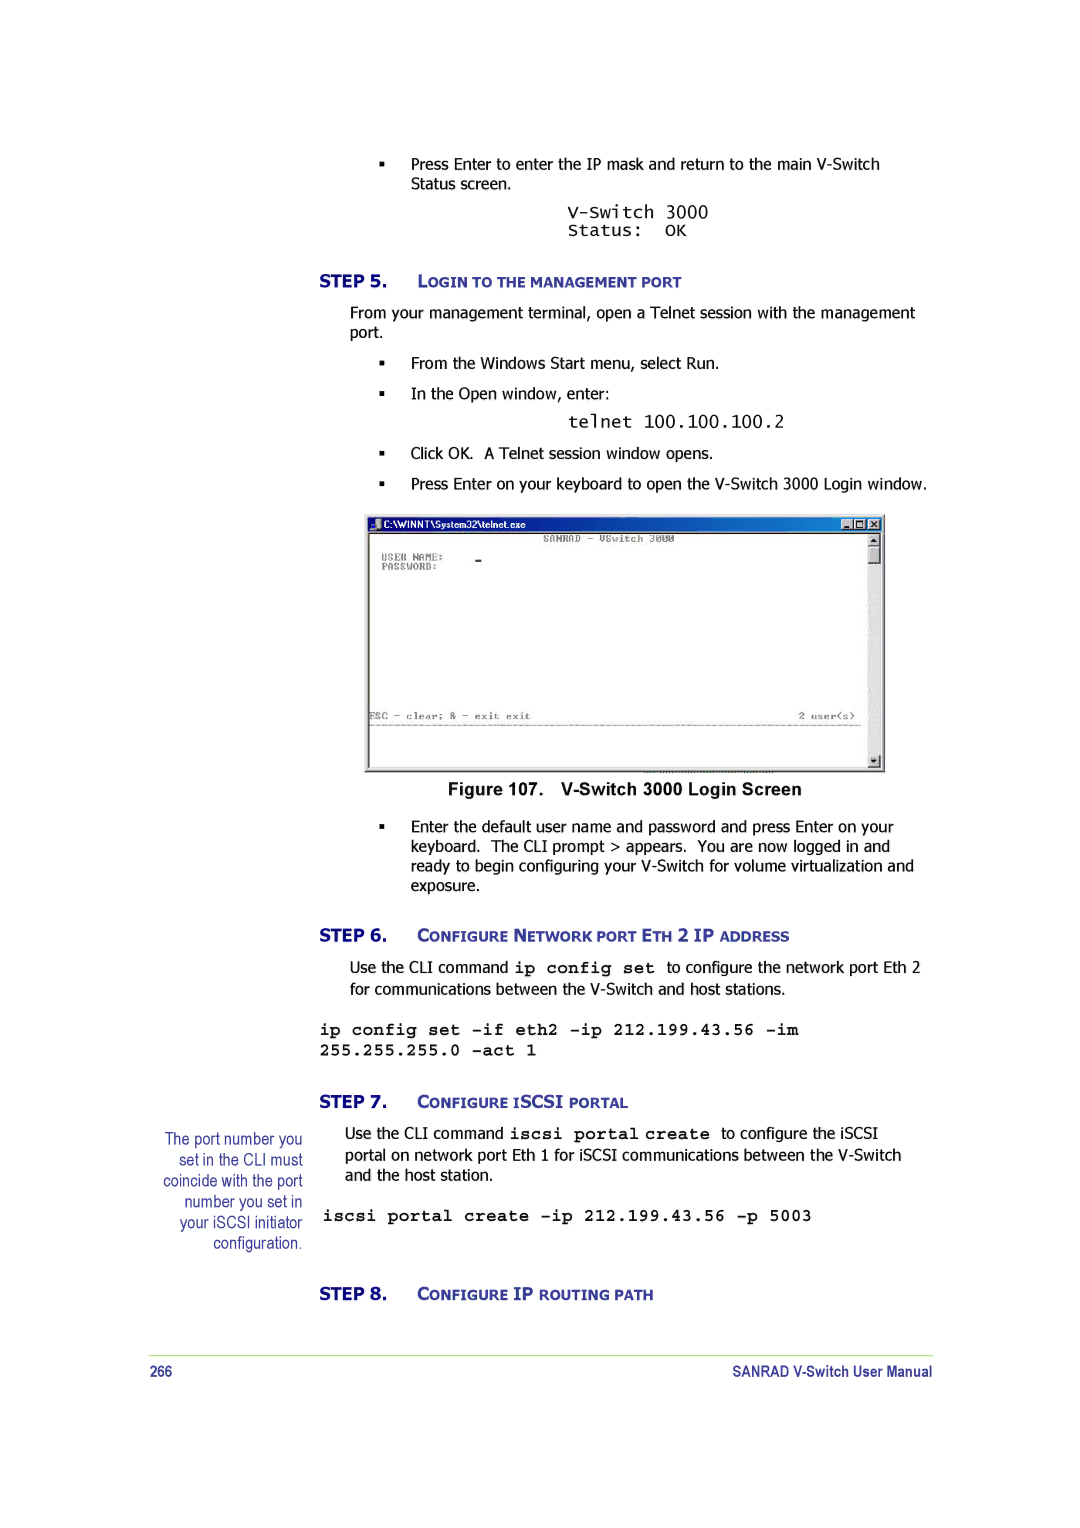
Press Enter on your keyboard to open the
Figure 107. V-Switch 3000 Login Screen
Enter the default user name and password and press Enter on your keyboard. The CLI prompt > appears. You are now logged in and ready to begin configuring your
STEP 6. CONFIGURE NETWORK PORT ETH 2 IP ADDRESS
Use the CLI command ip config set to configure the network port Eth 2 for communications between the
ip config set
The port number you set in the CLI must coincide with the port number you set in your iSCSI initiator configuration.
STEP 7. CONFIGURE ISCSI PORTAL
Use the CLI command iscsi portal create to configure the iSCSI
portal on network port Eth 1 for iSCSI communications between the
iscsi portal create –ip 212.199.43.56 –p 5003
STEP 8. CONFIGURE IP ROUTING PATH
266 | SANRAD |
