STEP 5. INITIALIZE
Use the LCD display and control buttons on
Switch management port IP address and mask.
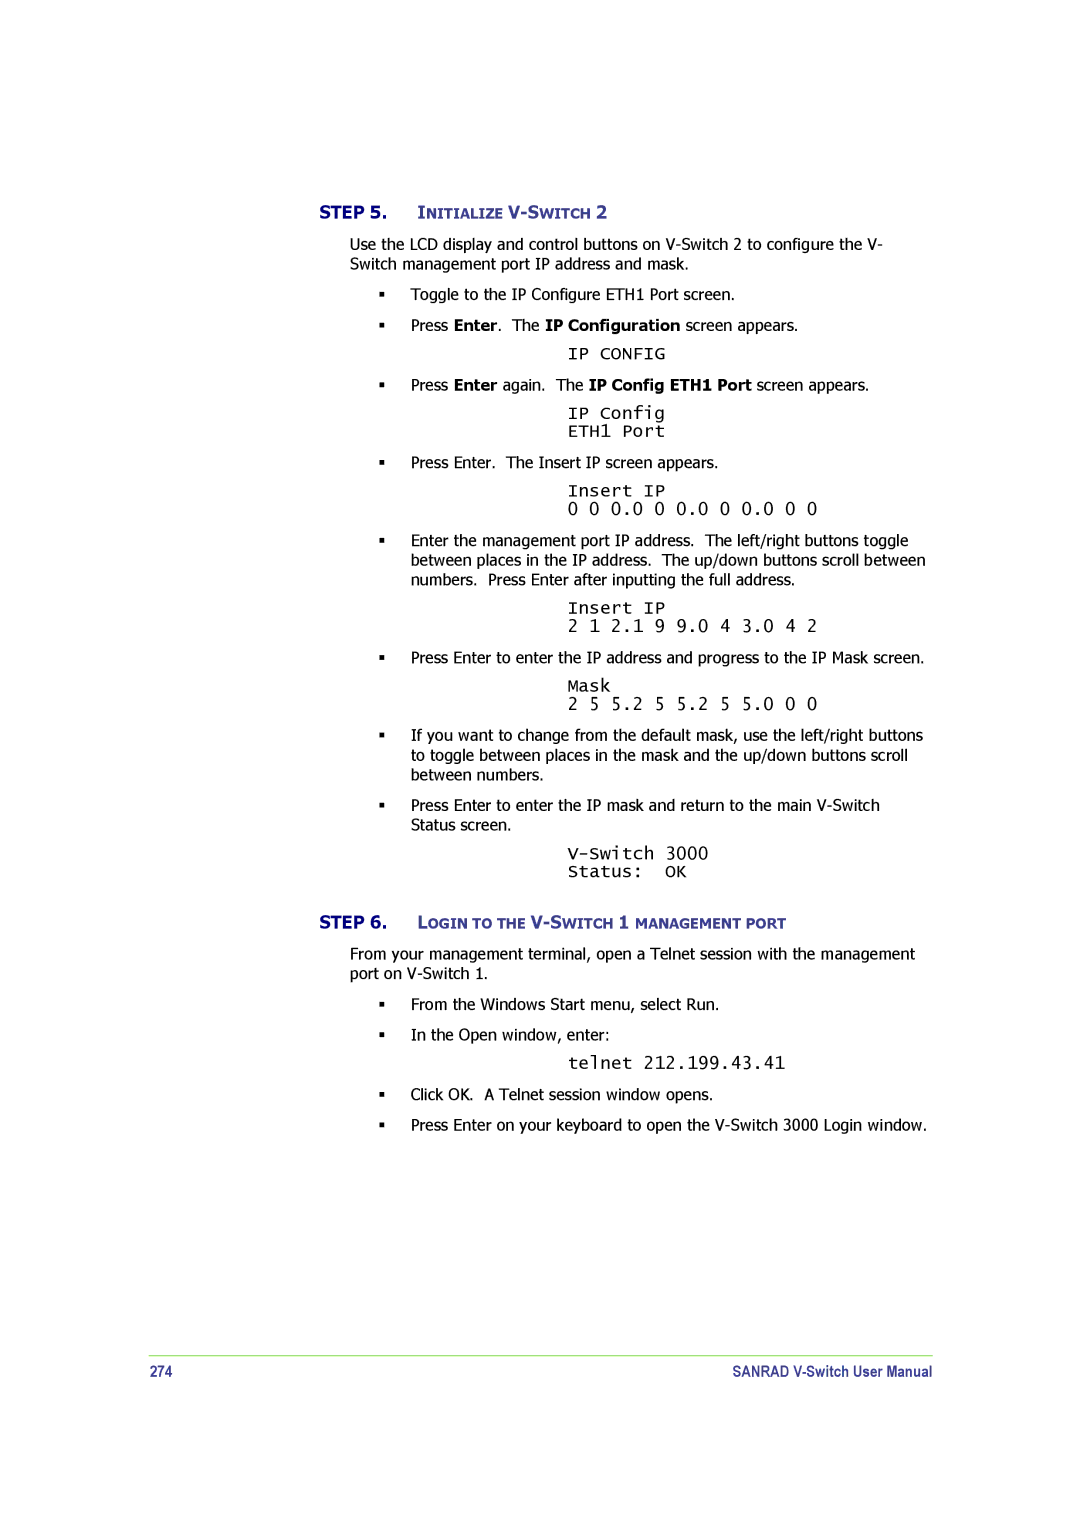
Toggle to the IP Configure ETH1 Port screen.
Press Enter. The IP Configuration screen appears.
IP CONFIG
Press Enter again. The IP Config ETH1 Port screen appears.
IP Config
ETH1 Port
Press Enter. The Insert IP screen appears.
Insert IP
0 0 0.0 0 0.0 0 0.0 0 0
Enter the management port IP address. The left/right buttons toggle between places in the IP address. The up/down buttons scroll between numbers. Press Enter after inputting the full address.
Insert IP
2 1 2.1 9 9.0 4 3.0 4 2
Press Enter to enter the IP address and progress to the IP Mask screen.
Mask
2 5 5.2 5 5.2 5 5.0 0 0
If you want to change from the default mask, use the left/right buttons to toggle between places in the mask and the up/down buttons scroll between numbers.
Press Enter to enter the IP mask and return to the main
V-Switch 3000
Status: OK
STEP 6. LOGIN TO THE
From your management terminal, open a Telnet session with the management port on
From the Windows Start menu, select Run. In the Open window, enter:
telnet 212.199.43.41
Click OK. A Telnet session window opens.
Press Enter on your keyboard to open the
274 | SANRAD |
