SANRAD V-Switch manual Configuring the Management Console

Models: V-Switch

1 300
Download 300 pages 15.92 Kb
Page 55
Image 55

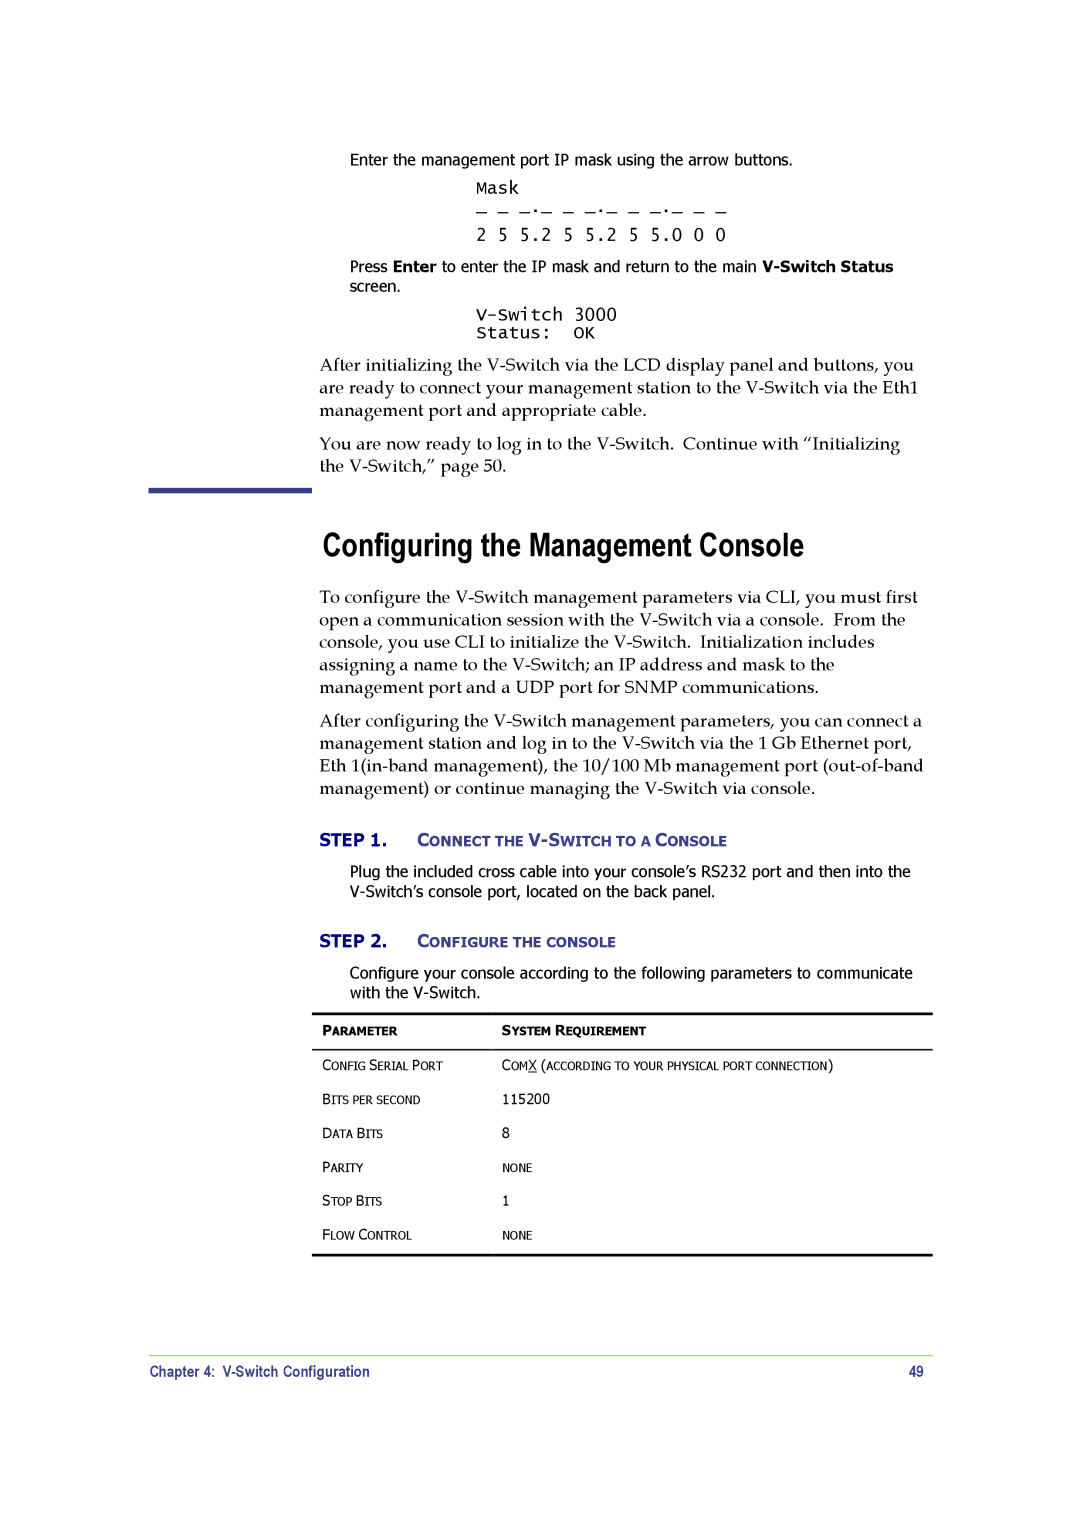
Enter the management port IP mask using the arrow buttons.

Mask

_ _ _._ _ _._ _ _._ _ _

2 5 5.2 5 5.2 5 5.0 0 0

Press Enter to enter the IP mask and return to the main V-Switch Status screen.

V-Switch 3000

Status: OK

After initializing the V-Switch via the LCD display panel and buttons, you are ready to connect your management station to the V-Switch via the Eth1 management port and appropriate cable.

You are now ready to log in to the V-Switch. Continue with “Initializing the V-Switch,” page 50.

Configuring the Management Console

To configure the V-Switch management parameters via CLI, you must first open a communication session with the V-Switch via a console. From the console, you use CLI to initialize the V-Switch. Initialization includes assigning a name to the V-Switch; an IP address and mask to the management port and a UDP port for SNMP communications.

After configuring the V-Switch management parameters, you can connect a management station and log in to the V-Switch via the 1 Gb Ethernet port, Eth 1(in-band management), the 10/100 Mb management port (out-of-band management) or continue managing the V-Switch via console.

STEP 1. CONNECT THE V-SWITCH TO A CONSOLE

Plug the included cross cable into your console’s RS232 port and then into the

V-Switch’s console port, located on the back panel.

STEP 2. CONFIGURE THE CONSOLE

Configure your console according to the following parameters to communicate with the V-Switch.

PARAMETER

SYSTEM REQUIREMENT


CONFIG SERIAL PORT

COMX (ACCORDING TO YOUR PHYSICAL PORT CONNECTION)

BITS PER SECOND

115200

DATA BITS

8

PARITY

NONE

STOP BITS

1

FLOW CONTROL

NONE


Chapter 4: V-Switch Configuration

49

Page 55
Image 55
SANRAD V-Switch manual Configuring the Management Console