Chapter 5 Customizing the Cisco Unity Platform
Obtaining Cisco Unity License Files
Configuring a Dual NIC
To Configure a Dual NIC in the Cisco Unity Server
Step 1 Start the
a.On the Windows Start menu, click Settings > Control Panel.
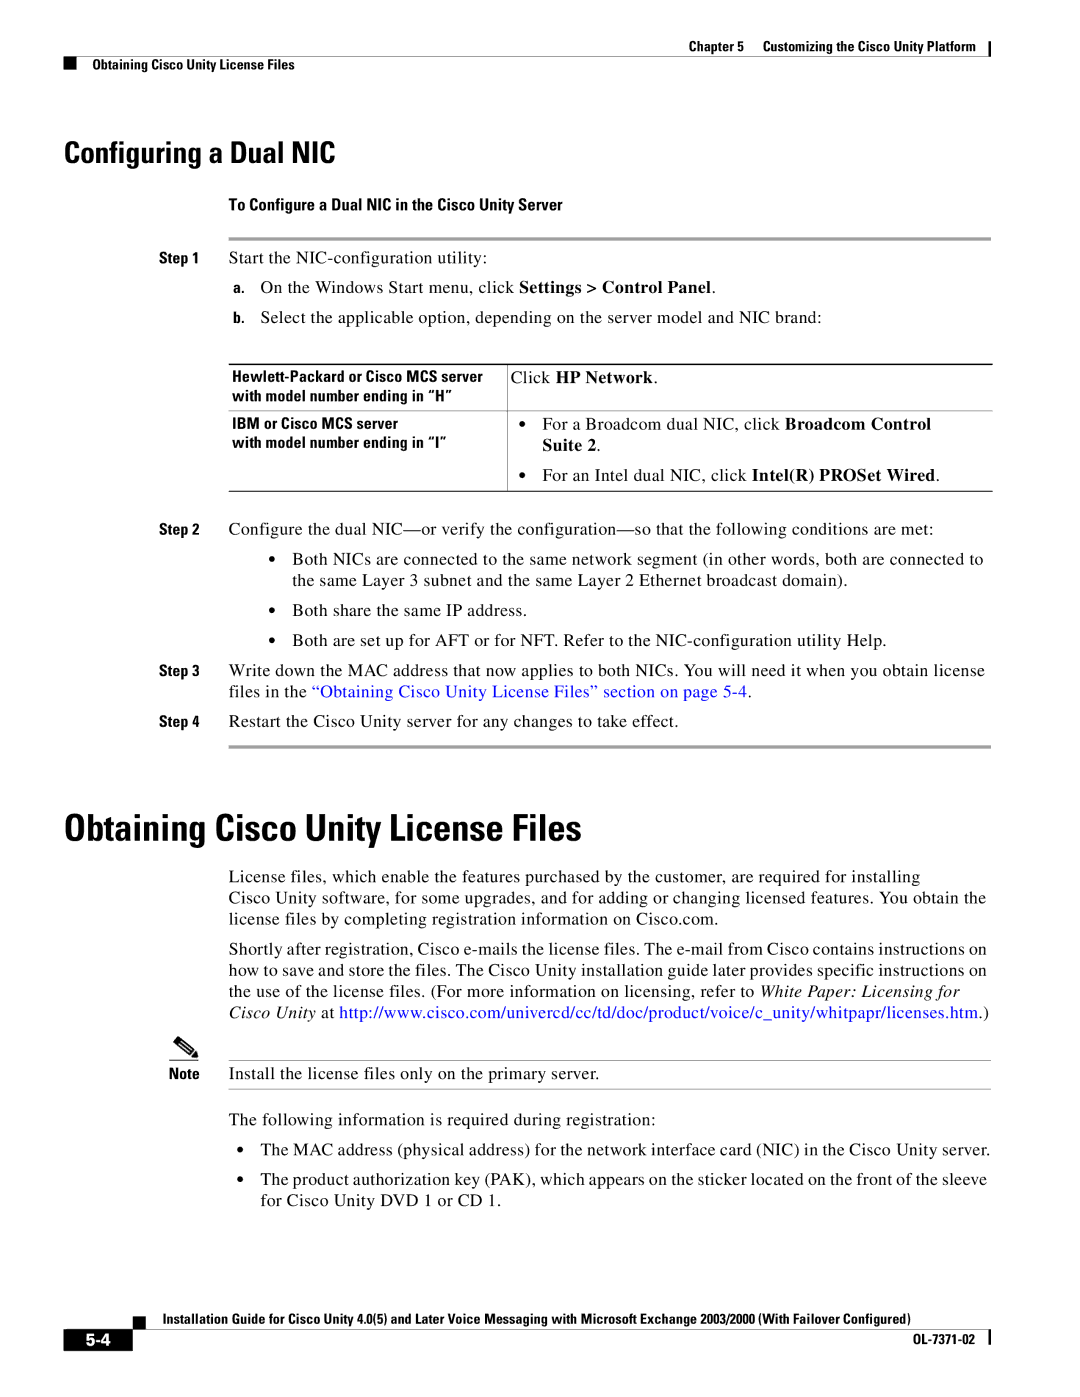
b.Select the applicable option, depending on the server model and NIC brand:
Click HP Network. | ||
with model number ending in “H” |
|
|
|
|
|
IBM or Cisco MCS server | • | For a Broadcom dual NIC, click Broadcom Control |
with model number ending in “I” |
| Suite 2. |
| • | For an Intel dual NIC, click Intel(R) PROSet Wired. |
|
|
|
Step 2 Configure the dual
•Both NICs are connected to the same network segment (in other words, both are connected to the same Layer 3 subnet and the same Layer 2 Ethernet broadcast domain).
•Both share the same IP address.
•Both are set up for AFT or for NFT. Refer to the
Step 3 Write down the MAC address that now applies to both NICs. You will need it when you obtain license files in the “Obtaining Cisco Unity License Files” section on page
Step 4 Restart the Cisco Unity server for any changes to take effect.
Obtaining Cisco Unity License Files
License files, which enable the features purchased by the customer, are required for installing
Cisco Unity software, for some upgrades, and for adding or changing licensed features. You obtain the license files by completing registration information on Cisco.com.
Shortly after registration, Cisco
Note Install the license files only on the primary server.
The following information is required during registration:
•The MAC address (physical address) for the network interface card (NIC) in the Cisco Unity server.
•The product authorization key (PAK), which appears on the sticker located on the front of the sleeve for Cisco Unity DVD 1 or CD 1.
Installation Guide for Cisco Unity 4.0(5) and Later Voice Messaging with Microsoft Exchange 2003/2000 (With Failover Configured)
| ||
|
