In Host-Controlled Remote Mode
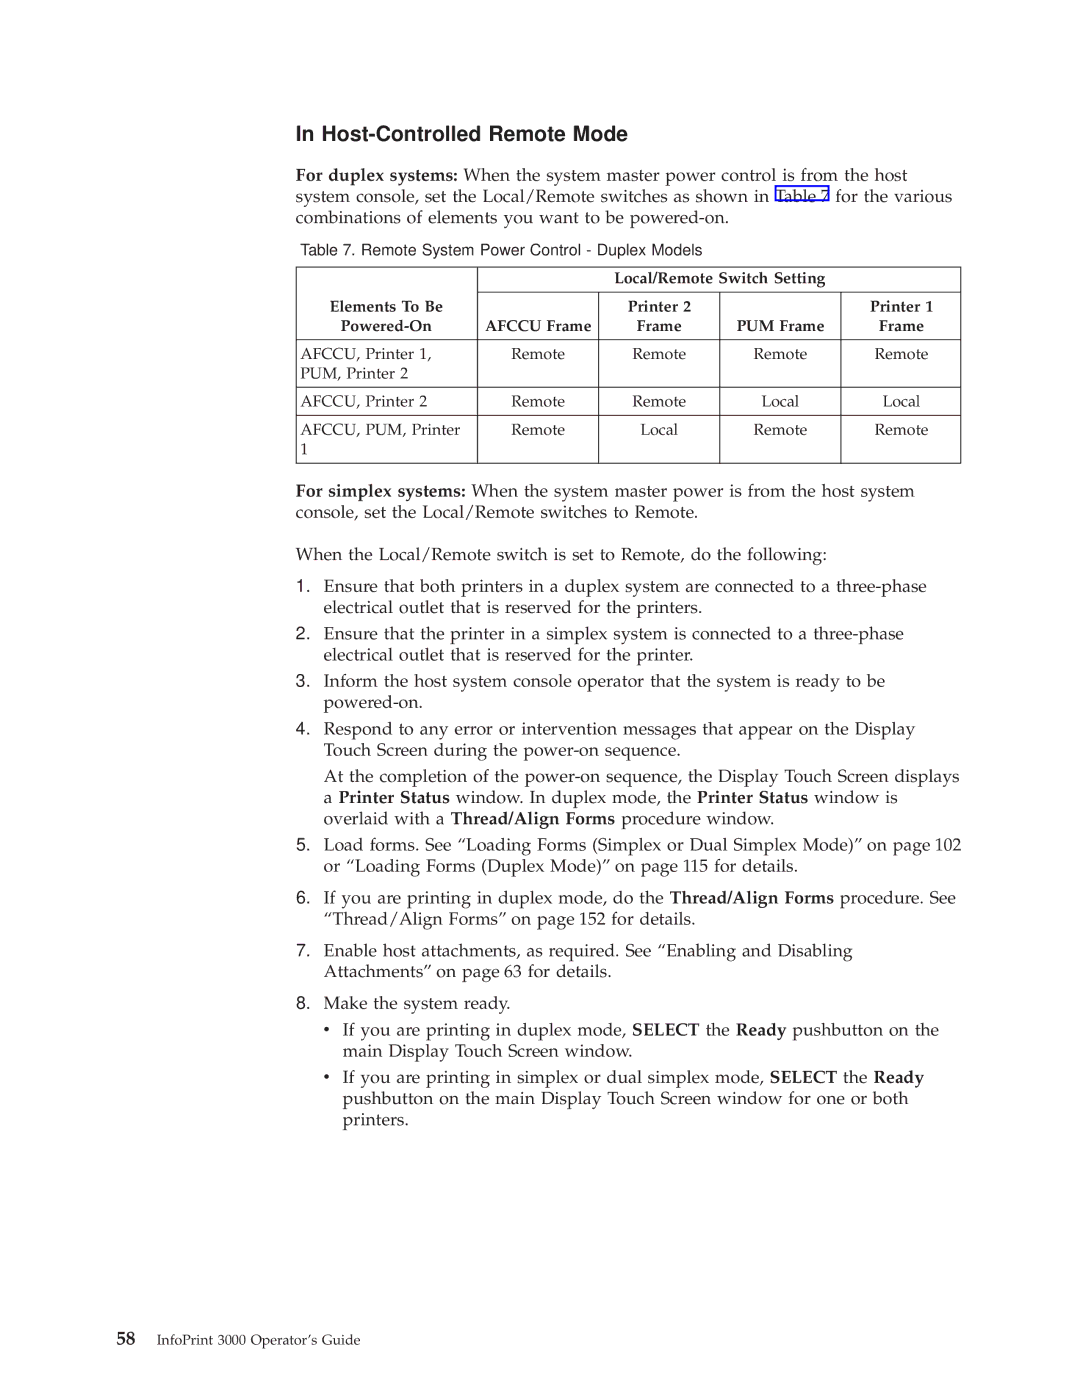
For duplex systems: When the system master power control is from the host system console, set the Local/Remote switches as shown in Table 7 for the various combinations of elements you want to be
Table 7. Remote System Power Control - Duplex Models
|
| Local/Remote Switch Setting |
| |
|
|
|
|
|
Elements To Be |
| Printer 2 |
| Printer 1 |
AFCCU Frame | Frame | PUM Frame | Frame | |
|
|
|
|
|
AFCCU, Printer 1, | Remote | Remote | Remote | Remote |
PUM, Printer 2 |
|
|
|
|
AFCCU, Printer 2 | Remote | Remote | Local | Local |
|
|
|
|
|
AFCCU, PUM, Printer | Remote | Local | Remote | Remote |
1 |
|
|
|
|
|
|
|
|
|
For simplex systems: When the system master power is from the host system console, set the Local/Remote switches to Remote.
When the Local/Remote switch is set to Remote, do the following:
1.Ensure that both printers in a duplex system are connected to a
2.Ensure that the printer in a simplex system is connected to a
3.Inform the host system console operator that the system is ready to be
4.Respond to any error or intervention messages that appear on the Display Touch Screen during the
At the completion of the
5.Load forms. See ªLoading Forms (Simplex or Dual Simplex Mode)º on page 102 or ªLoading Forms (Duplex Mode)º on page 115 for details.
6.If you are printing in duplex mode, do the Thread/Align Forms procedure. See ªThread/Align Formsº on page 152 for details.
7.Enable host attachments, as required. See ªEnabling and Disabling Attachmentsº on page 63 for details.
8.Make the system ready.
vIf you are printing in duplex mode, SELECT the Ready pushbutton on the main Display Touch Screen window.
vIf you are printing in simplex or dual simplex mode, SELECT the Ready pushbutton on the main Display Touch Screen window for one or both printers.
