Chapter 7: Avaya IP Agent basic operations
Steps for a Basic Transfer
To transfer a call using Basic Transfer:
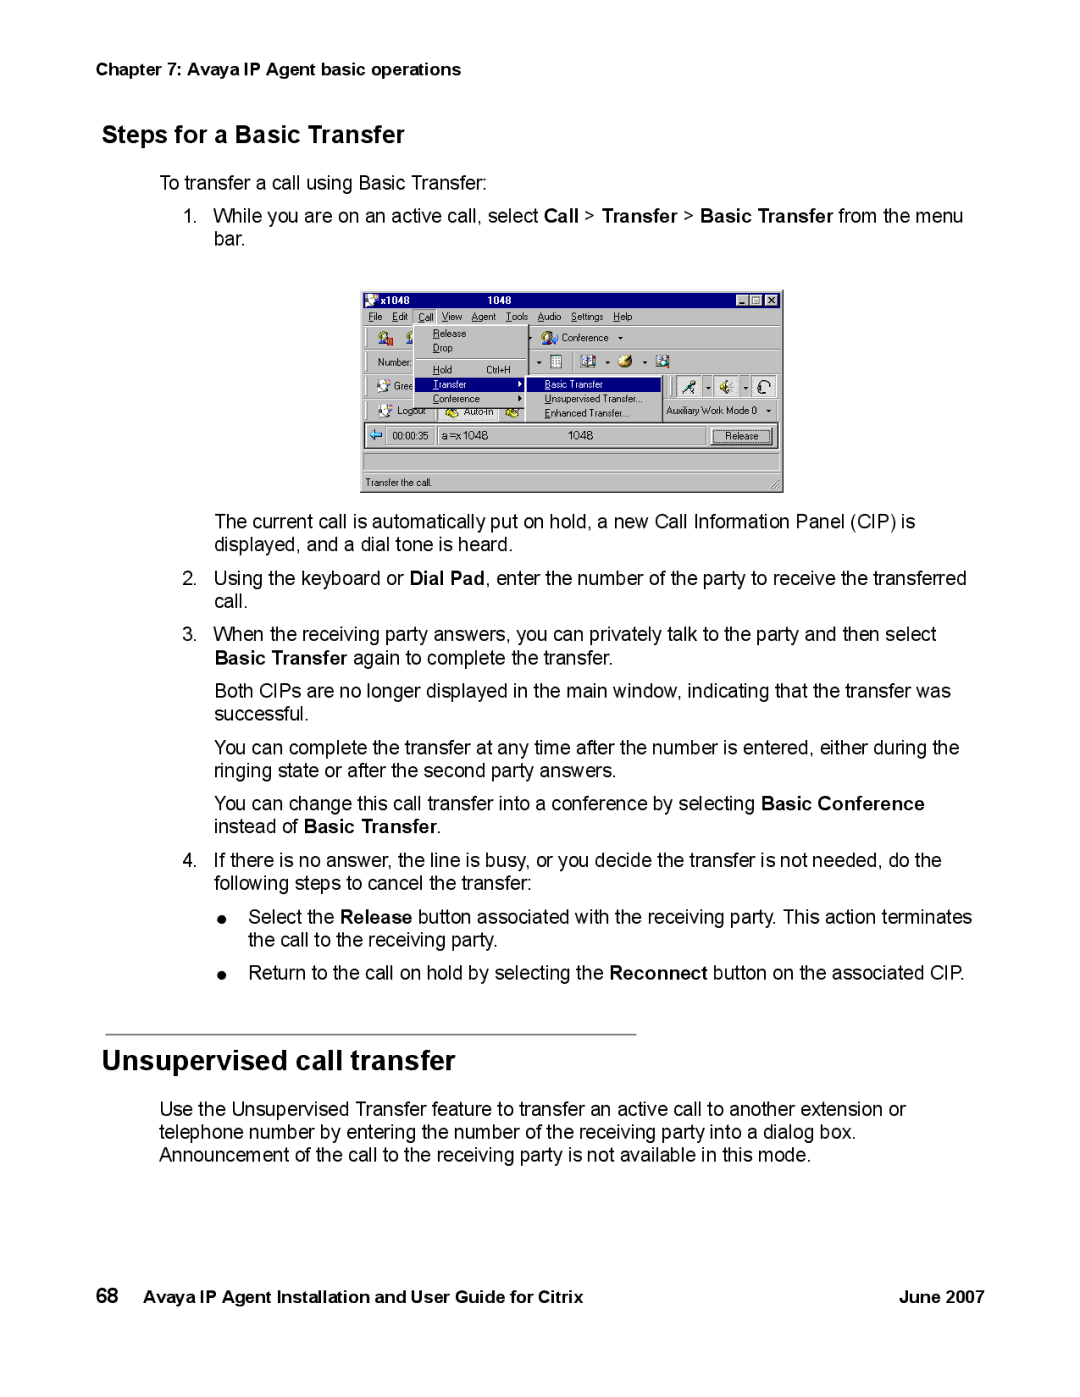
1.While you are on an active call, select Call > Transfer > Basic Transfer from the menu bar.
The current call is automatically put on hold, a new Call Information Panel (CIP) is displayed, and a dial tone is heard.
2.Using the keyboard or Dial Pad, enter the number of the party to receive the transferred call.
3.When the receiving party answers, you can privately talk to the party and then select Basic Transfer again to complete the transfer.
Both CIPs are no longer displayed in the main window, indicating that the transfer was successful.
You can complete the transfer at any time after the number is entered, either during the ringing state or after the second party answers.
You can change this call transfer into a conference by selecting Basic Conference instead of Basic Transfer.
4.If there is no answer, the line is busy, or you decide the transfer is not needed, do the following steps to cancel the transfer:
●Select the Release button associated with the receiving party. This action terminates the call to the receiving party.
●Return to the call on hold by selecting the Reconnect button on the associated CIP.
Unsupervised call transfer
Use the Unsupervised Transfer feature to transfer an active call to another extension or telephone number by entering the number of the receiving party into a dialog box. Announcement of the call to the receiving party is not available in this mode.
68 Avaya IP Agent Installation and User Guide for Citrix | June 2007 |
