Chapter 3 Initial Configuration
For more information, refer to "Priority DLCI" on page 46.
18Configure an IP address for the
19Type exit to return to Supervisor mode.
20Repeat step 3 through step 6 to configure additional Frame Relay
Note: If the Unframed framing option was selected in step 3 for an E1 port, a Channel Group is automatically created comprising the entire E1 bandwidth. This Channel Group has the number ‘0’, and for all the subsequent configuration for this interface use the context interface serial n:0 where ‘n’ is the port number.
Note: The first IP interface created in the X330WAN automatically becomes the PMI, described in detail on page 34. It is recommended to configure the Loopback interface as the first Layer 2 interface and to configure an IP interface on it. After the PMI is configured, the following message appears:
The primary management interface has changed.
For this change to take effect, you need to copy
Enter the copy
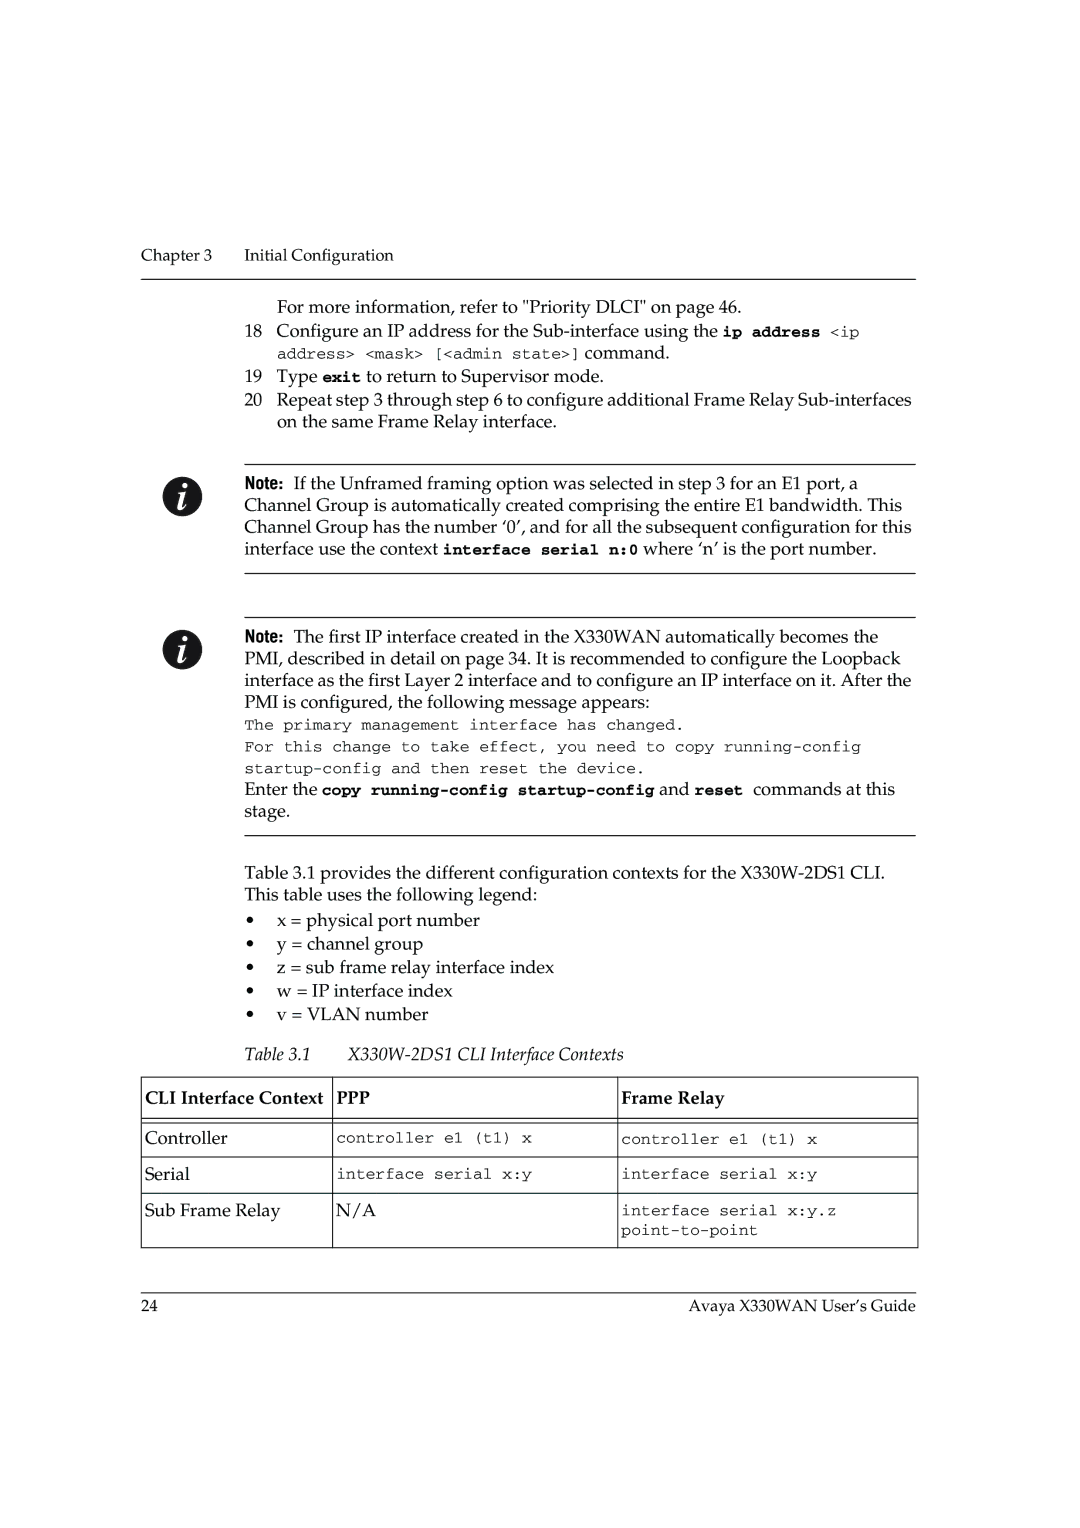
Table 3.1 provides the different configuration contexts for the
•x = physical port number
•y = channel group
•z = sub frame relay interface index
•w = IP interface index
•v = VLAN number
Table 3.1 | ||
|
|
|
CLI Interface Context | PPP | Frame Relay |
|
|
|
|
|
|
Controller | controller e1 (t1) x | controller e1 (t1) x |
|
|
|
Serial | interface serial x:y | interface serial x:y |
|
|
|
Sub Frame Relay | N/A | interface serial x:y.z |
|
| |
|
|
|
24 | Avaya X330WAN User’s Guide |
