4085-001
Right Cover/Power Switch Removal
1.Remove the rear cover. Refer to “Rear Cover Removal” on page
2.Remove the exit tray. Refer to “Exit Tray Removal” on page
3.Remove the operator panel cover. Refer to “Operator Panel Cover/Operator Panel Removal” on page
4.Move the carrier to the left.
5.Disconnect the power switch from the power supply. Note the wire routing.
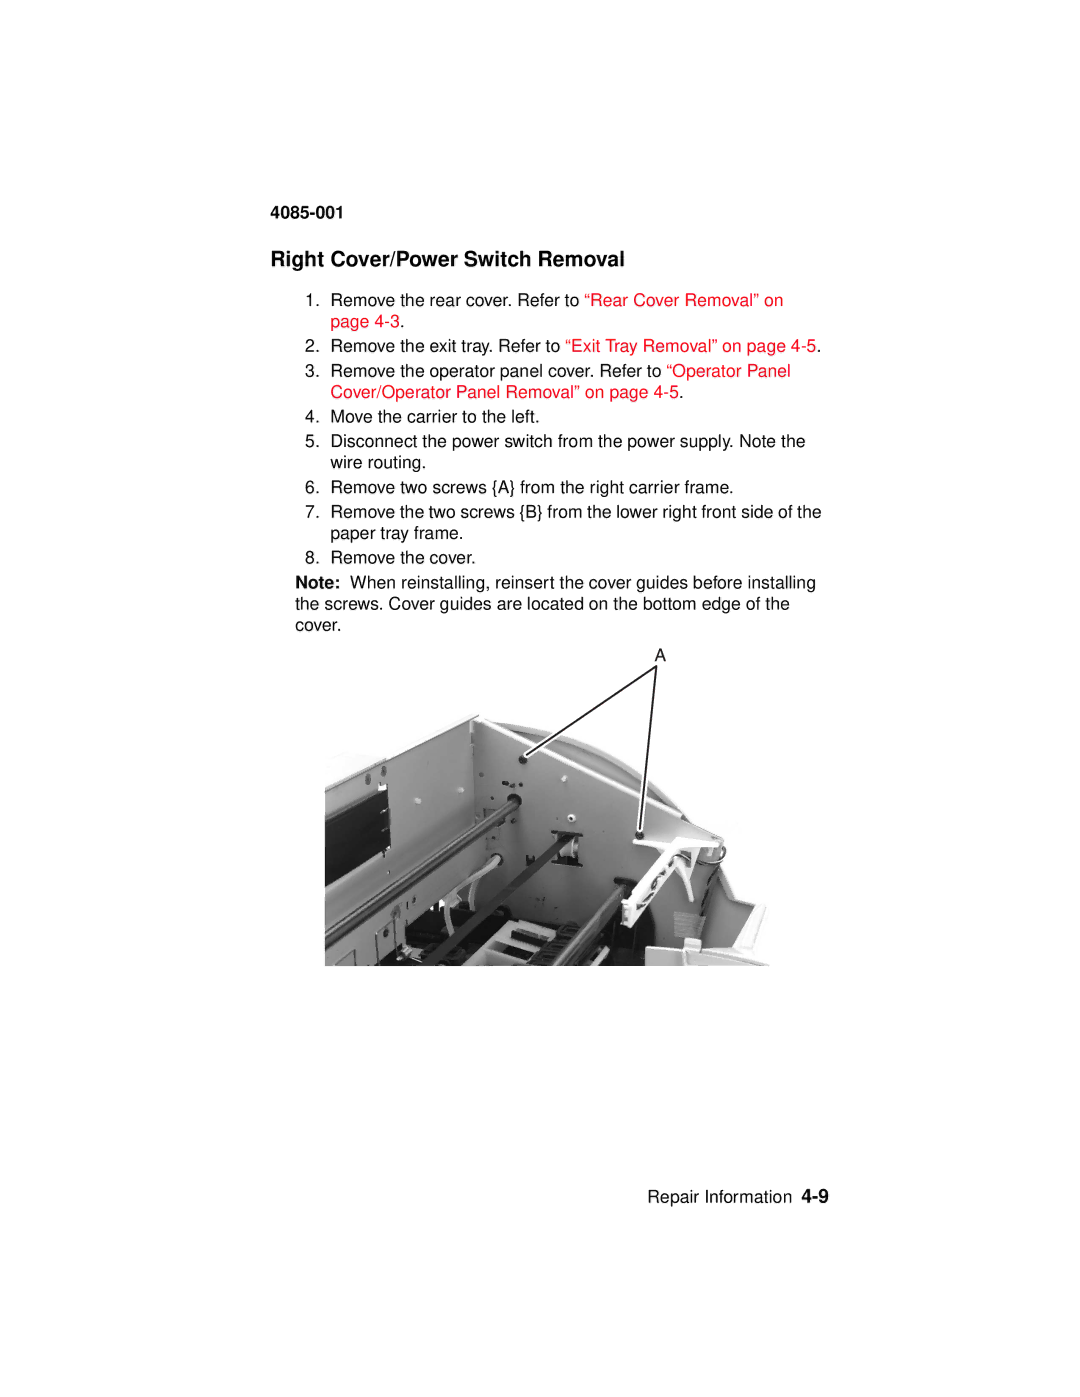
6.Remove two screws {A} from the right carrier frame.
7.Remove the two screws {B} from the lower right front side of the paper tray frame.
8.Remove the cover.
Note: When reinstalling, reinsert the cover guides before installing the screws. Cover guides are located on the bottom edge of the cover.
Repair Information