Lexmark Printer, J110 manual 4085-001

Models: J110 Printer

1 248
Download 248 pages 2.32 Kb
Page 79
Image 79
Manual background

4085-001

Multi-Purpose Feeder (MPF) Motor and Sensor Service Check

1.Remove the rear cover from the printer.

2.Remove the engine board cover.

3.Install the multi-purpose feeder.

4.Check for a voltage reading at connector (J10) pin 1 for approximately +36 V dc on the engine board. If the voltage is incorrect, replace the engine board. If the voltage is correct, go to step 5.

5.Remove the feeder from the printer.

6.Remove the left cover.

7.To check the motor, check between pins 1 and 5 on the motor connector for approximately 16.8 ohms. If the reading is incorrect, replace the multi-purpose feeder motor. If the reading is correct, check the continuity between each pin 1 and 5 to the motor case. If continuity exists, replace the motor. If the symptom remains, go to “Power Supply Service Check” on page 2-63 . To check the sensor, check pins 7 and 8 to ground at connector (J10) for a voltage reading of approximately 5 V dc each, with MPF installed and power on. If the voltage is incorrect, replace the engine board. If the voltage is correct, remove the multi-purpose feeder and check between the motor connector pins 4 and 8 with the negative meter lead on pin 4 and positive lead on pin 8. Check for a reading of approximately 3.7 ohm. If ohm reading is not correct, replace sensor. See “MP Feeder Sensor Test” on page 3-28 .

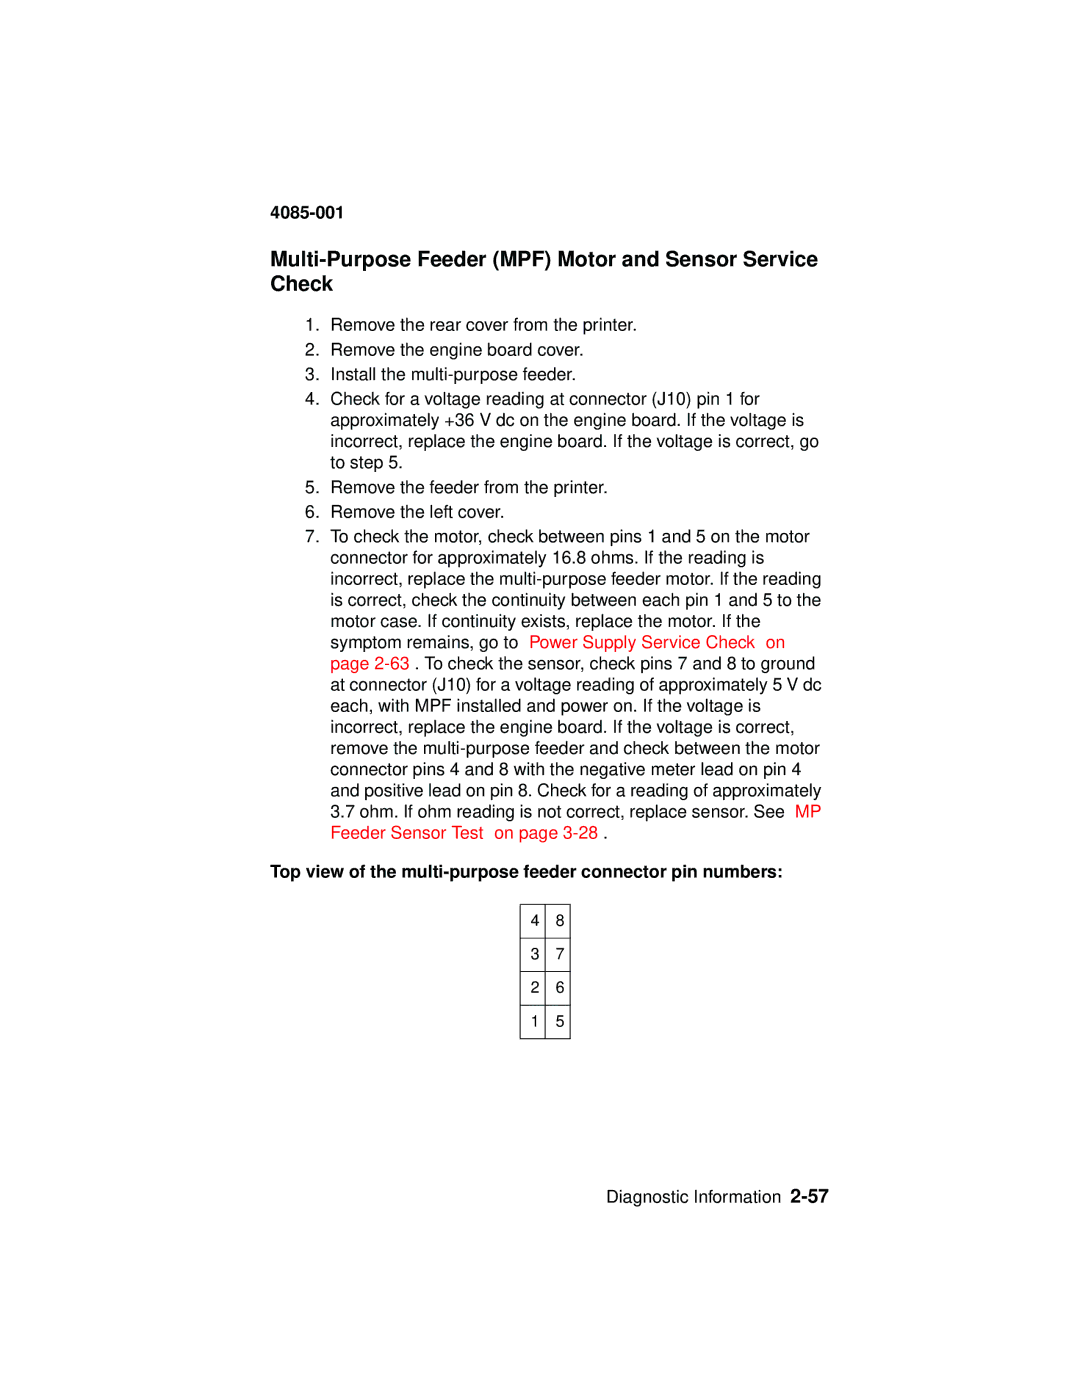
Top view of the multi-purpose feeder connector pin numbers:

48

37

26

15

Diagnostic Information 2-57

Page 79
Image 79
Lexmark Printer, J110 manual 4085-001