1.From the Manage User
2.Select a Virtual Host from the list of virtual hosts or click on Remove Configurations to remove all user
When you select a virtual host, it must be configured on your system. See Section : Enabling User
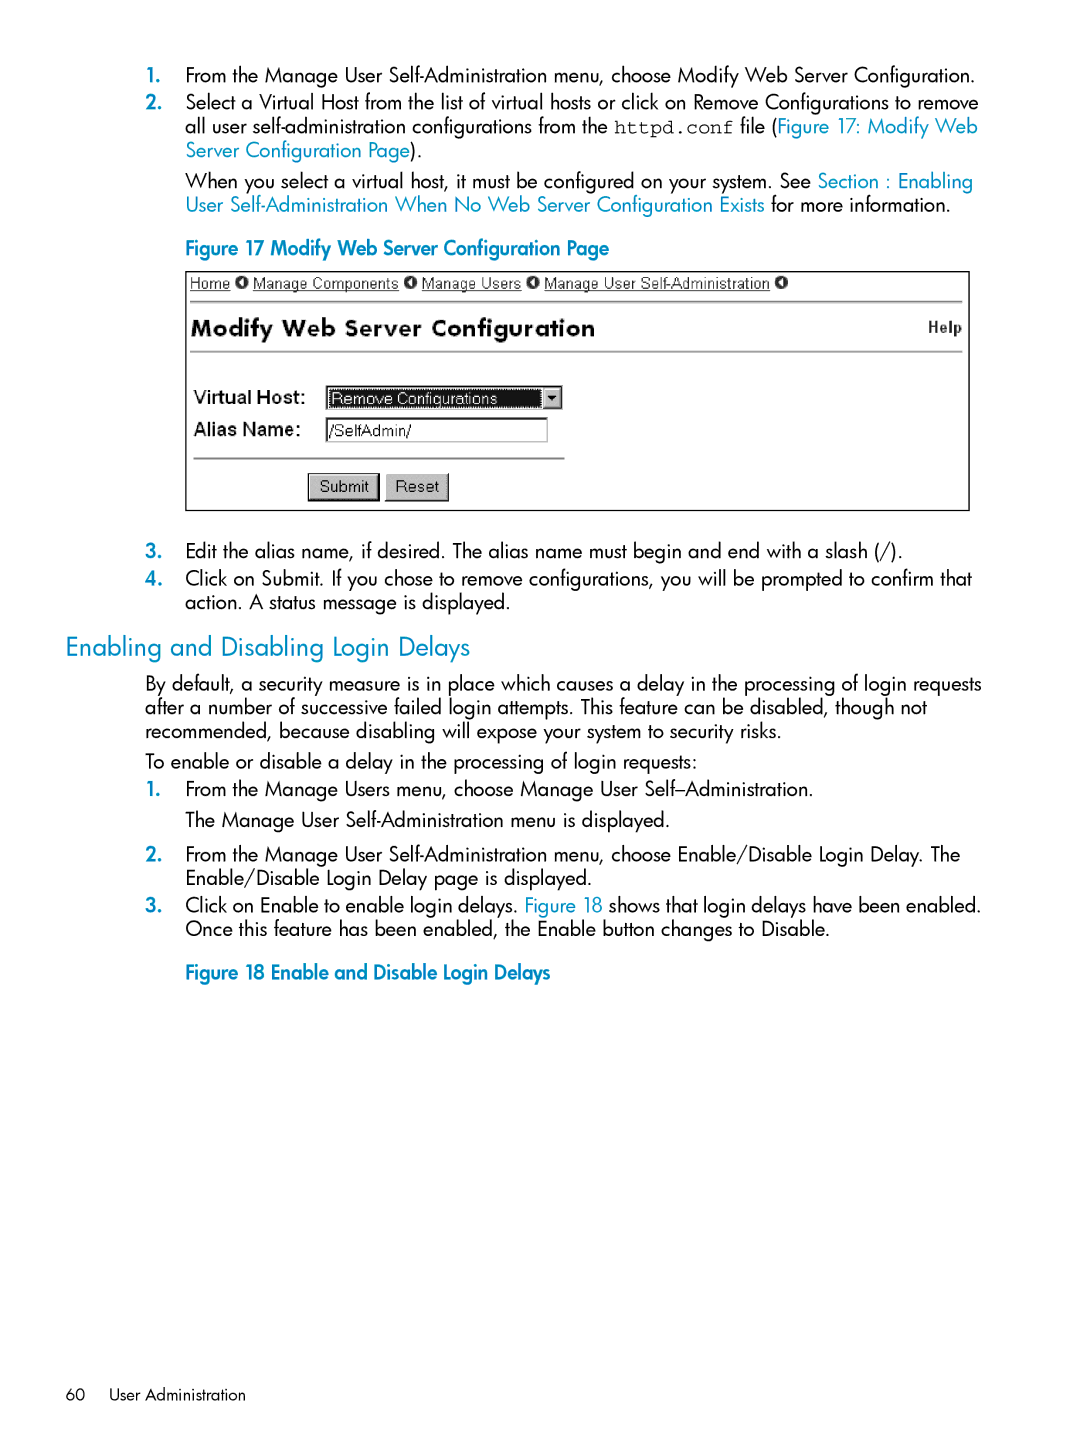
Figure 17 Modify Web Server Configuration Page
3.Edit the alias name, if desired. The alias name must begin and end with a slash (/).
4.Click on Submit. If you chose to remove configurations, you will be prompted to confirm that action. A status message is displayed.
Enabling and Disabling Login Delays
By default, a security measure is in place which causes a delay in the processing of login requests after a number of successive failed login attempts. This feature can be disabled, though not recommended, because disabling will expose your system to security risks.
To enable or disable a delay in the processing of login requests:
1.From the Manage Users menu, choose Manage User
2.From the Manage User
3.Click on Enable to enable login delays. Figure 18 shows that login delays have been enabled. Once this feature has been enabled, the Enable button changes to Disable.