1.From the Configure Web Server for User
2.Enter an alias name or accept the default name. (The alias name is used to access the
3.Click on the Submit button. Your public Web server is configured and the User
Enabling User
When you enable the User
1.Click on Accept to enable the User
2.Click on Modify to change the virtual host and alias name of the public Web server.
3.Select an SSL virtual host from the list box.
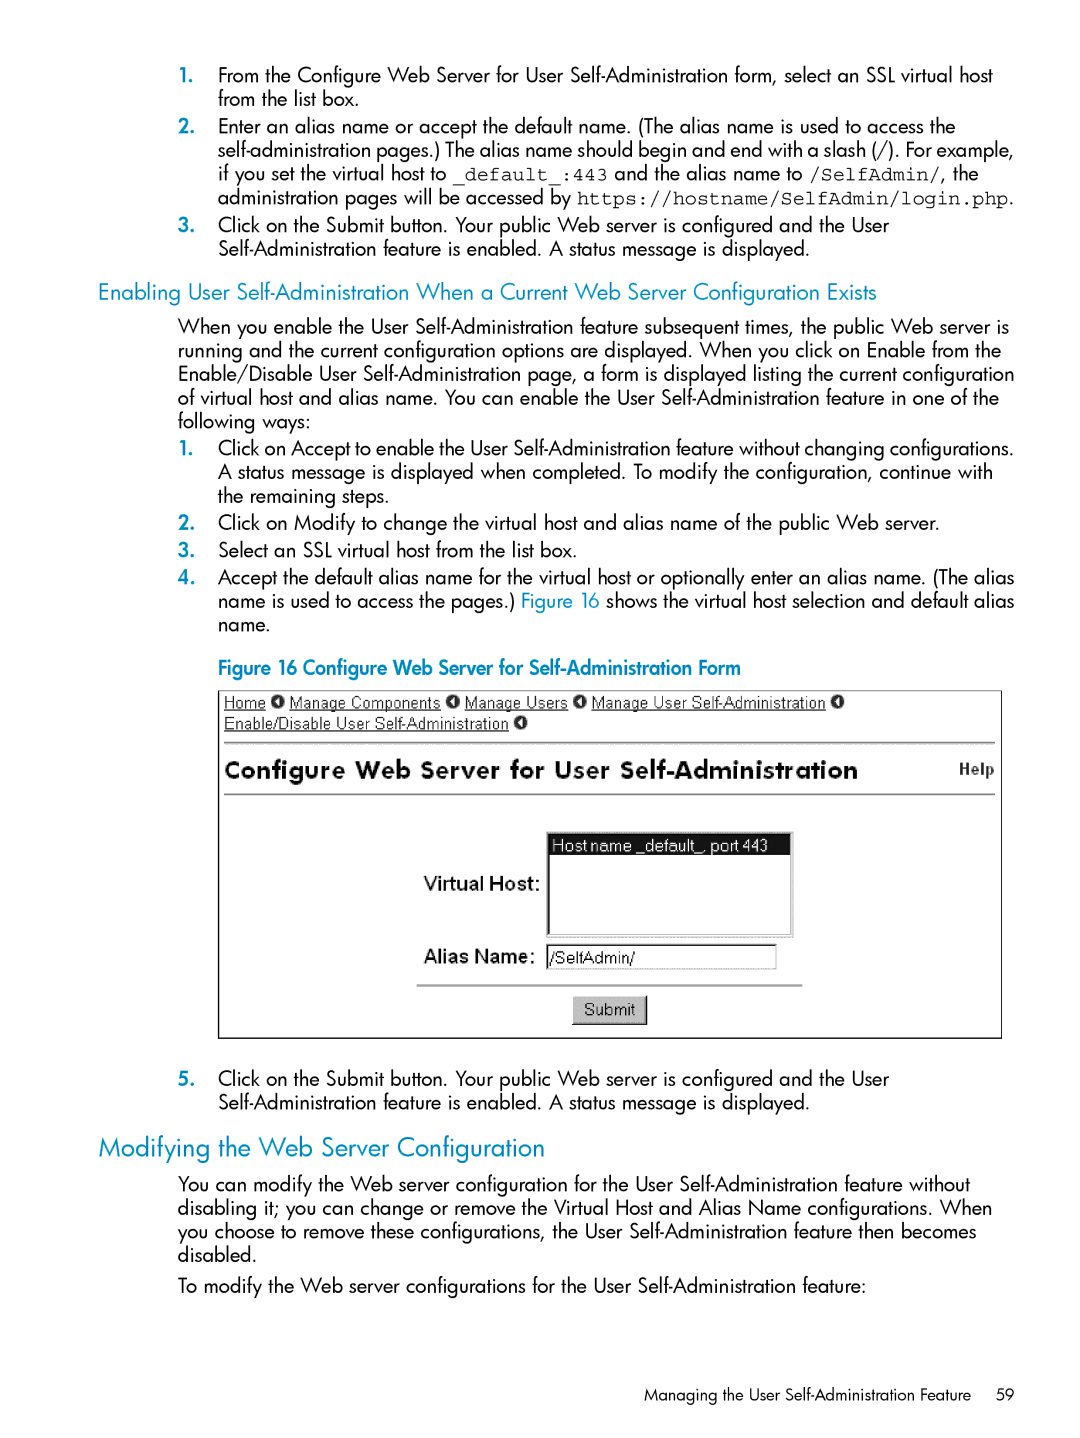
4.Accept the default alias name for the virtual host or optionally enter an alias name. (The alias name is used to access the pages.) Figure 16 shows the virtual host selection and default alias name.
Figure 16 Configure Web Server for Self-Administration Form
5.Click on the Submit button. Your public Web server is configured and the User
Modifying the Web Server Configuration
You can modify the Web server configuration for the User
To modify the Web server configurations for the User
