1.Under Network Security on the Manage Components menu, choose TCP Wrapper.
2.From the TCP Wrapper Administration menu, choose Test Configuration to display the Test Configuration form.
3.Select a service from the Service to Test list box.
4.Enter a domain name, IPv4 address, or IPv6 address in the Requesting Client field, using the syntax defined in the hosts_access(5) reference page.
5.Click Submit.
After you complete the procedure, the utility displays a message of the following form:
Access to
where:
For more information, see the tcpdmatch(8) reference page.
FireScreen Administration
The FireScreen menus and forms lead you through the process of installing, configuring, and enabling the FireScreen firewall. An Internet Protocol (IP) packet arriving at a gateway is routed by the system's routing daemon to the kernel for forwarding through a particular network interface. FireScreen filters routed packets by inhibiting the kernel IP forwarding functionality the based on screening rules stored in its configuration file.
Use the FireScreen Administration menu to perform the following tasks:
•Install FireScreen (Section : Installing FireScreen)
•Configure FireScreen (Section : Configuring FireScreen)
•Start and stop FireScreen (Section : Starting and Stopping FireScreen)
•View FireScreen status (Section : Viewing FireScreen Status)
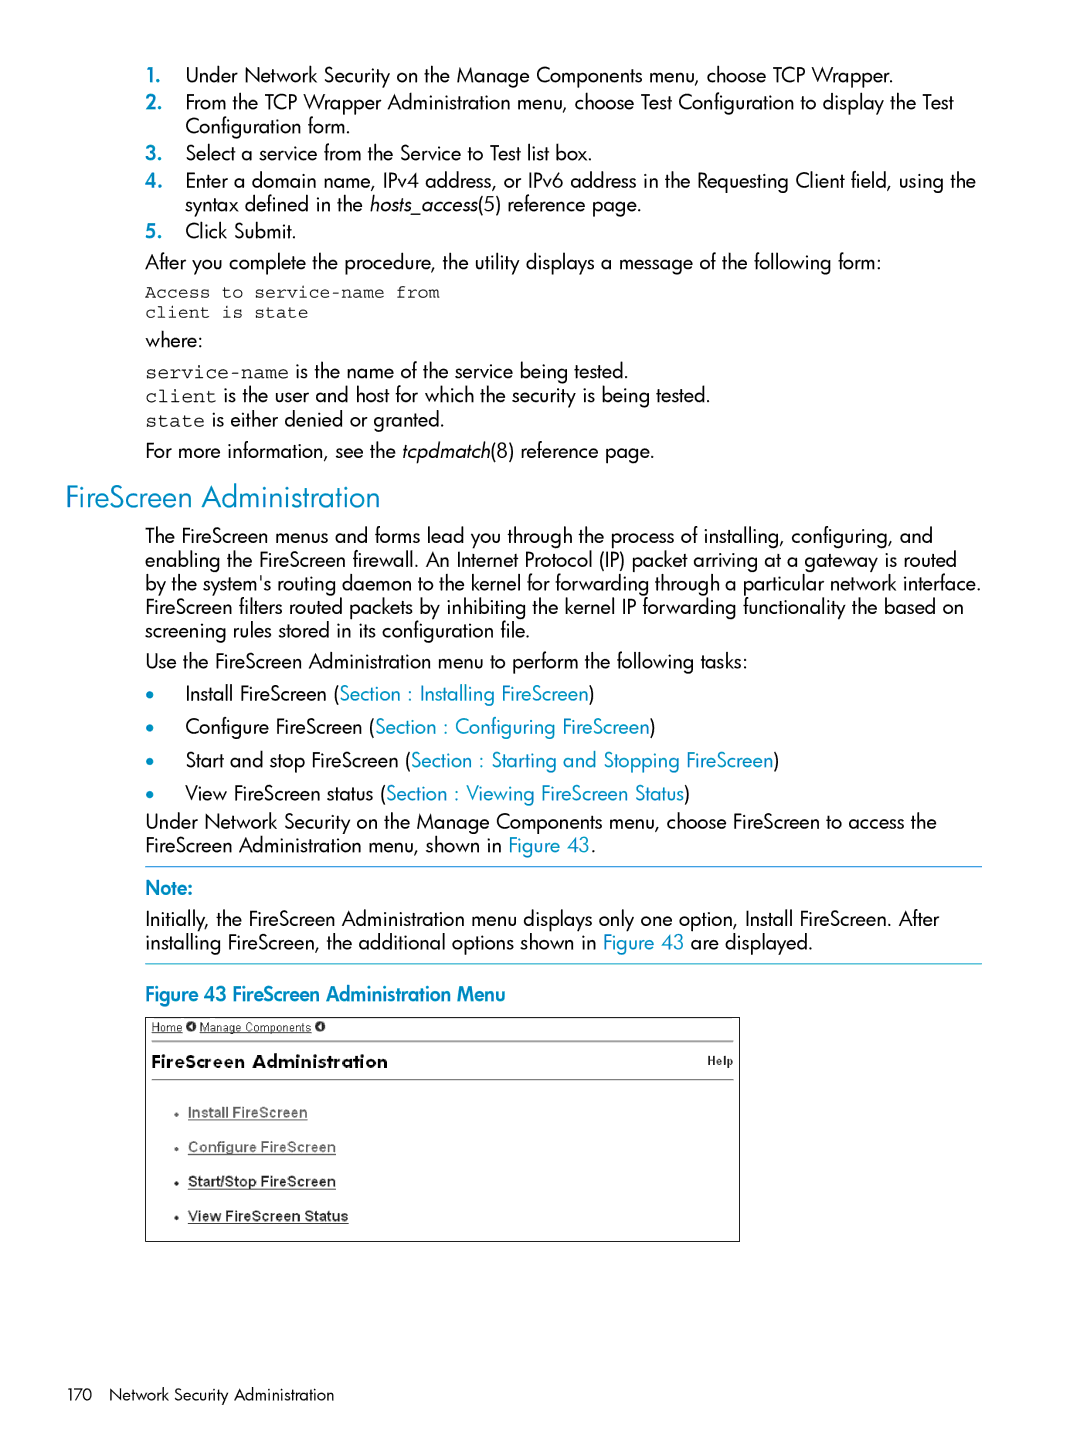
Under Network Security on the Manage Components menu, choose FireScreen to access the FireScreen Administration menu, shown in Figure 43.
Note:
Initially, the FireScreen Administration menu displays only one option, Install FireScreen. After installing FireScreen, the additional options shown in Figure 43 are displayed.
Figure 43 FireScreen Administration Menu
170 Network Security Administration