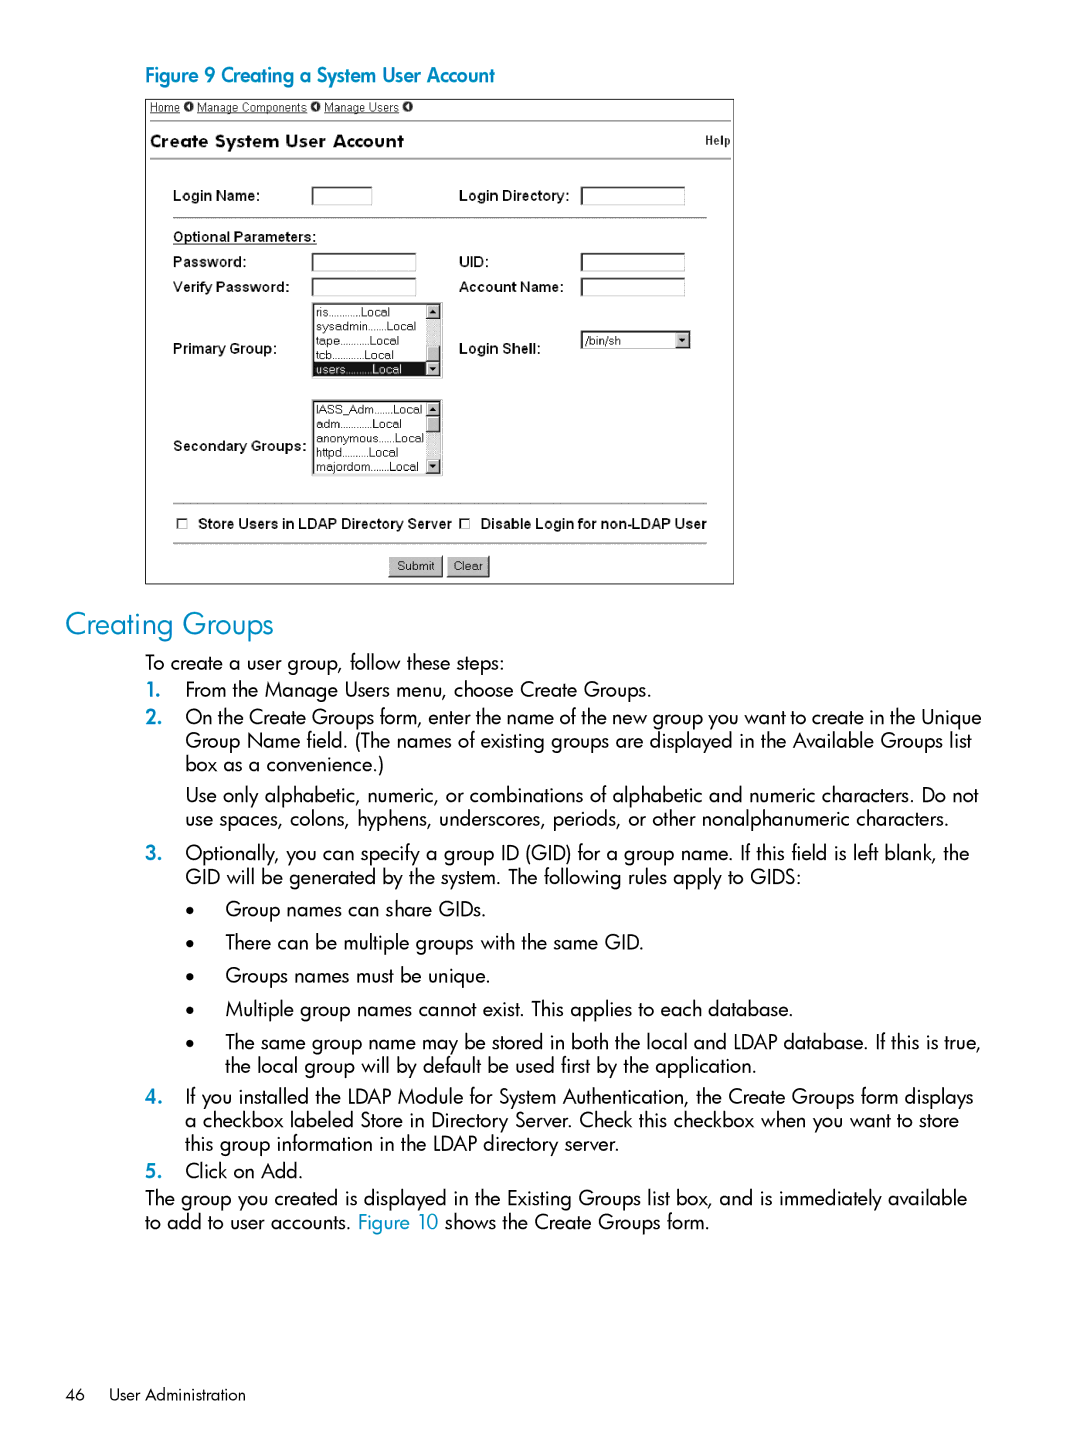
Figure 9 Creating a System User Account
Creating Groups
To create a user group, follow these steps:
1.From the Manage Users menu, choose Create Groups.
2.On the Create Groups form, enter the name of the new group you want to create in the Unique Group Name field. (The names of existing groups are displayed in the Available Groups list box as a convenience.)
Use only alphabetic, numeric, or combinations of alphabetic and numeric characters. Do not use spaces, colons, hyphens, underscores, periods, or other nonalphanumeric characters.
3.Optionally, you can specify a group ID (GID) for a group name. If this field is left blank, the GID will be generated by the system. The following rules apply to GIDS:
•Group names can share GIDs.
•There can be multiple groups with the same GID.
•Groups names must be unique.
•Multiple group names cannot exist. This applies to each database.
•The same group name may be stored in both the local and LDAP database. If this is true, the local group will by default be used first by the application.
4.If you installed the LDAP Module for System Authentication, the Create Groups form displays a checkbox labeled Store in Directory Server. Check this checkbox when you want to store this group information in the LDAP directory server.
5.Click on Add.
The group you created is displayed in the Existing Groups list box, and is immediately available to add to user accounts. Figure 10 shows the Create Groups form.