Polycom RMX 1000 User Guide
Table 13-1 Parameter Description of CDR
Parameter
Description
| Shows the conference name and an icon indicating whether or | |
| not the CDR record has been written to the RMX 1000’s | |
Name | memory. | |
- CDR record saved | ||
| ||
| - CDR record not saved | |
|
| |
Start Time | The actual start time for the conference. | |
|
| |
Duration | The actual duration of the conference. | |
|
| |
| The reserved duration for the conference. You can check if the | |
Reserved Duration | conference was extended or shortened by comparing the | |
| actual Duration to the Reserved Duration. | |
|
| |
Status | Shows the conference status. | |
|
| |
File Retrieved | Indicates if the CDR files have been previously retrieved to a | |
text file (Yes/No). | ||
| ||
|
|
The functions for all these buttons on the page are as follows:
•Refresh List - Refresh the CDR list to show newly created records.
•Select All - Select all CDR records in the list.
•Retrieve Formatted - Save the selected CDR records to a specified location as formatted text (.txt files).
•Retrieve - Save the selected CDR records to a specified location as plain text (.cdr files).
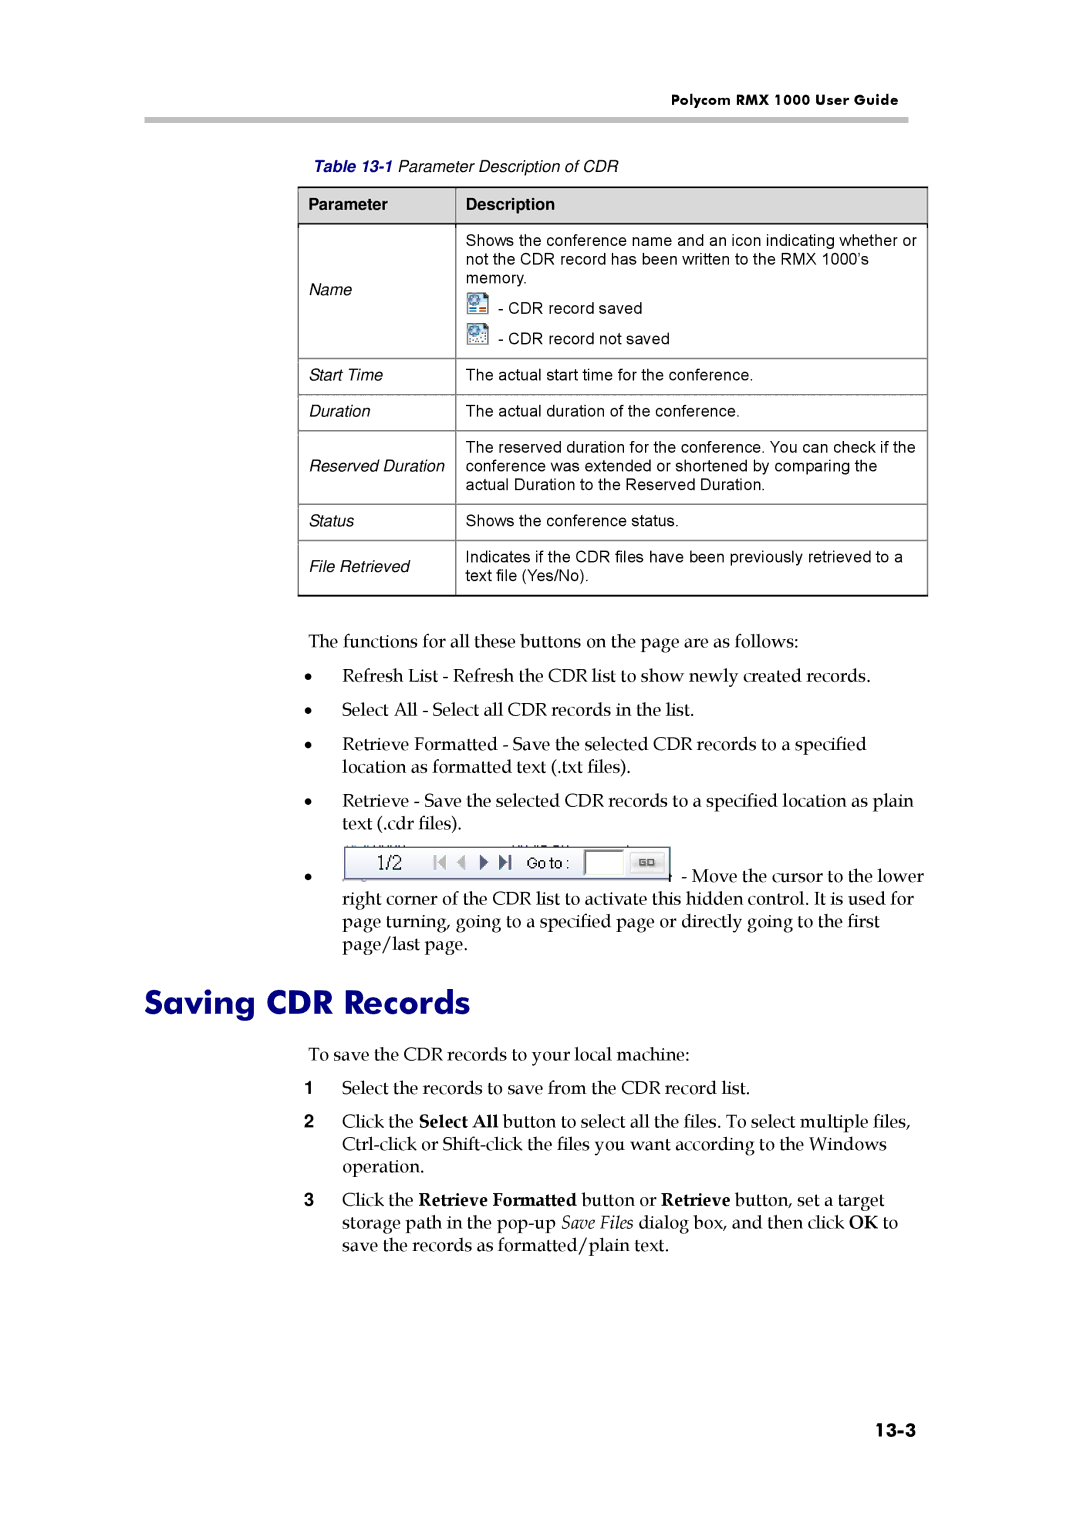
• | - Move the cursor to the lower |
| right corner of the CDR list to activate this hidden control. It is used for |
| page turning, going to a specified page or directly going to the first |
| page/last page. |
Saving CDR Records
To save the CDR records to your local machine:
1Select the records to save from the CDR record list.
2Click the Select All button to select all the files. To select multiple files,
3Click the Retrieve Formatted button or Retrieve button, set a target storage path in the