Section 5 Other Features of this Fax
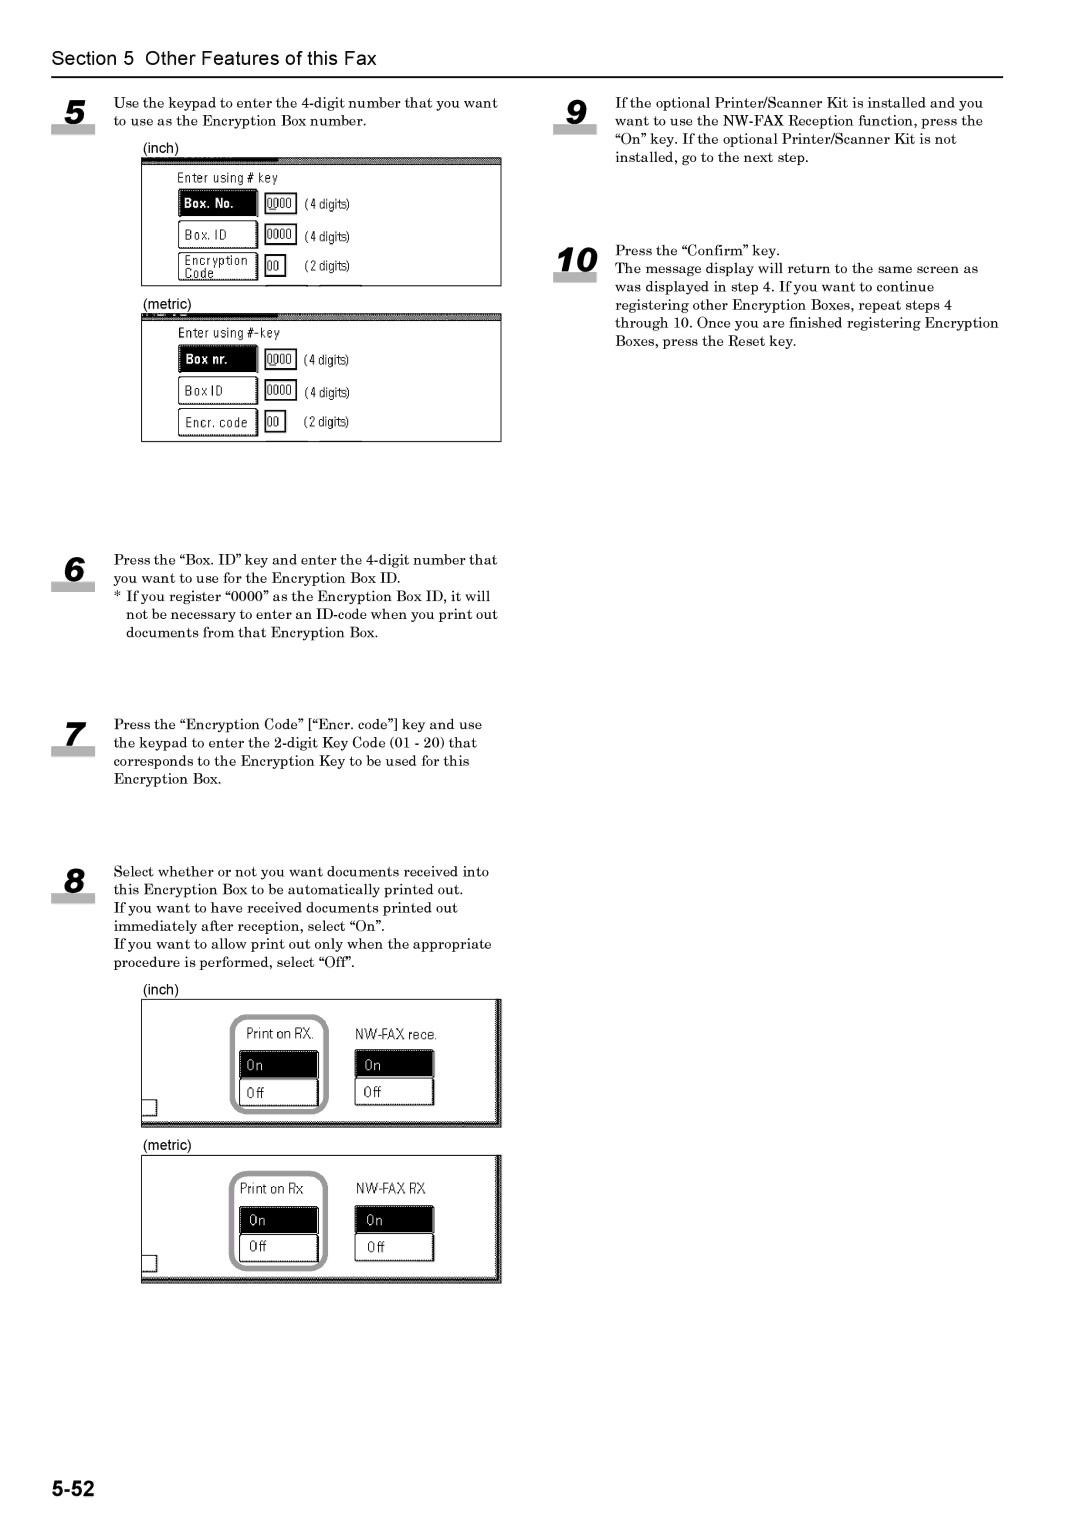
5 | Use the keypad to enter the |
to use as the Encryption Box number. | |
|
|
(inch)
(metric)
9 | If the optional Printer/Scanner Kit is installed and you |
want to use the |
“On” key. If the optional Printer/Scanner Kit is not installed, go to the next step.
10 | Press the “Confirm” key. |
The message display will return to the same screen as |
was displayed in step 4. If you want to continue registering other Encryption Boxes, repeat steps 4 through 10. Once you are finished registering Encryption Boxes, press the Reset key.
6 | Press the “Box. ID” key and enter the |
you want to use for the Encryption Box ID. | |
| * If you register “0000” as the Encryption Box ID, it will |
| |
| not be necessary to enter an |
| documents from that Encryption Box. |
7 | Press the “Encryption Code” [“Encr. code”] key and use |
the keypad to enter the | |
| corresponds to the Encryption Key to be used for this |
| |
| Encryption Box. |
8 | Select whether or not you want documents received into |
this Encryption Box to be automatically printed out. |
If you want to have received documents printed out immediately after reception, select “On”.
If you want to allow print out only when the appropriate procedure is performed, select “Off”.