Section 3 Fax Operation (Various Functions)
zAdding fax numbers
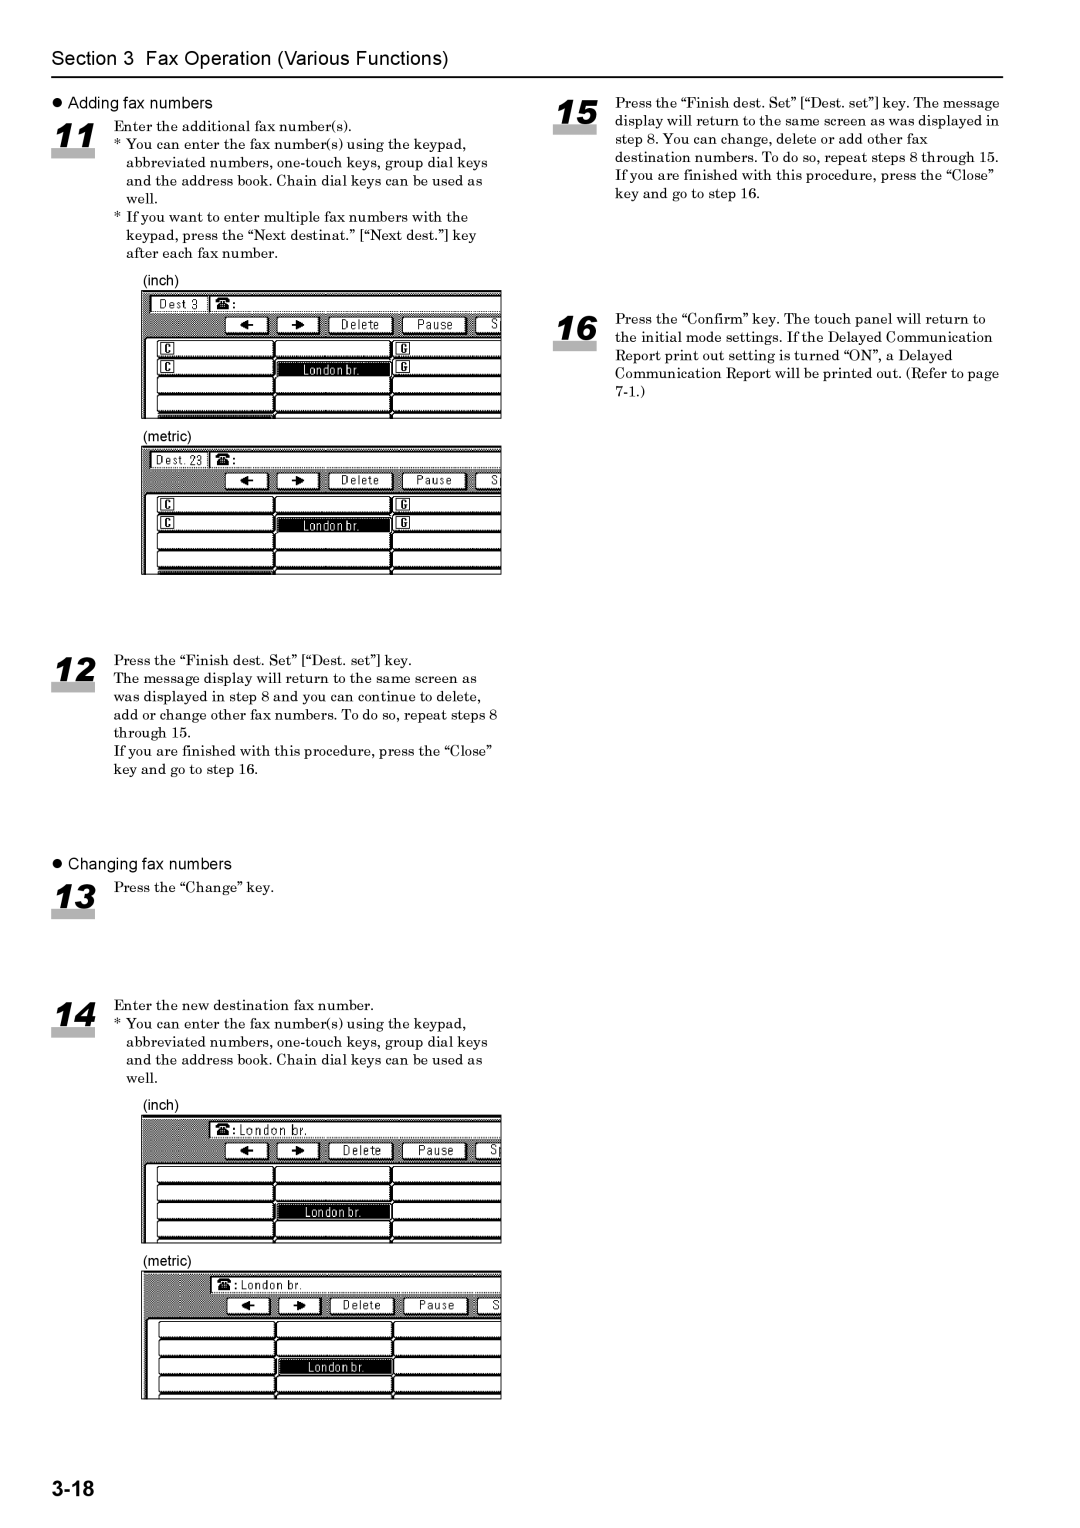
11 Enter the additional fax number(s).
*You can enter the fax number(s) using the keypad, abbreviated numbers,
*If you want to enter multiple fax numbers with the keypad, press the “Next destinat.” [“Next dest.”] key after each fax number.
(inch)
(metric)
12 | Press the “Finish dest. Set” [“Dest. set”] key. |
The message display will return to the same screen as |
was displayed in step 8 and you can continue to delete, add or change other fax numbers. To do so, repeat steps 8 through 15.
If you are finished with this procedure, press the “Close” key and go to step 16.
zChanging fax numbers
13 Press the “Change” key.
14 Enter the new destination fax number.
*You can enter the fax number(s) using the keypad, abbreviated numbers,
(inch)
(metric)
15 | Press the “Finish dest. Set” [“Dest. set”] key. The message |
display will return to the same screen as was displayed in |
step 8. You can change, delete or add other fax destination numbers. To do so, repeat steps 8 through 15. If you are finished with this procedure, press the “Close” key and go to step 16.
16 | Press the “Confirm” key. The touch panel will return to |
the initial mode settings. If the Delayed Communication |
Report print out setting is turned “ON”, a Delayed Communication Report will be printed out. (Refer to page
